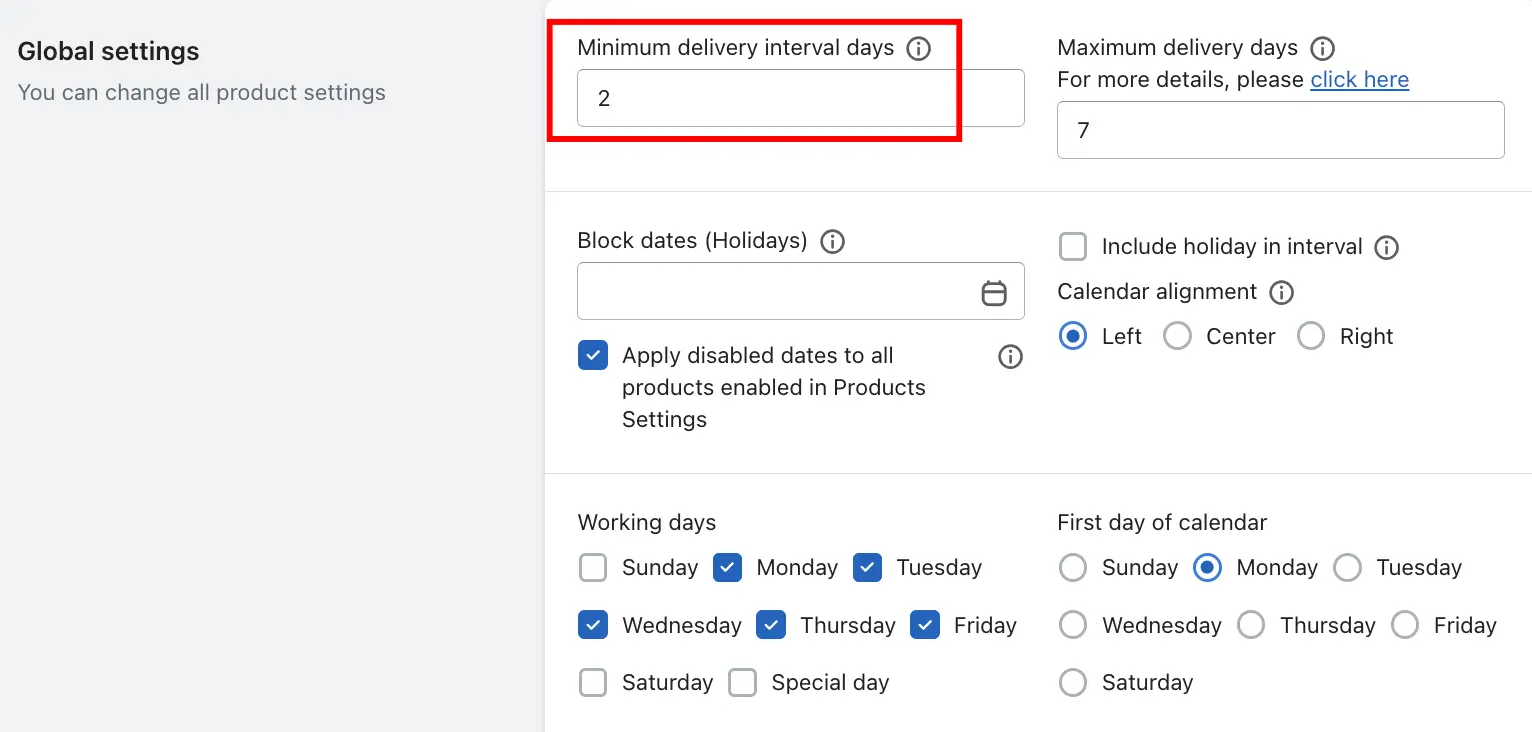
Many businesses don’t deliver orders on the same day because order preparation requires some lead time. The Minimum Delivery Interval Days feature helps businesses specify a buffer time between the order date and the earliest possible delivery date.
Example:
Imagine today is 24th date, and you want the earliest delivery date to 26th date(2 days later). By setting 2 in the Minimum Delivery Interval Days field, the app will skip 2 days from the current date.
This means that when customers select a delivery date, the earliest available option on the delivery calendar will be 26th date.
This feature ensures that your team has enough time to process, prepare, and deliver orders.
Steps to Set Minimum Delivery Interval Days for Shipping
Step 1: Go to your Shopify Admin.
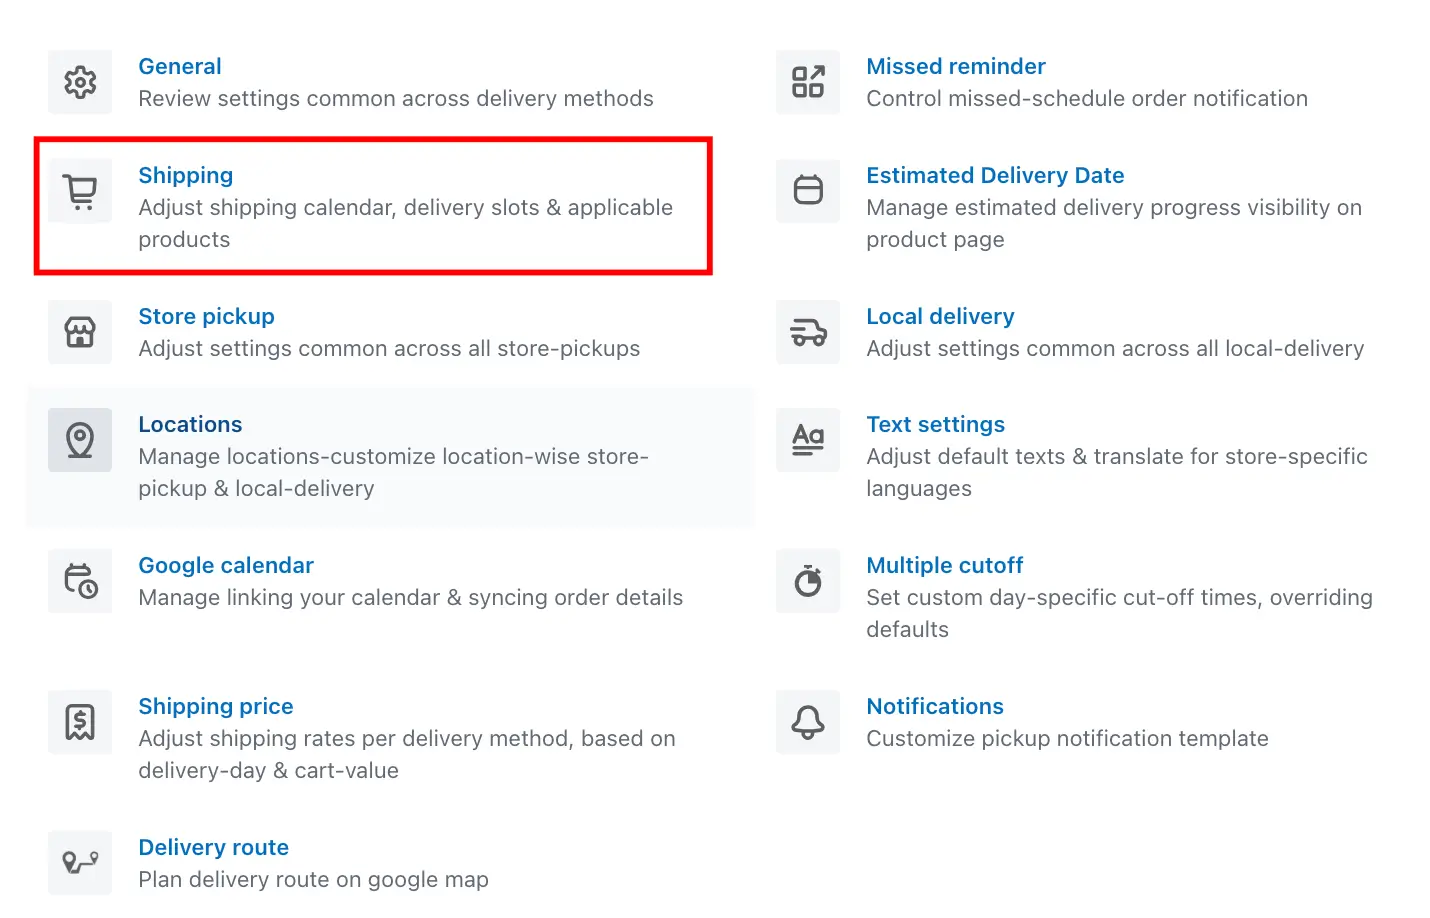
Step 2: Open the app and navigate to the Settings page.
Step 3: Go to the Shipping Settings.
Step 4: Find the Minimum Delivery Interval Days option.
Step 5: Enter the number of days you want as the interval day (for example, 2).
Step 6: Save the settings.

Steps to Set Minimum Delivery Interval Days for Store Pickup & Local Delivery
Step 1: Go to your Shopify Admin.
Step 2: Open the app and navigate to the Settings page.
Step 3: Go to the Location Settings.
Step 4: Select the specific location for which you want to set the minimum delivery interval days.
Step 5: Click Edit under either Store Pickup or Local Delivery.
Step 6: Find the Minimum Delivery Interval Days option.
Step 7: Enter the number of days you want as the interval day (for example, 2).
Step 8: Save the settings.
Steps to Set Minimum Delivery Interval Days for Product Calendar
Step 1: Go to your Shopify Admin.
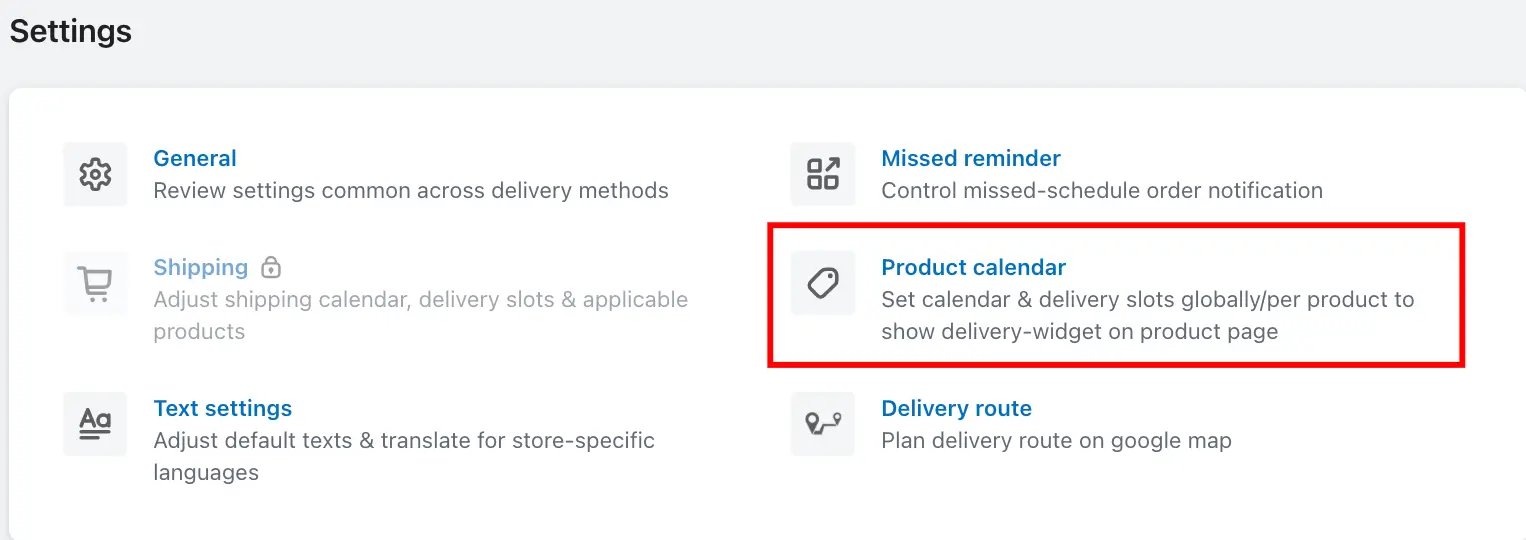
Step 2: Open the app and navigate to the Settings page.
Step 3: Go to the Product Calendar.
Step 4: Under Global Settings, locate the Minimum Delivery Interval Days field.
Step 5: Enter the desired number of days to set as the interval day (e.g., 2).
Step 6: Save the settings.
This setting will apply the same interval to all products unless you override it on individual product settings.
Product-Specific Intervals (Different for Each Product)
If you want to set different intervals for different products:
Step 1: In the app, go to the Product Calendar.
Step 2: Open the Product Settings for the specific product you want to customize.
Step 3: Find the Minimum Delivery Interval Days field within that product’s settings.
Step 4: Enter the desired Interval days for that product (e.g., 3).
Step 5: Save the settings.
This allows you to tailor the delivery interval days individually for each product, ensuring that complex or high-prep-time products get the lead time they need.
Please check how the Minimum Delivery Interval Days option works with the Include Holiday in Interval option using this link: Include holiday in interval
To read the complete guide on Stellar Delivery Date & Pickup click here.