

Creating a Google Maps API key is essential for integrating dynamic maps into your applications, enhancing location-based services and user experience. This guide provides a step-by-step process for both existing and new Google users to generate their API key. For existing users, sign in to the Google Cloud Platform Console, create a new project, enable the Maps JavaScript API, and create your API key.
New users must first sign up for a Google account before following the same steps. Remember to securely store your API key and share it only with trusted entities to protect your projects.
Google Maps API allows developers to integrate dynamic maps into their applications, providing location-based services and enhancing user experience. To unlock the full potential of the Google Maps API, you need an API key. In this guide, we’ll walk you through the step-by-step process of creating a Google Maps API key, catering to both existing Google users and newcomers.
for Existing Google Users
If you already have a Google account, follow these steps to generate a Google Maps API key:
Access the Google Cloud Platform (GCP) Console
➝ Open your web browser and navigate to the Google Cloud Console.
➝ Sign in with your existing Google account credentials.
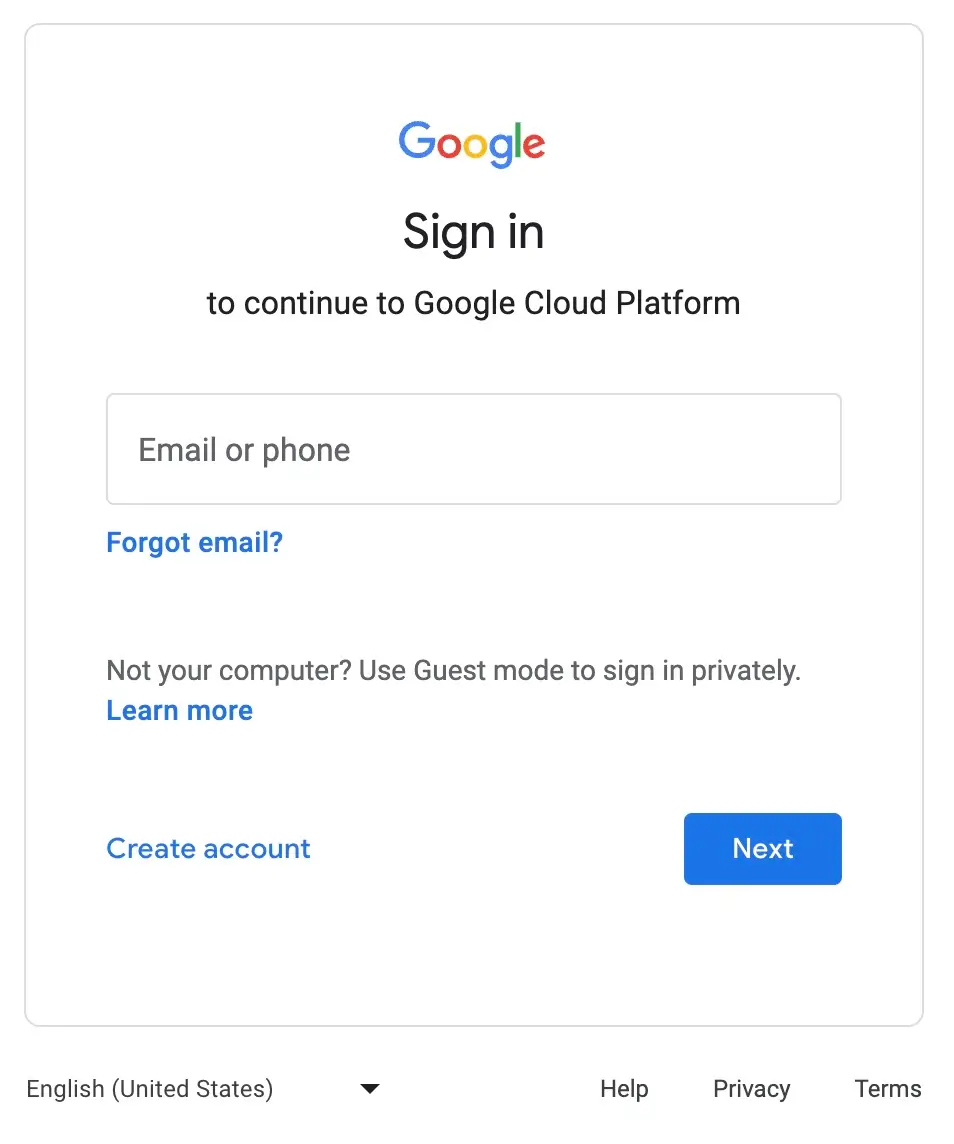
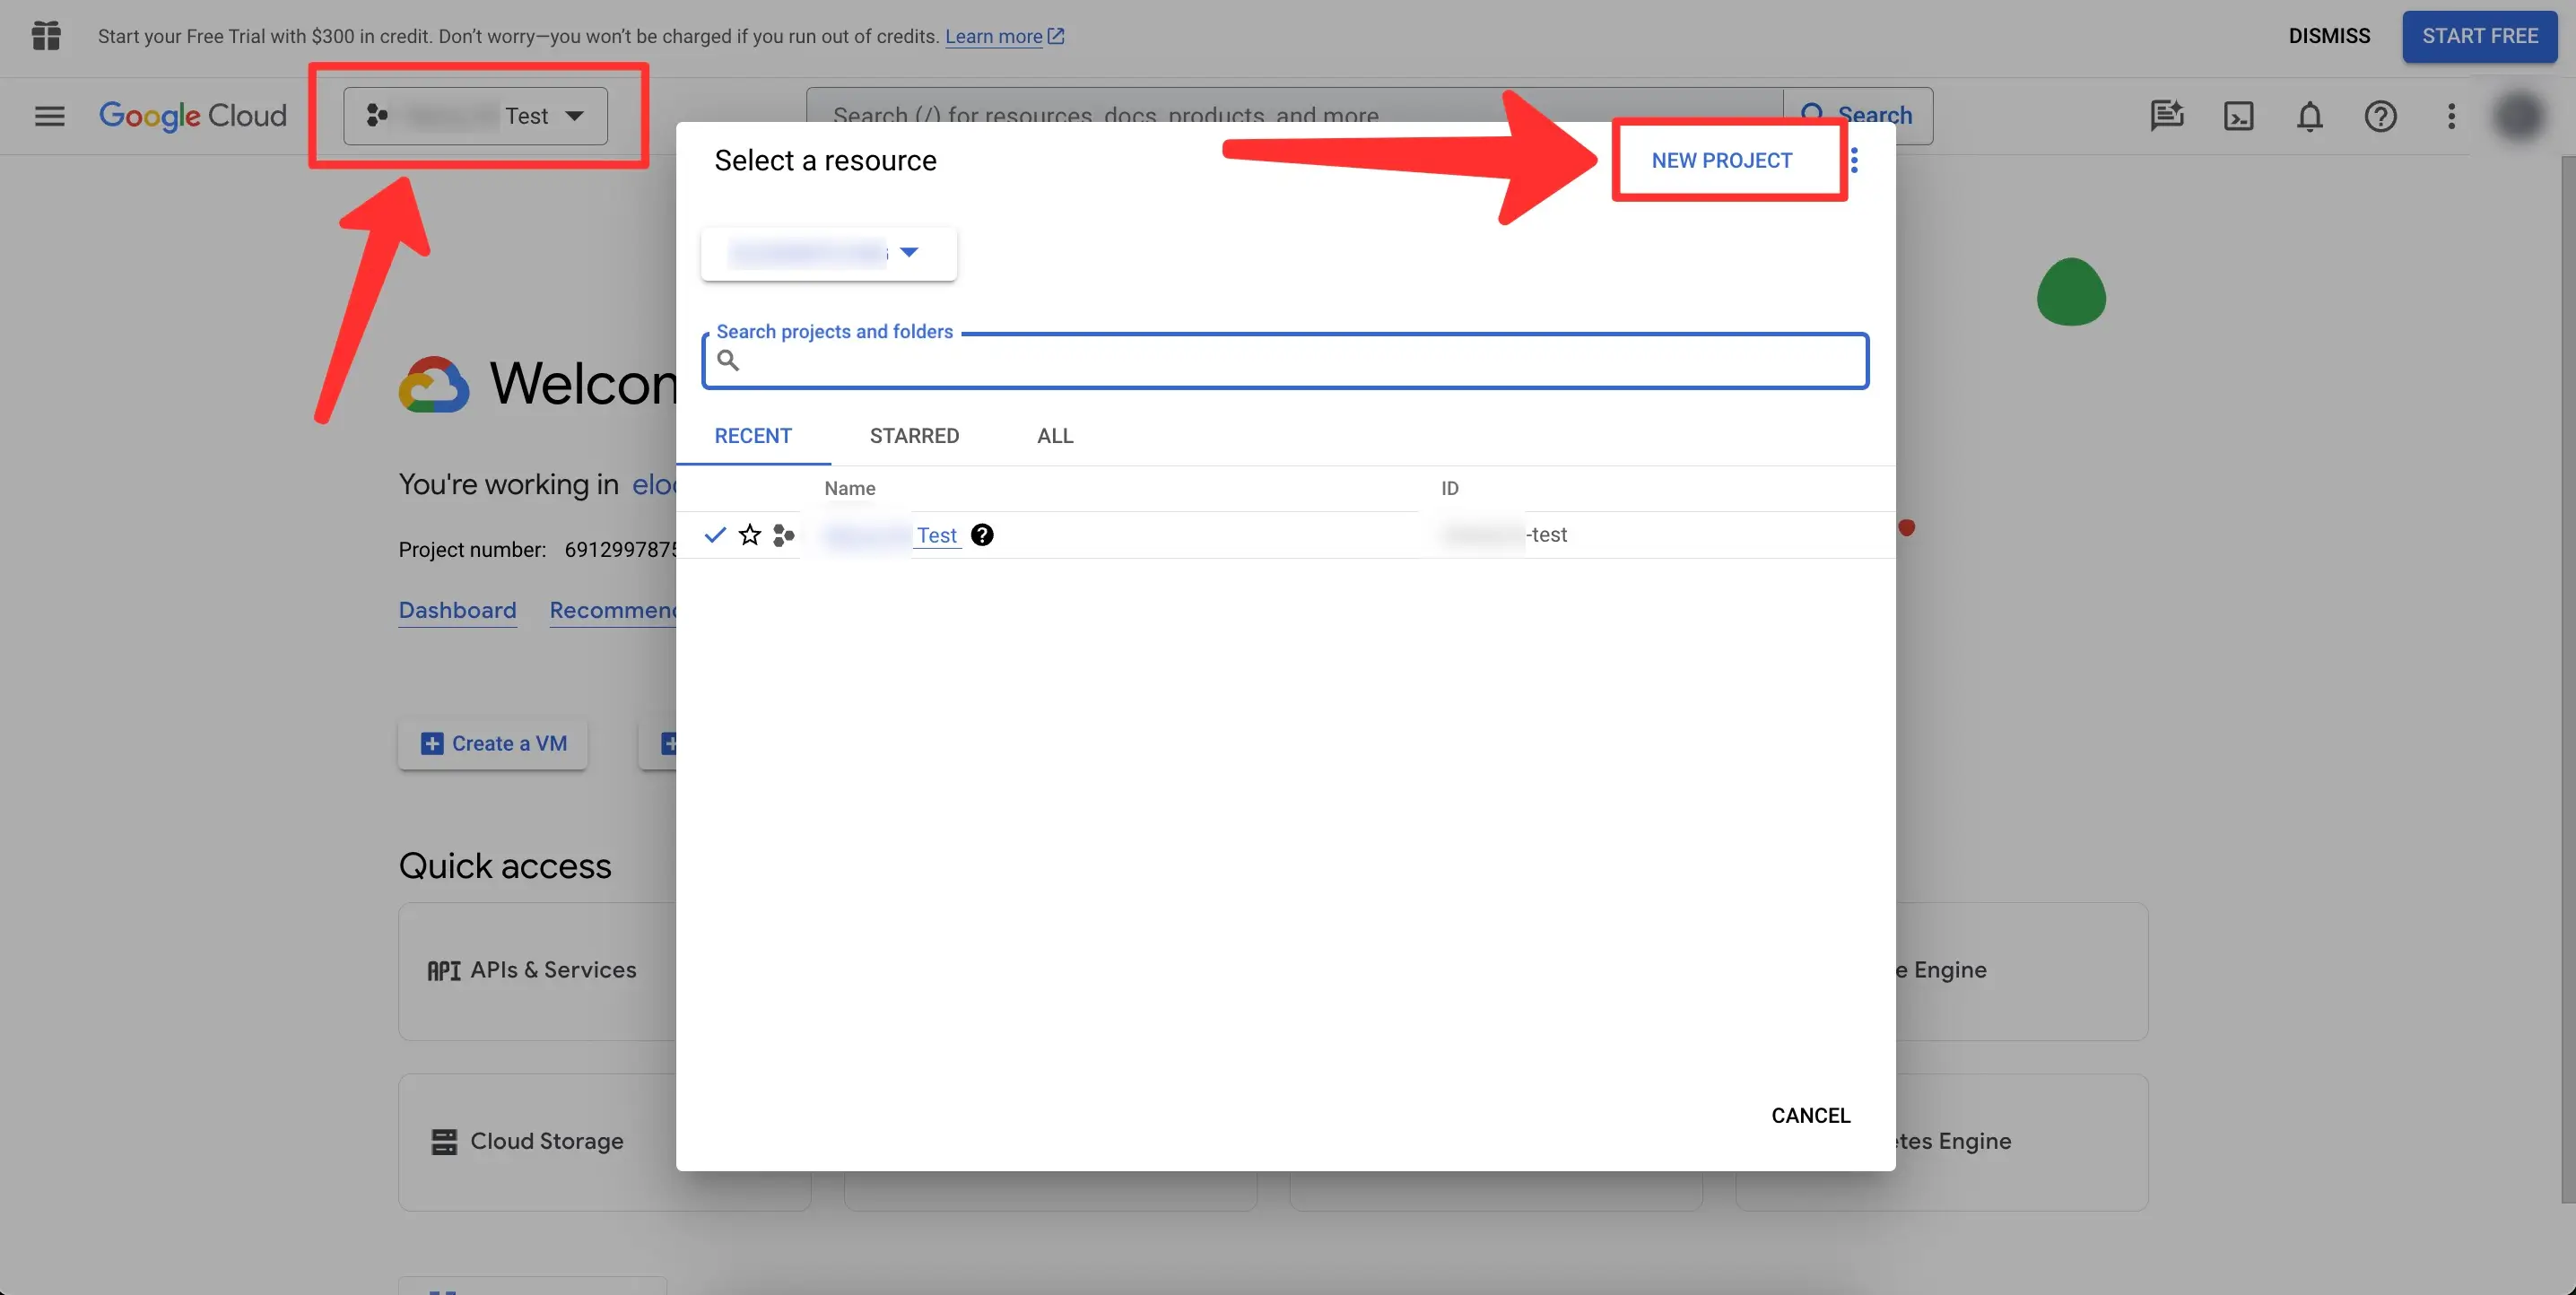
Create a New Project
➝ Click on the project drop-down menu located at the top of the console.
➝ Select “New Project” from the dropdown.
➝ Enter a name for your project and click “Create” button.
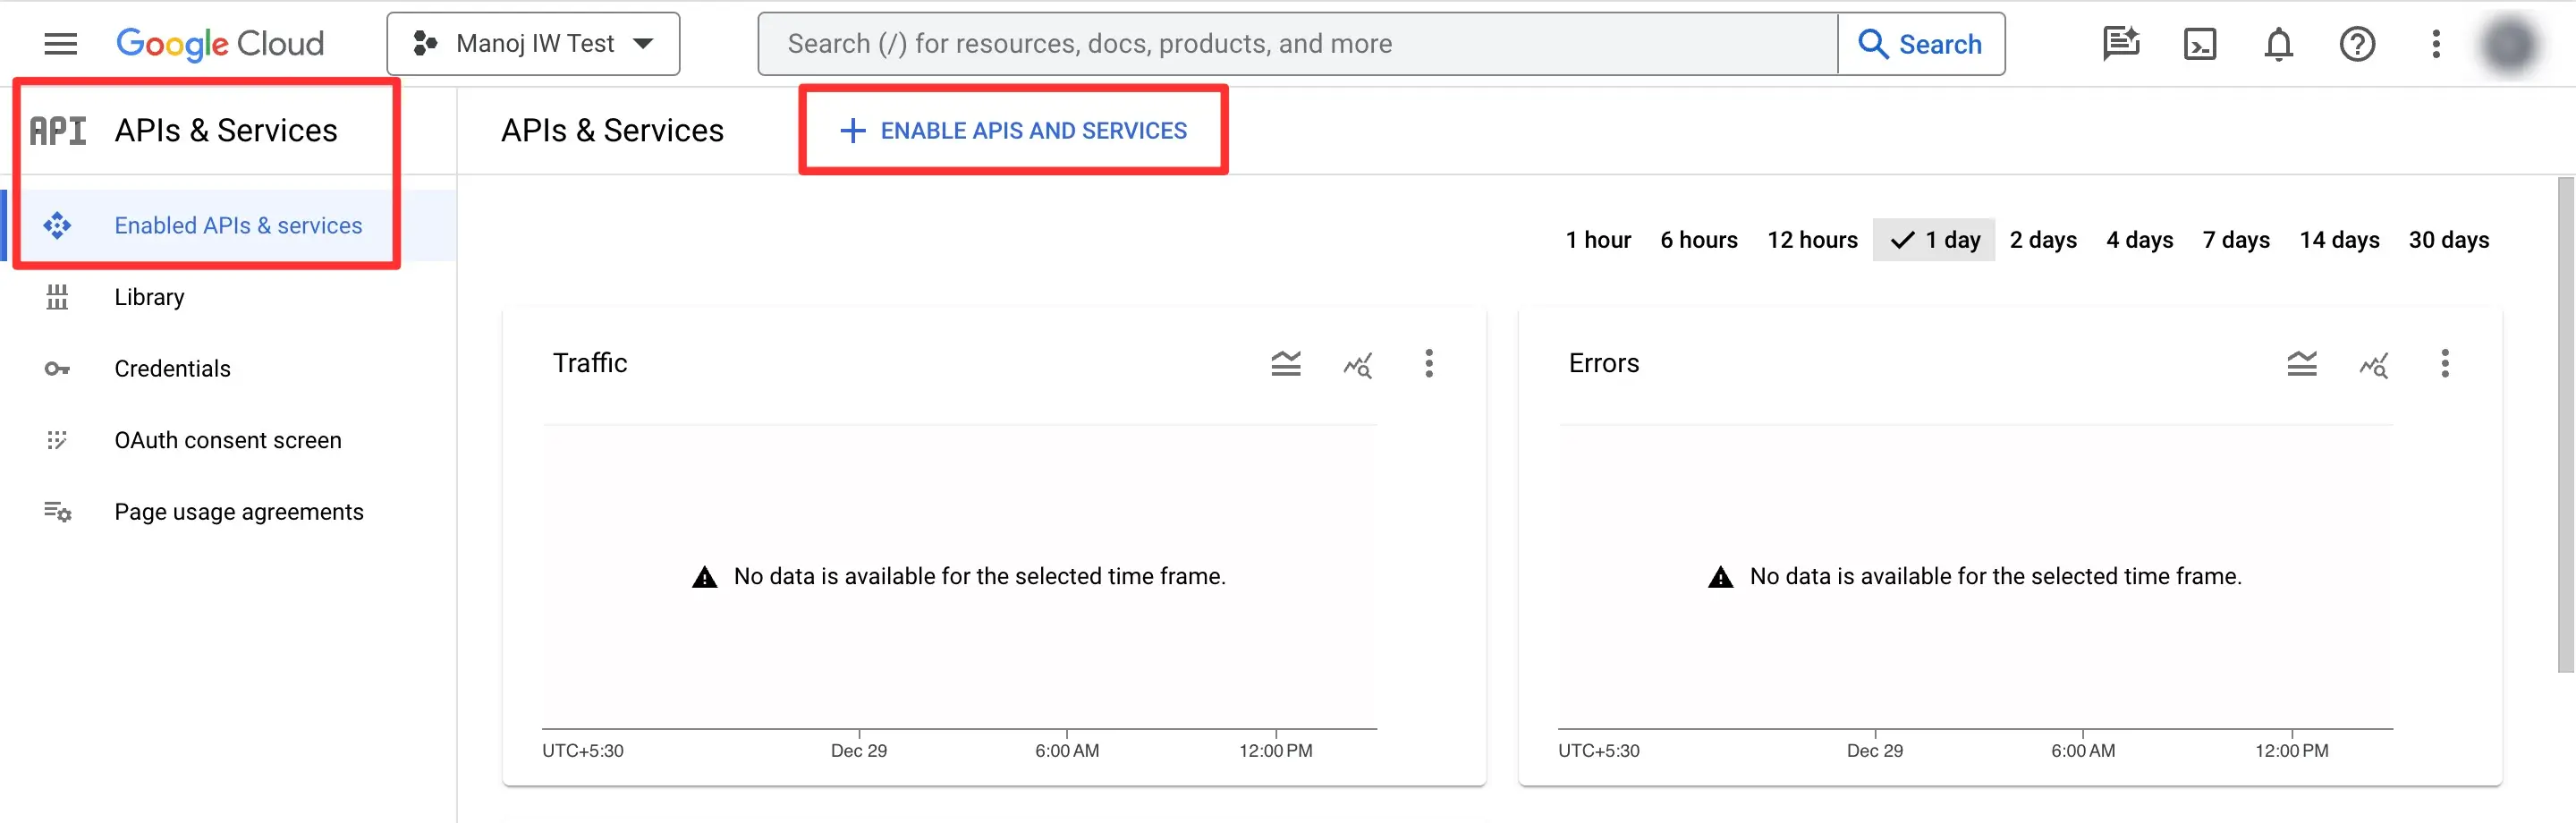
Enable the Maps JavaScript API
➝ In the left-hand navigation menu, click on “APIs & Services” and then “Dashboard” section.
➝ Click on the “+ ENABLE APIS AND SERVICES” button.
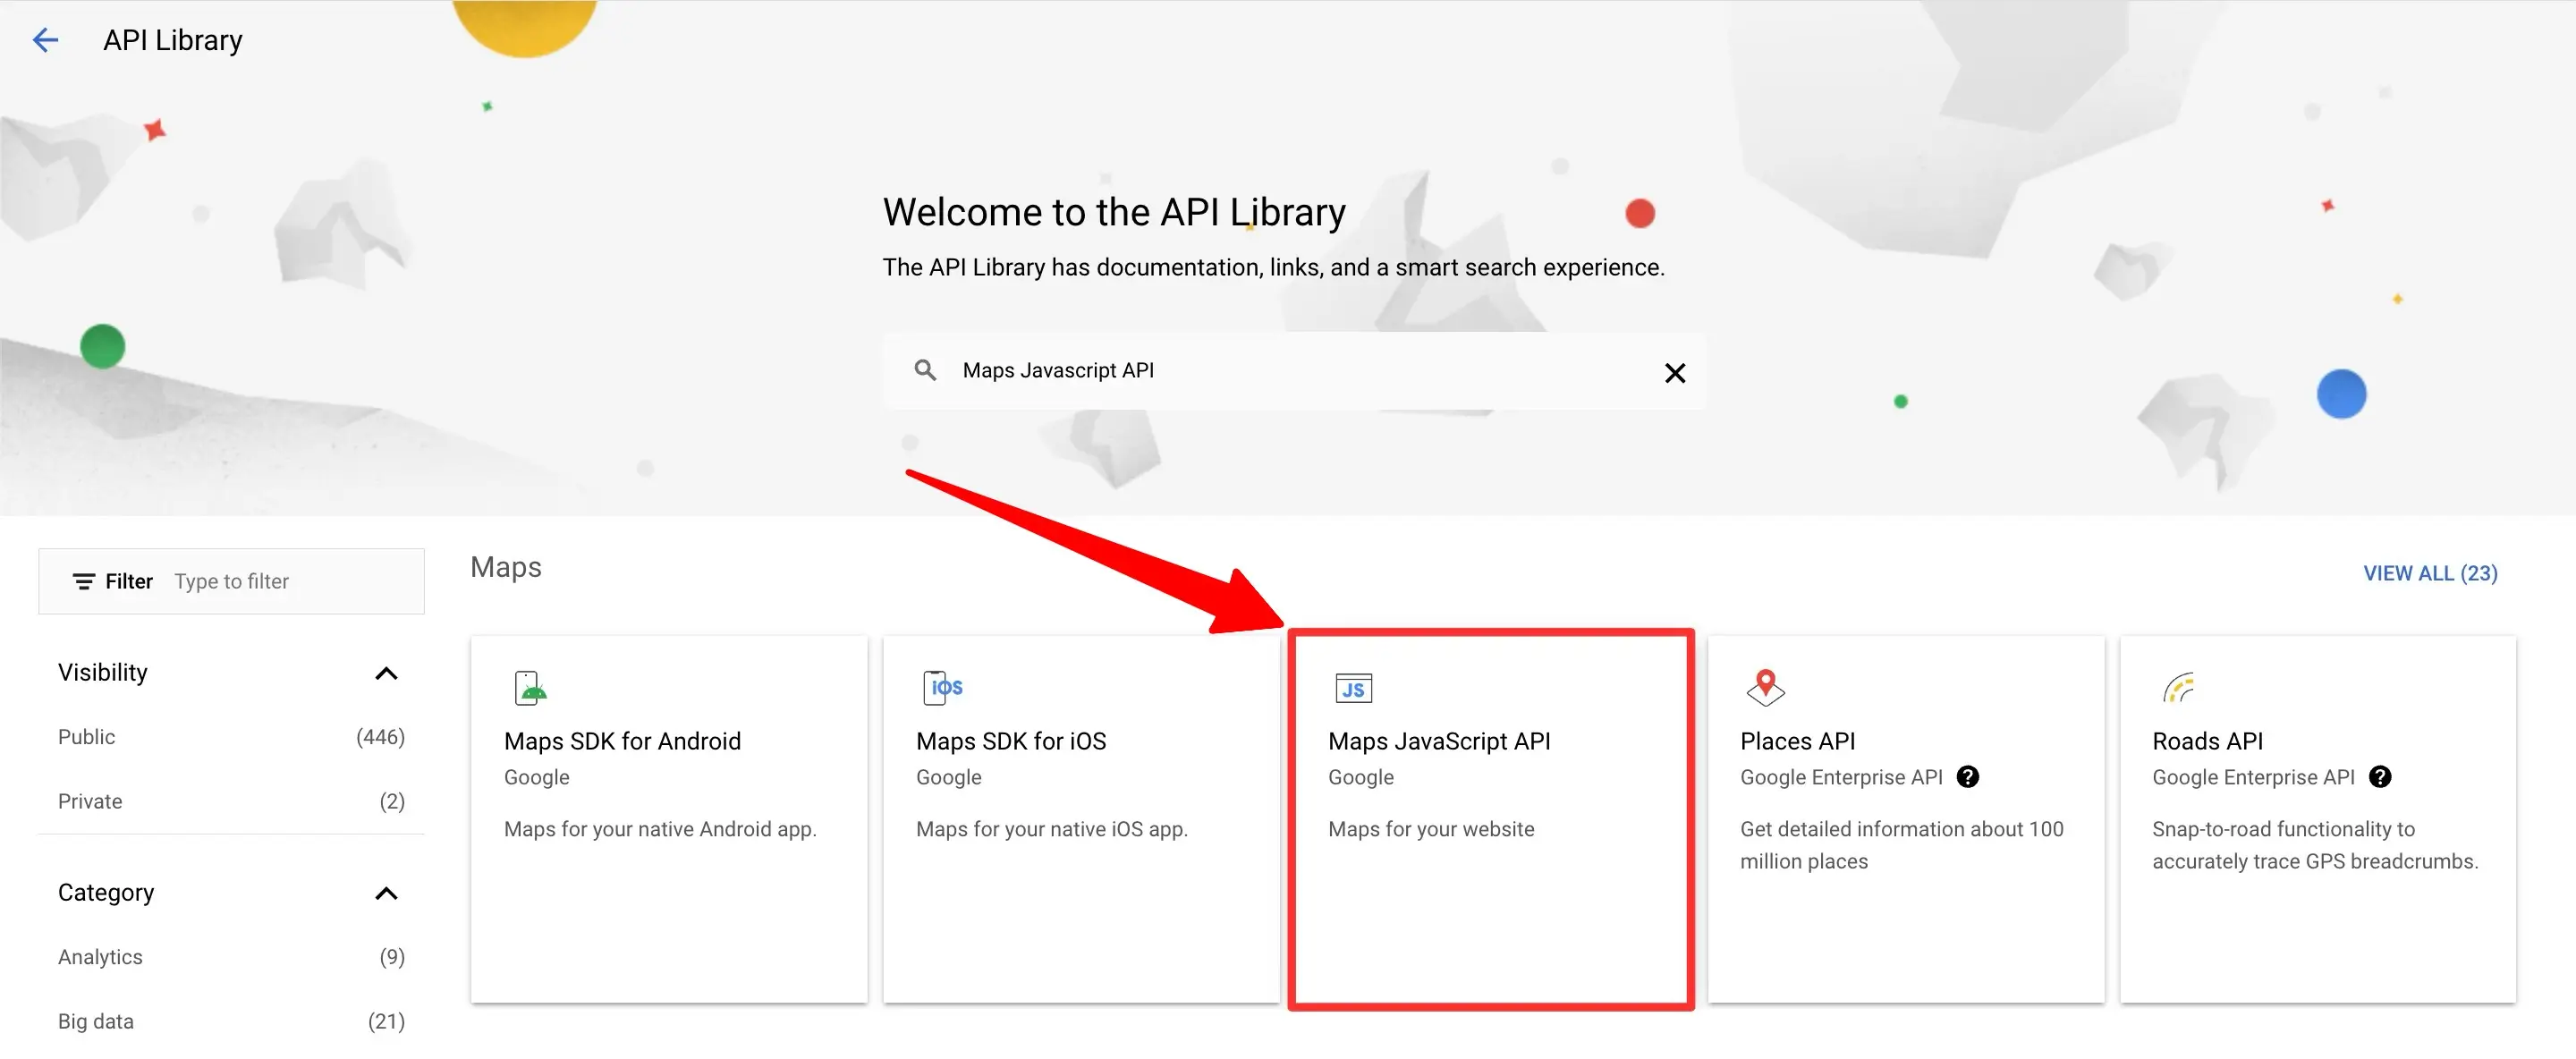
➝ Search for “Maps JavaScript API” and select it.
➝ Click on “Enable” to activate the API for your project.
Create API Key
➝ In the left-hand navigation menu, click on “APIs & Services” and then “Credentials.”
➝ Click on “Create Credentials” and choose “API Key.”
➝ A pop-up will appear with your API key. Copy and securely store it.
For New Google Users
If you are new to Google and don’t have an account, follow these additional steps before proceeding with the above instructions:
Sign Up for a Google Account
➝ Open your web browser and go to Google Account Sign-Up.
➝ Complete the required information and create your new Google Account.
Access the Google Cloud Platform (GCP) Console
➝ Once your Google Account is created, navigate to the Google Cloud Console.
Create a New Project
➝ Create a new project as described in the “Create a New Project” section for existing users.
➝ Click on the project drop-down menu located at the top of the console.
➝ Select “New Project” from the dropdown.
➝ Enter a name for your project and click “Create” button.
Enable the Maps JavaScript API
➝ In the left-hand navigation menu, click on “APIs & Services” and then “Dashboard” section.
➝ Click on the “+ ENABLE APIS AND SERVICES” button.
➝ Search for “Maps JavaScript API” and select it.
➝ Click on “Enable” to activate the API for your project.
Create API Key
➝ In the left-hand navigation menu, click on “APIs & Services” and then “Credentials.”
➝ Click on “Create Credentials” and choose “API Key.”
➝ A pop-up will appear with your API key. Copy and securely store it.
Congratulations! You’ve successfully created a Google Maps API key. Whether you’re an existing Google user or a newcomer, this guide should have provided a clear and detailed path to obtain the API key. Remember to keep your API key secure and only share it with trusted entities to maintain the integrity of your projects.