

The Setup Guide in TablePress helps you create and manage tables for your online store, guiding you through building your first table, setting display rules, and previewing it on your storefront. You can track your progress with a visual progress bar on the TablePress dashboard, making it easy to follow each step. To get started, click the “Create table” button to customize your table, then set where it should appear by choosing specific product pages or collections.
After that, use the “Preview table” option to ensure it displays correctly on your storefront. Remember, only a successful load on your actual storefront completes this step; previews in the Shopify Theme Editor do not count. You can edit your table anytime and create multiple tables with different display rules as needed.
In this article, you’ll learn how to use each step of the setup guide and what to do after you finish.
Getting started with the setup guide
The setup guide appears on your TablePress dashboard and tracks your progress as you complete each step. You’ll see a progress bar at the top showing how many steps you’ve finished.
To access the setup guide, go to your Shopify admin, find TablePress in your apps, and open your app dashboard. The setup guide section is one of the first things you’ll see.
Understanding each step
Step-by-step walkthrough
- Create Your First Table — Click the “Create table” button to build a new table. Add the data and customize how it looks. This is where you decide what information your table will display.
- Add Display Rule — Select which table you want to show. Then decide where it appears: on specific product pages, in collections, or everywhere on your store. Click “Set display rule” to confirm.
- Preview Table — Click “Preview table” to see how your table appears on your actual storefront. Once your table loads successfully, the setup guide automatically marks this step as complete.
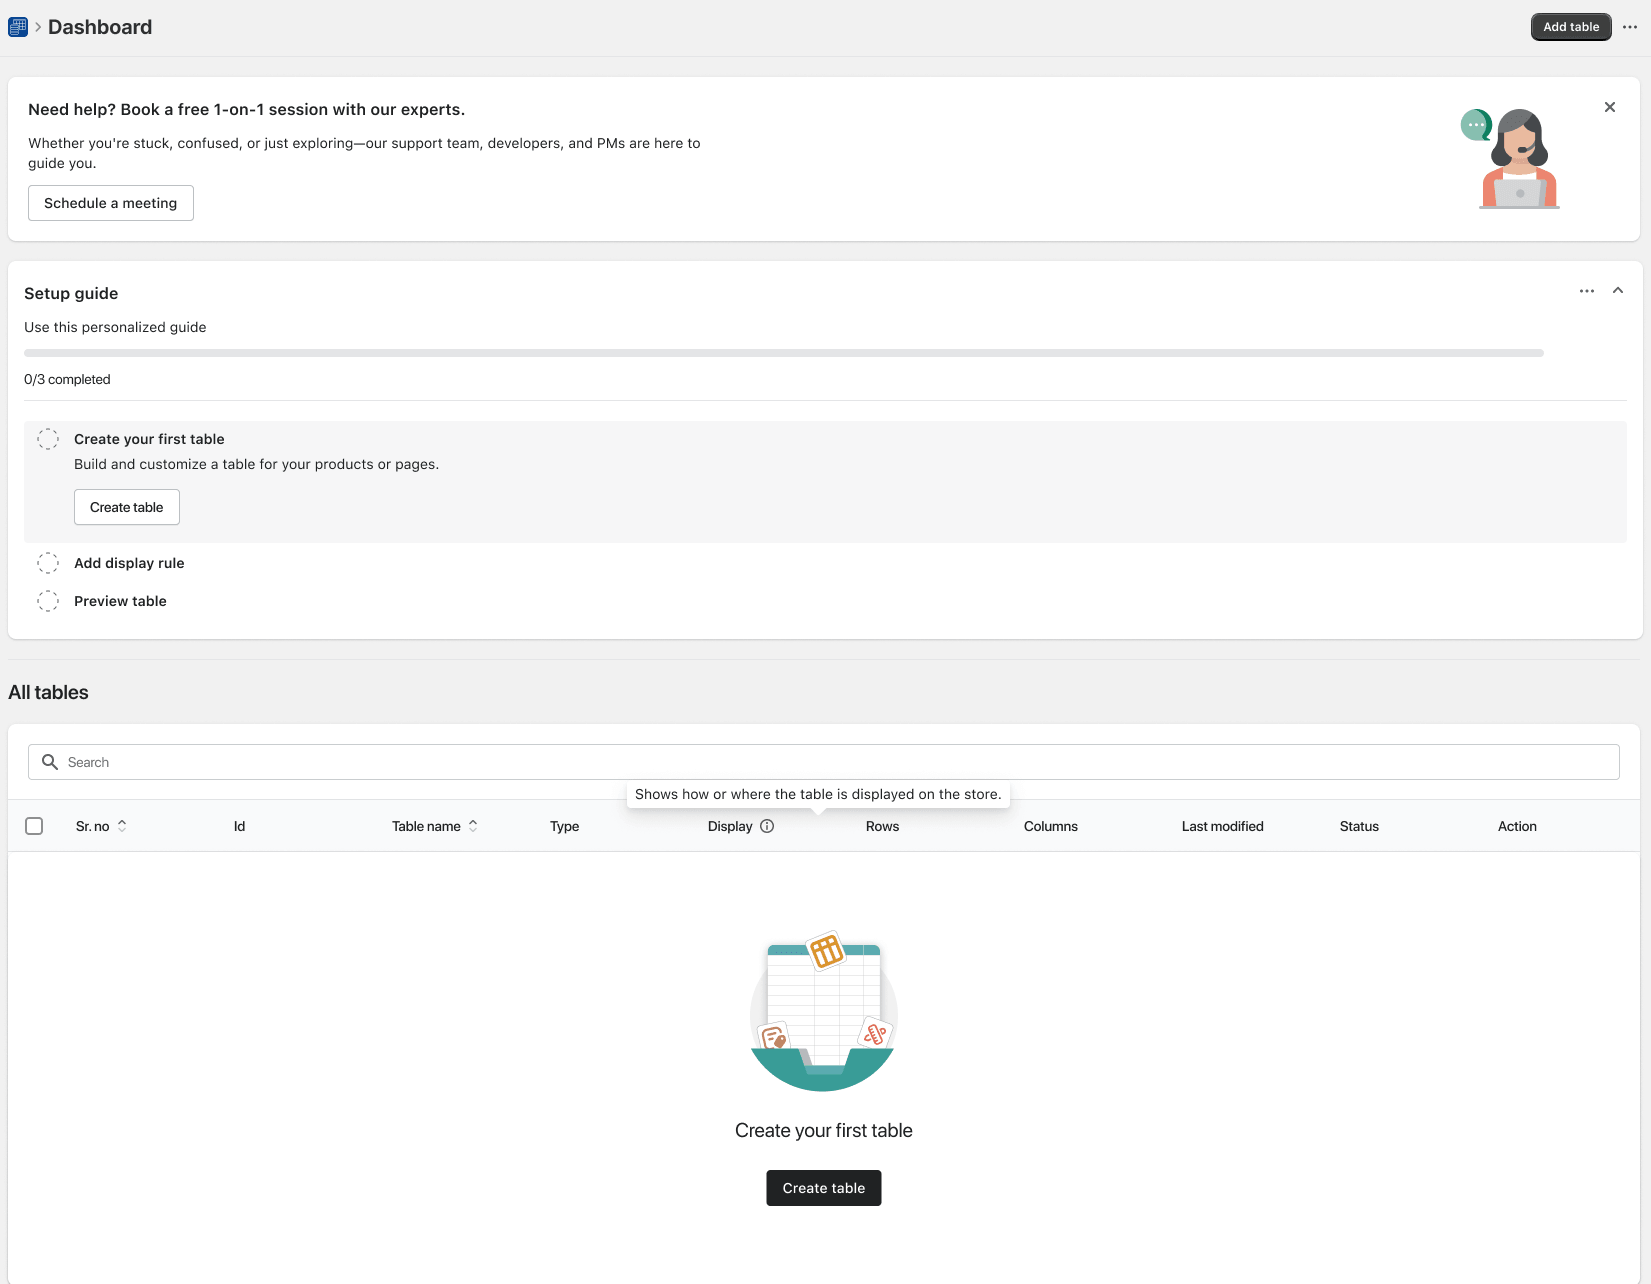
Step 1: Create your first table
What happens here
You build a new table from scratch. Add rows and columns, fill in your data, and customize how it looks.
How to do it
Click the “Create table” button in the setup guide. You’ll enter the table creation page where you can:
- Add columns — Decide what type of information each column shows (product name, price, size, etc.)
- Add rows — Enter your actual data
- Customize appearance — Choose colors, fonts, and table layout
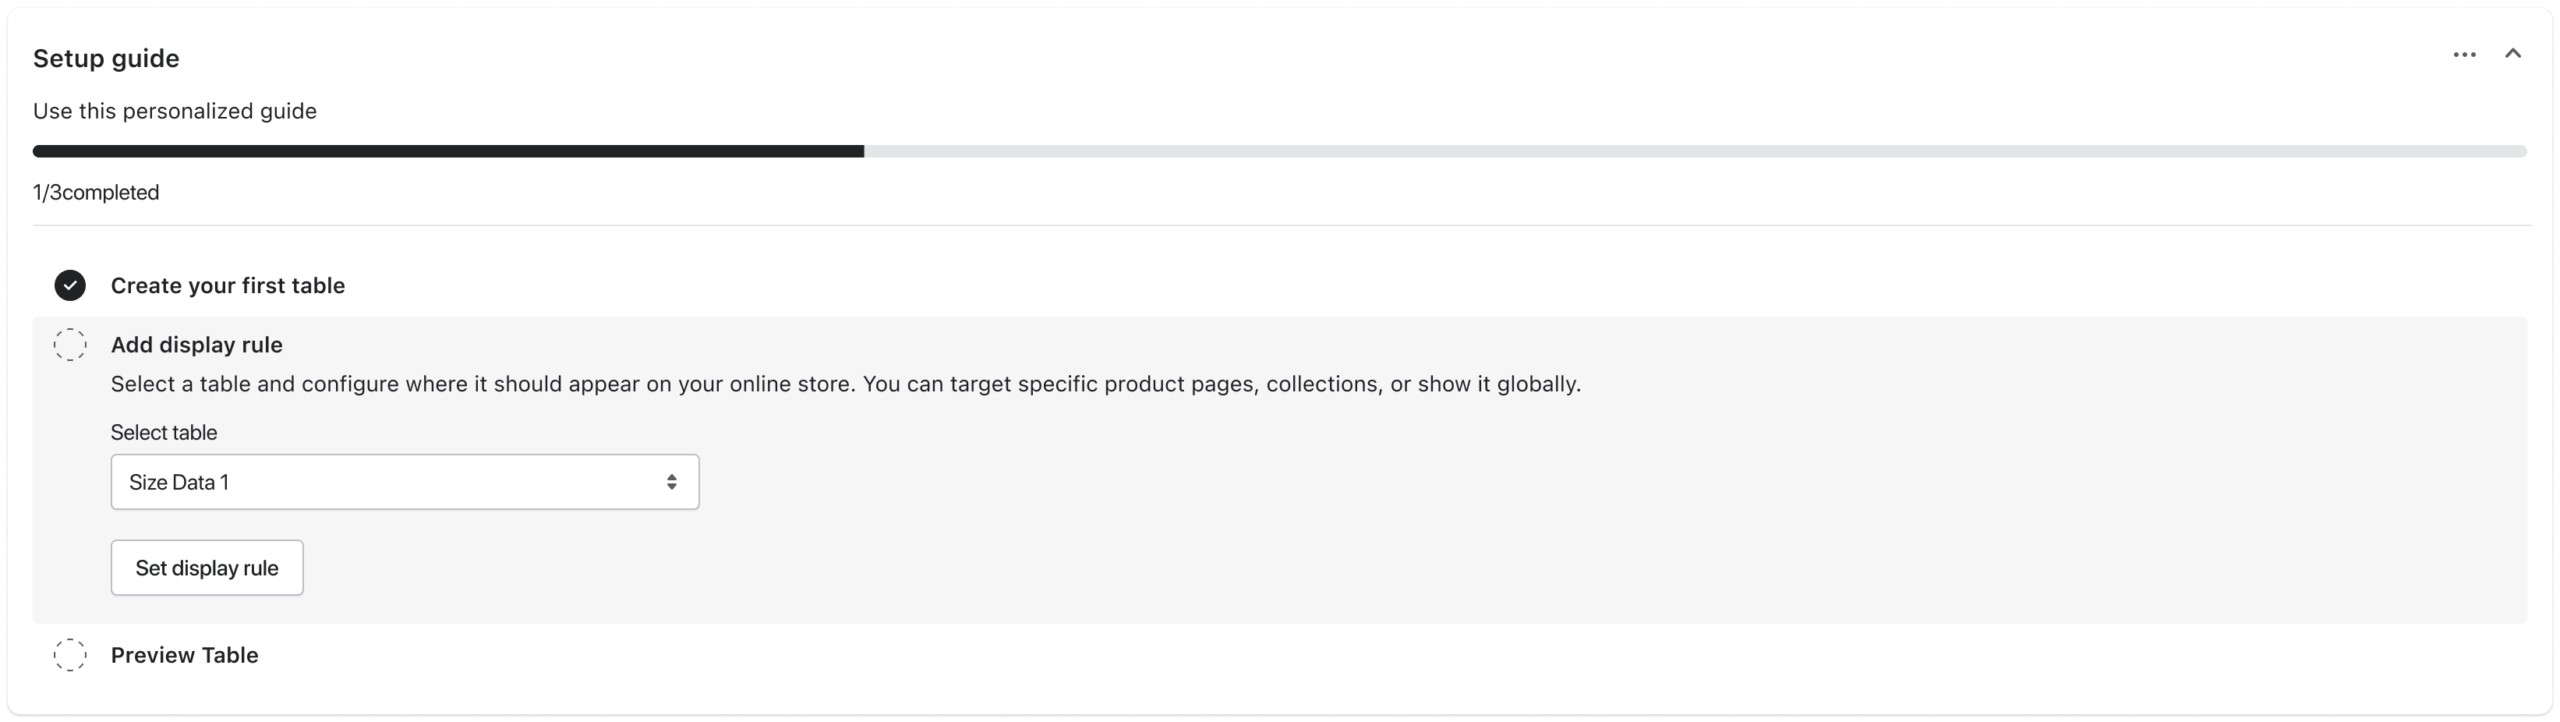
Step 2: Add display rule
What happens here
You tell TablePress where your table should appear on your storefront. You select which table to use and decide the locations.
How to do it
First, select your table from the dropdown menu. Then configure your display rule:
- Show on all pages — Your table appears everywhere on your store
- Show on specific product pages — The table only appears on certain products you choose
- Show in collections — The table appears in specific product collections
Click “Set display rule” when you’ve made your choices.
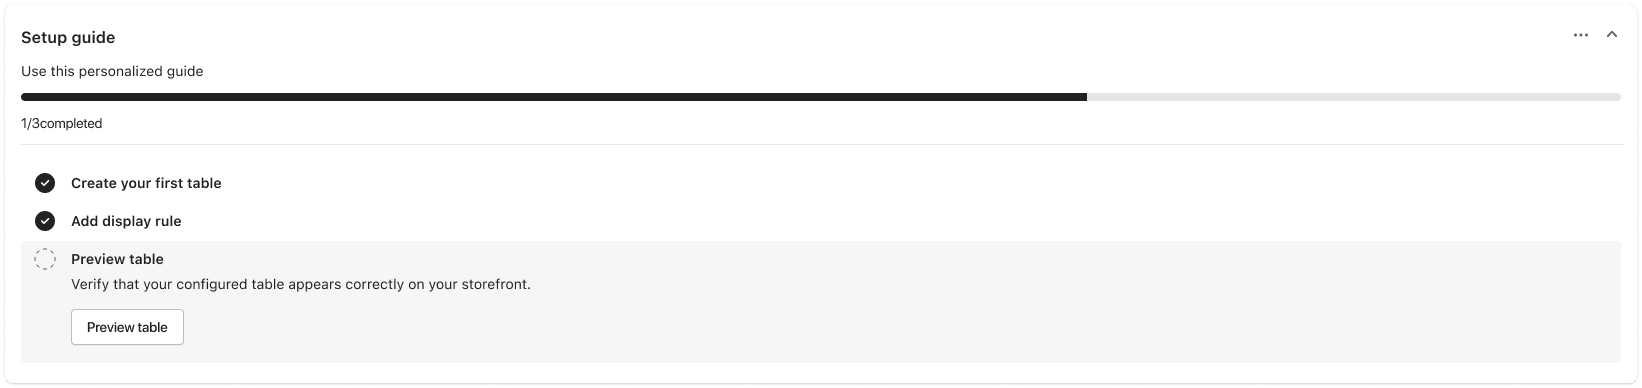
Step 3: Preview table
What happens here
You verify that your table appears correctly on your actual storefront. When you preview or when the table loads on your storefront, the setup guide automatically marks this step as complete.
How to preview your table
Click the “Preview table” button in the setup guide. TablePress will open your storefront in a new window or tab based on where your table should appear (according to your display rule).
Automatic completion
Once your table successfully loads and displays on your storefront, the setup guide automatically marks the Preview Table step as Completed. You don’t need to do anything extra—just let the table load on your storefront page.
Things to check when previewing
- Does the table fit on the page without cutting off?
- Are the colors and fonts what you wanted?
- Is the table in the right location?
- Are all the column headers and data showing correctly?
If something doesn’t look right, you can go back and make changes to your table or display rule anytime.
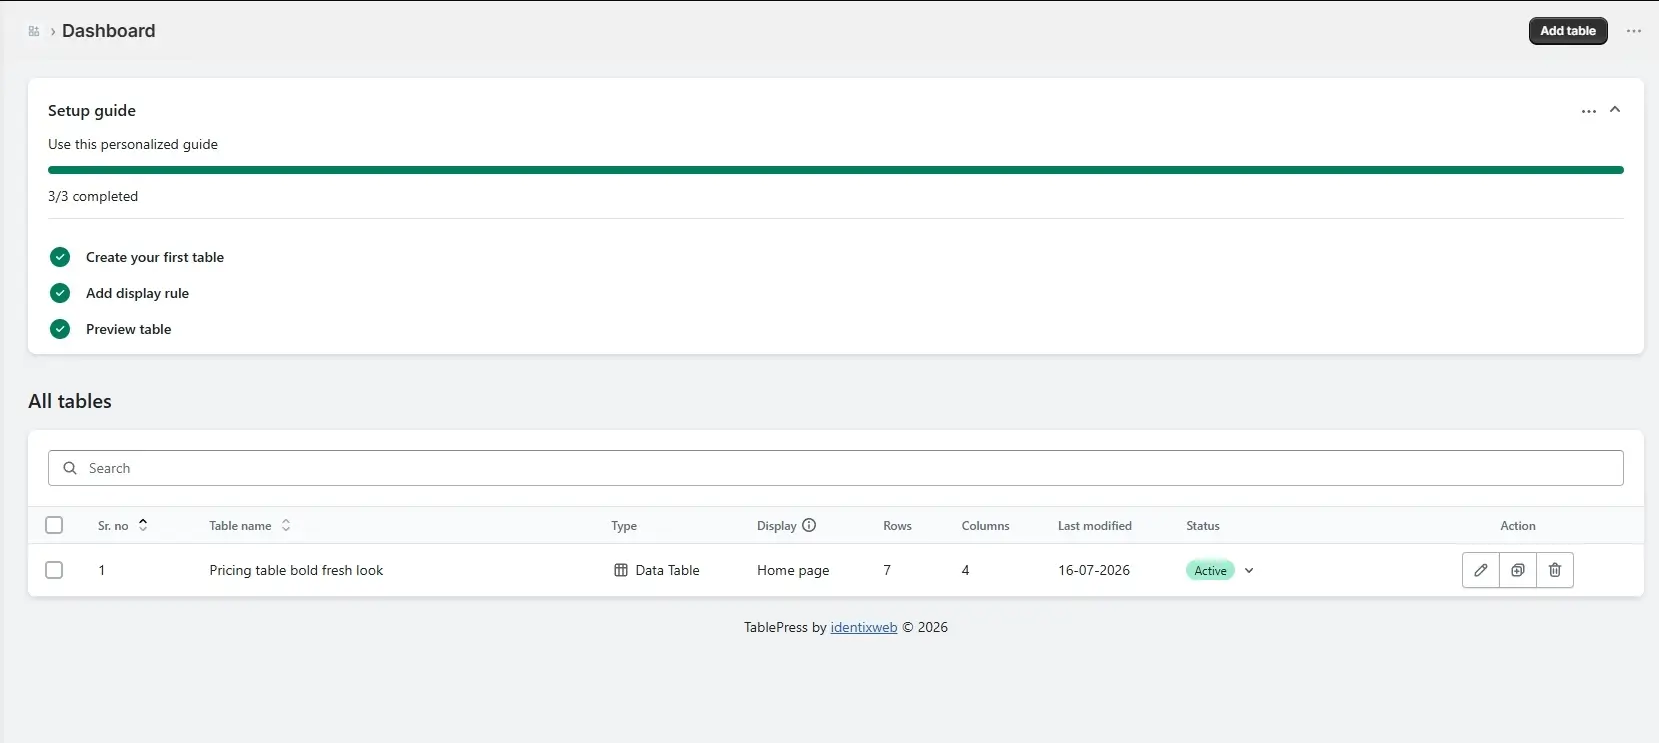
Tips & best practices
2. Use clear headers — Make column titles obvious so customers know what each column shows.
3. Test on mobile — Always preview your table on a phone. Tables should be readable on small screens.
4. Update regularly — If your prices or product info changes, update your tables so customers see accurate information.
5. Use the Theme Editor walkthrough — When you click “Add Block” to place your TablePress block in your Shopify theme, you’ll see a guided walkthrough showing exactly where to put the block code.


