The Store front integration page in TablePress Size Chart & Guide shows you every block you have added across your store’s pages to display the table. You can check this page anytime to see how many blocks are live on your Home page, Product page, Collection page, CMS pages, and Blog page.
This article walks you through how to open the page, read the block list for each page type, and add new blocks without touching your theme code.
How to access the store front integration Page
Follow these steps to open the Store Front Integration page.
- Log in to your Shopify Admin.
- Open the TablePress app from your installed apps.
- Find the Store front integration menu under the app name.
- Click on it to open the page.
Managing blocks for each page type
Your store has several page types, and each one works slightly differently inside Store front integration. Here is how each section works.
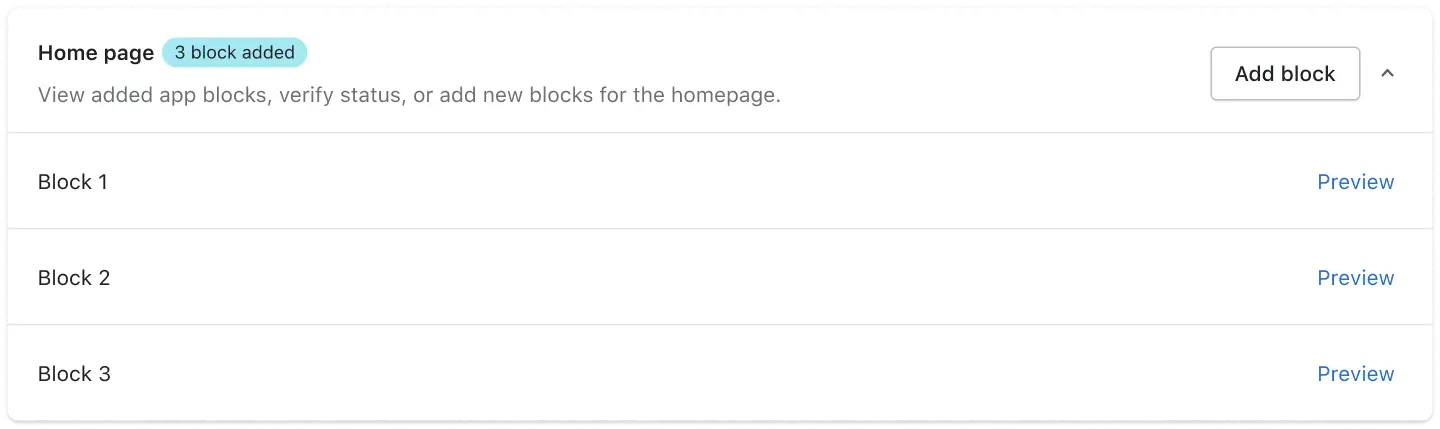
Home page Single page
Your Home page is a single page on your store. As a result, you won’t see any template options here.
You’ll see a list of blocks already added, each with its own Preview link next to it. Click Preview to open that exact block, live on your storefront.
Also, use the Add Block button anytime to add a new block to your Home page.
Product page Template based
Your Product page section lists every product template you have created in Shopify. This includes the Default template and any extra templates you built for specific products.
Each template appears as its own row, with its own block count, and Add Block button.
For example, a template might show 0 block added. This simply means you created the template, but you haven’t added any blocks to it yet.

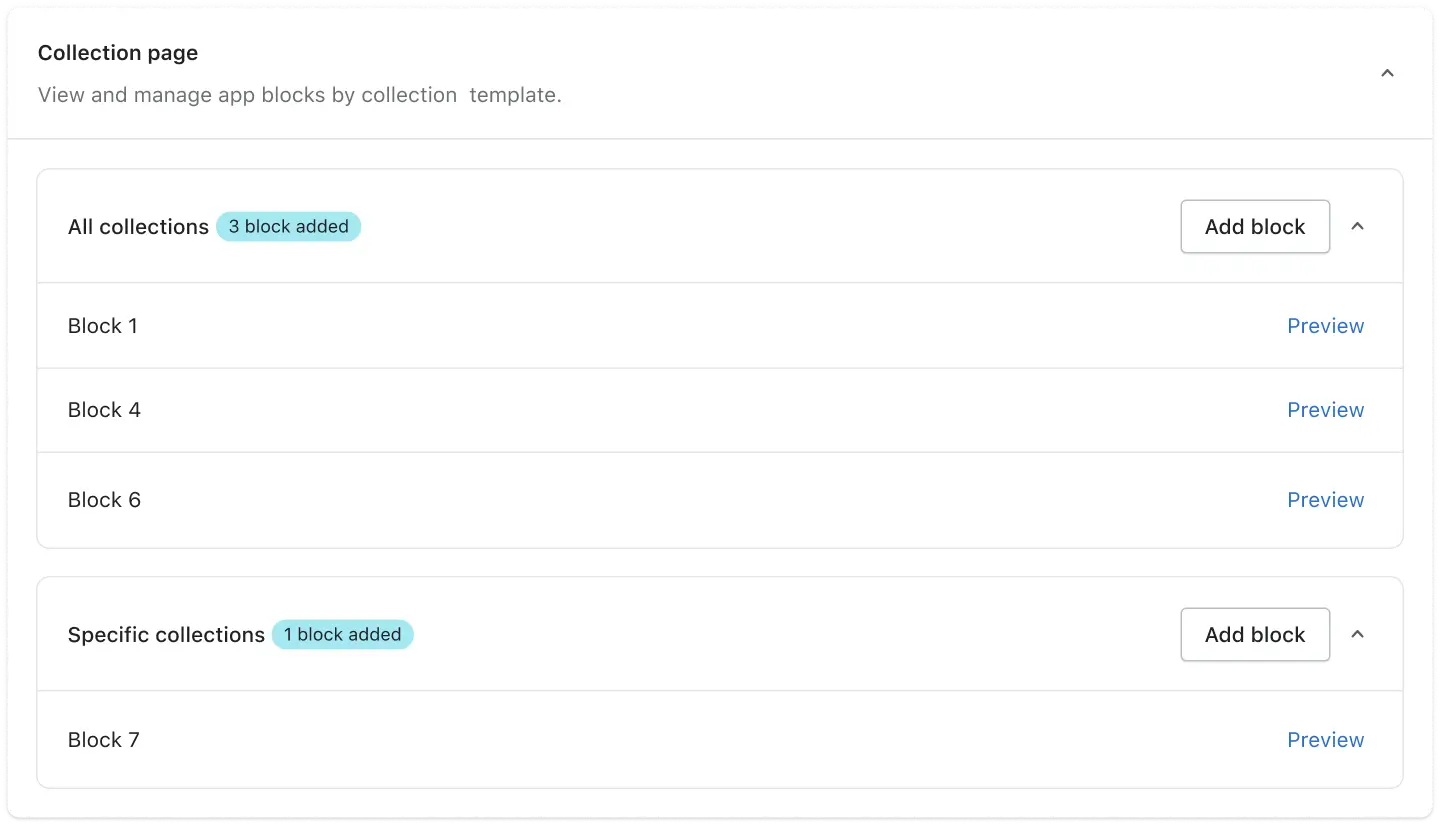
Collection page Template based
The Collection page section works the same way. You’ll see All collections for your general collection template, plus any Specific collections templates you created for individual collections.
Each collection template has its own block list and its own Add Block button.
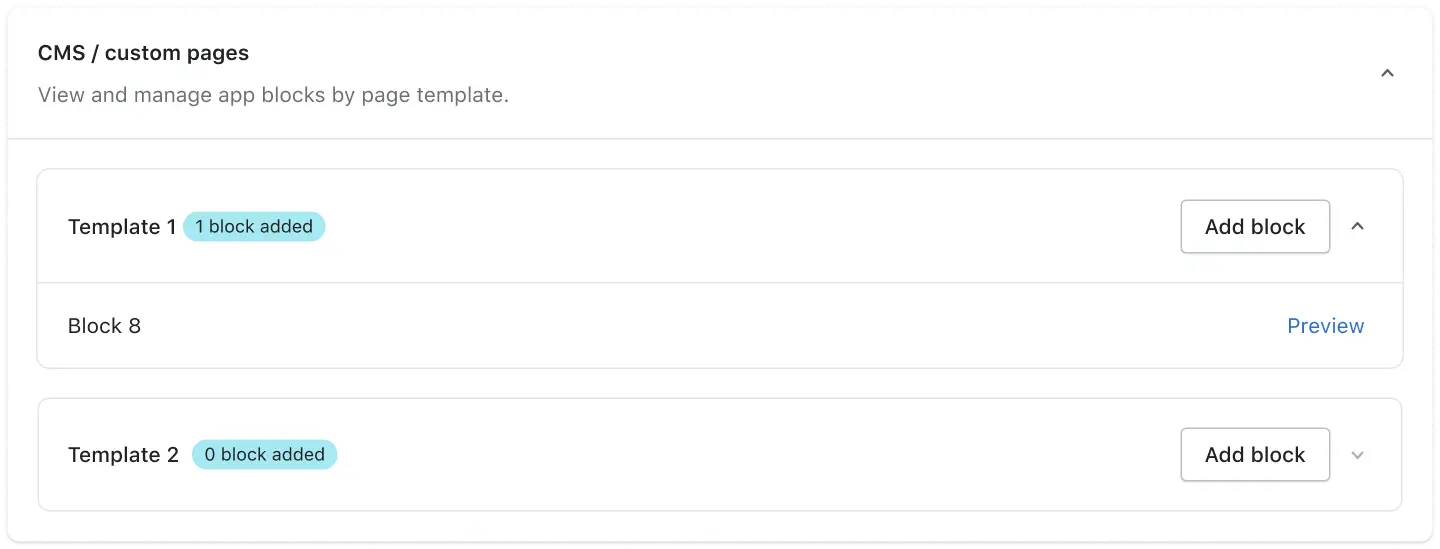
CMS / Custom pages Template based
Custom pages, like your About Us or Contact page, appear under CMS / Custom Pages. Every page template you build in Shopify shows up here as a separate row.
Add blocks to each template the same way. Simply click Add Block next to the template you want to update.
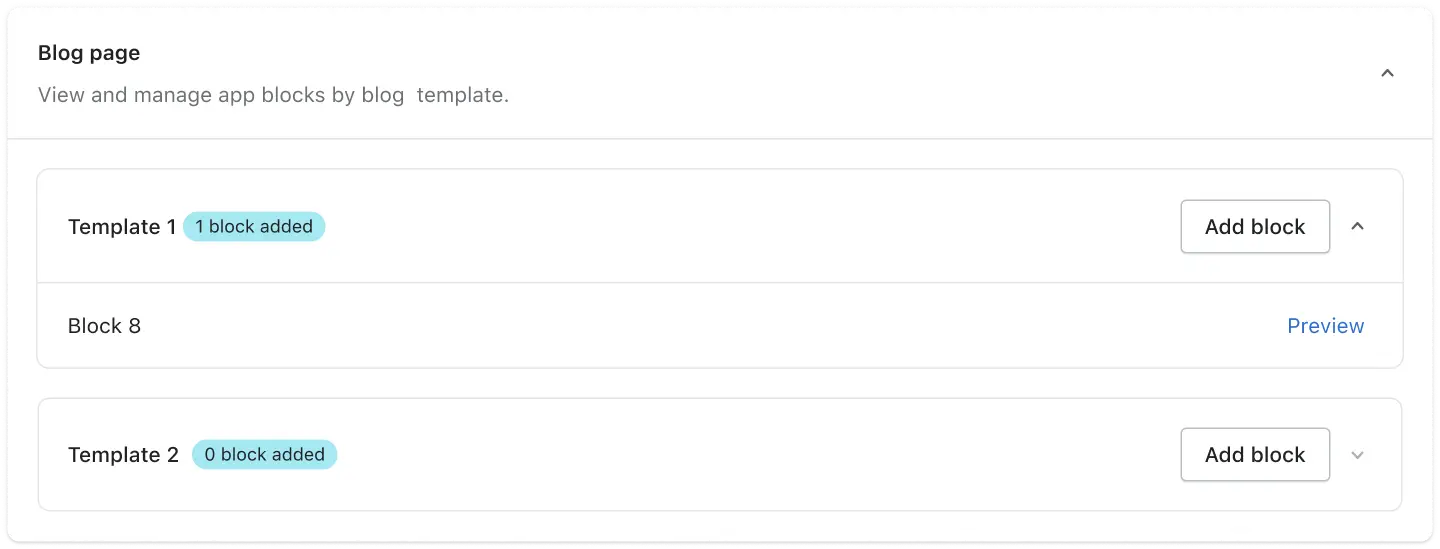
Blog page Template based
Your Blog page templates follow the same pattern. Each blog template you created in Shopify gets its own row, its own block count, and its own Add Block option.
This lets you add different blocks for your main blog page and for individual blog post layouts.
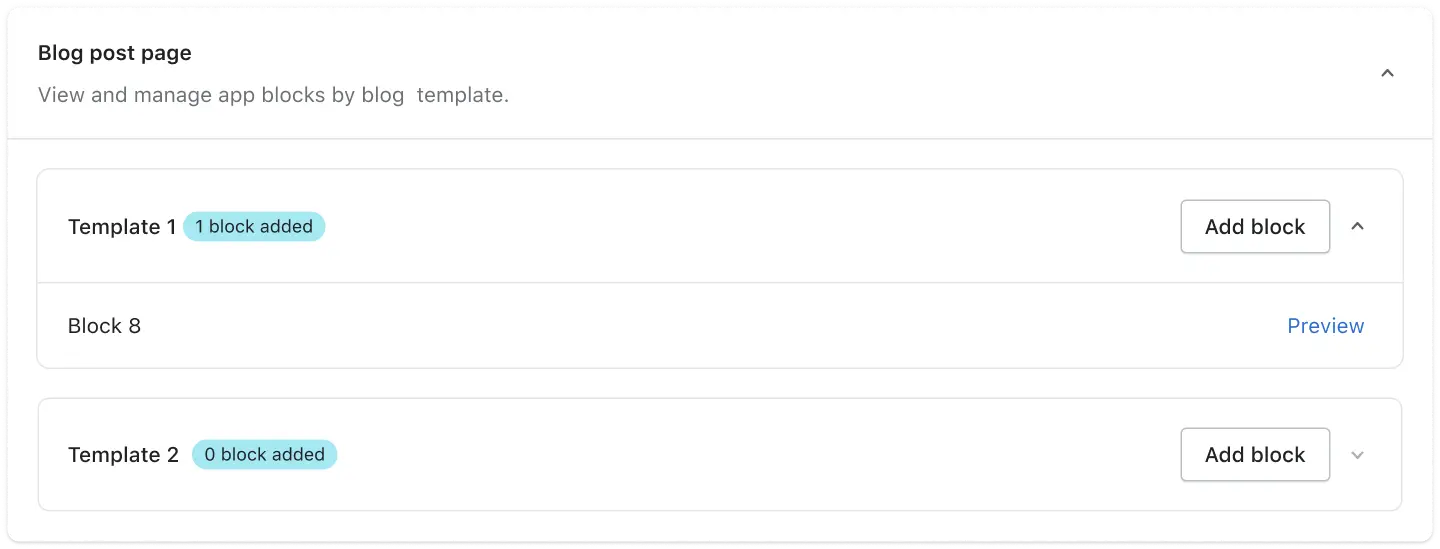
Blog post page Post based
Each blog post page template you created in Shopify gets its own row, its own block count, and its own Add Block option.
This lets you add different blocks for your individual blog post.
Adding a new block
- Find the page type or template you want to update.
- Click Add Block next to that section.
- Shopify redirects you straight to the theme editor for that exact page.
- Add and customize your block, then save it inside the theme editor.
Tip: You never need to search for the right page inside your theme editor. The Add Block button takes you there automatically.
Previewing your blocks
Every block in your list comes with a Preview link. Click Preview next to any block to open that exact block live on your storefront.
This makes it easy to check how a block looks before you share the page with your customers.
Tips & best practices
1. Check your templates first — If you use multiple templates for Products, Collections, CMS pages, or Blog pages, remember each template needs its own blocks added separately.
2. Run verify status often — When you come back to the store front integration page, every section will verify its block automatically.
3. Preview before you publish — Always click Preview first, so you know exactly how a block looks live.