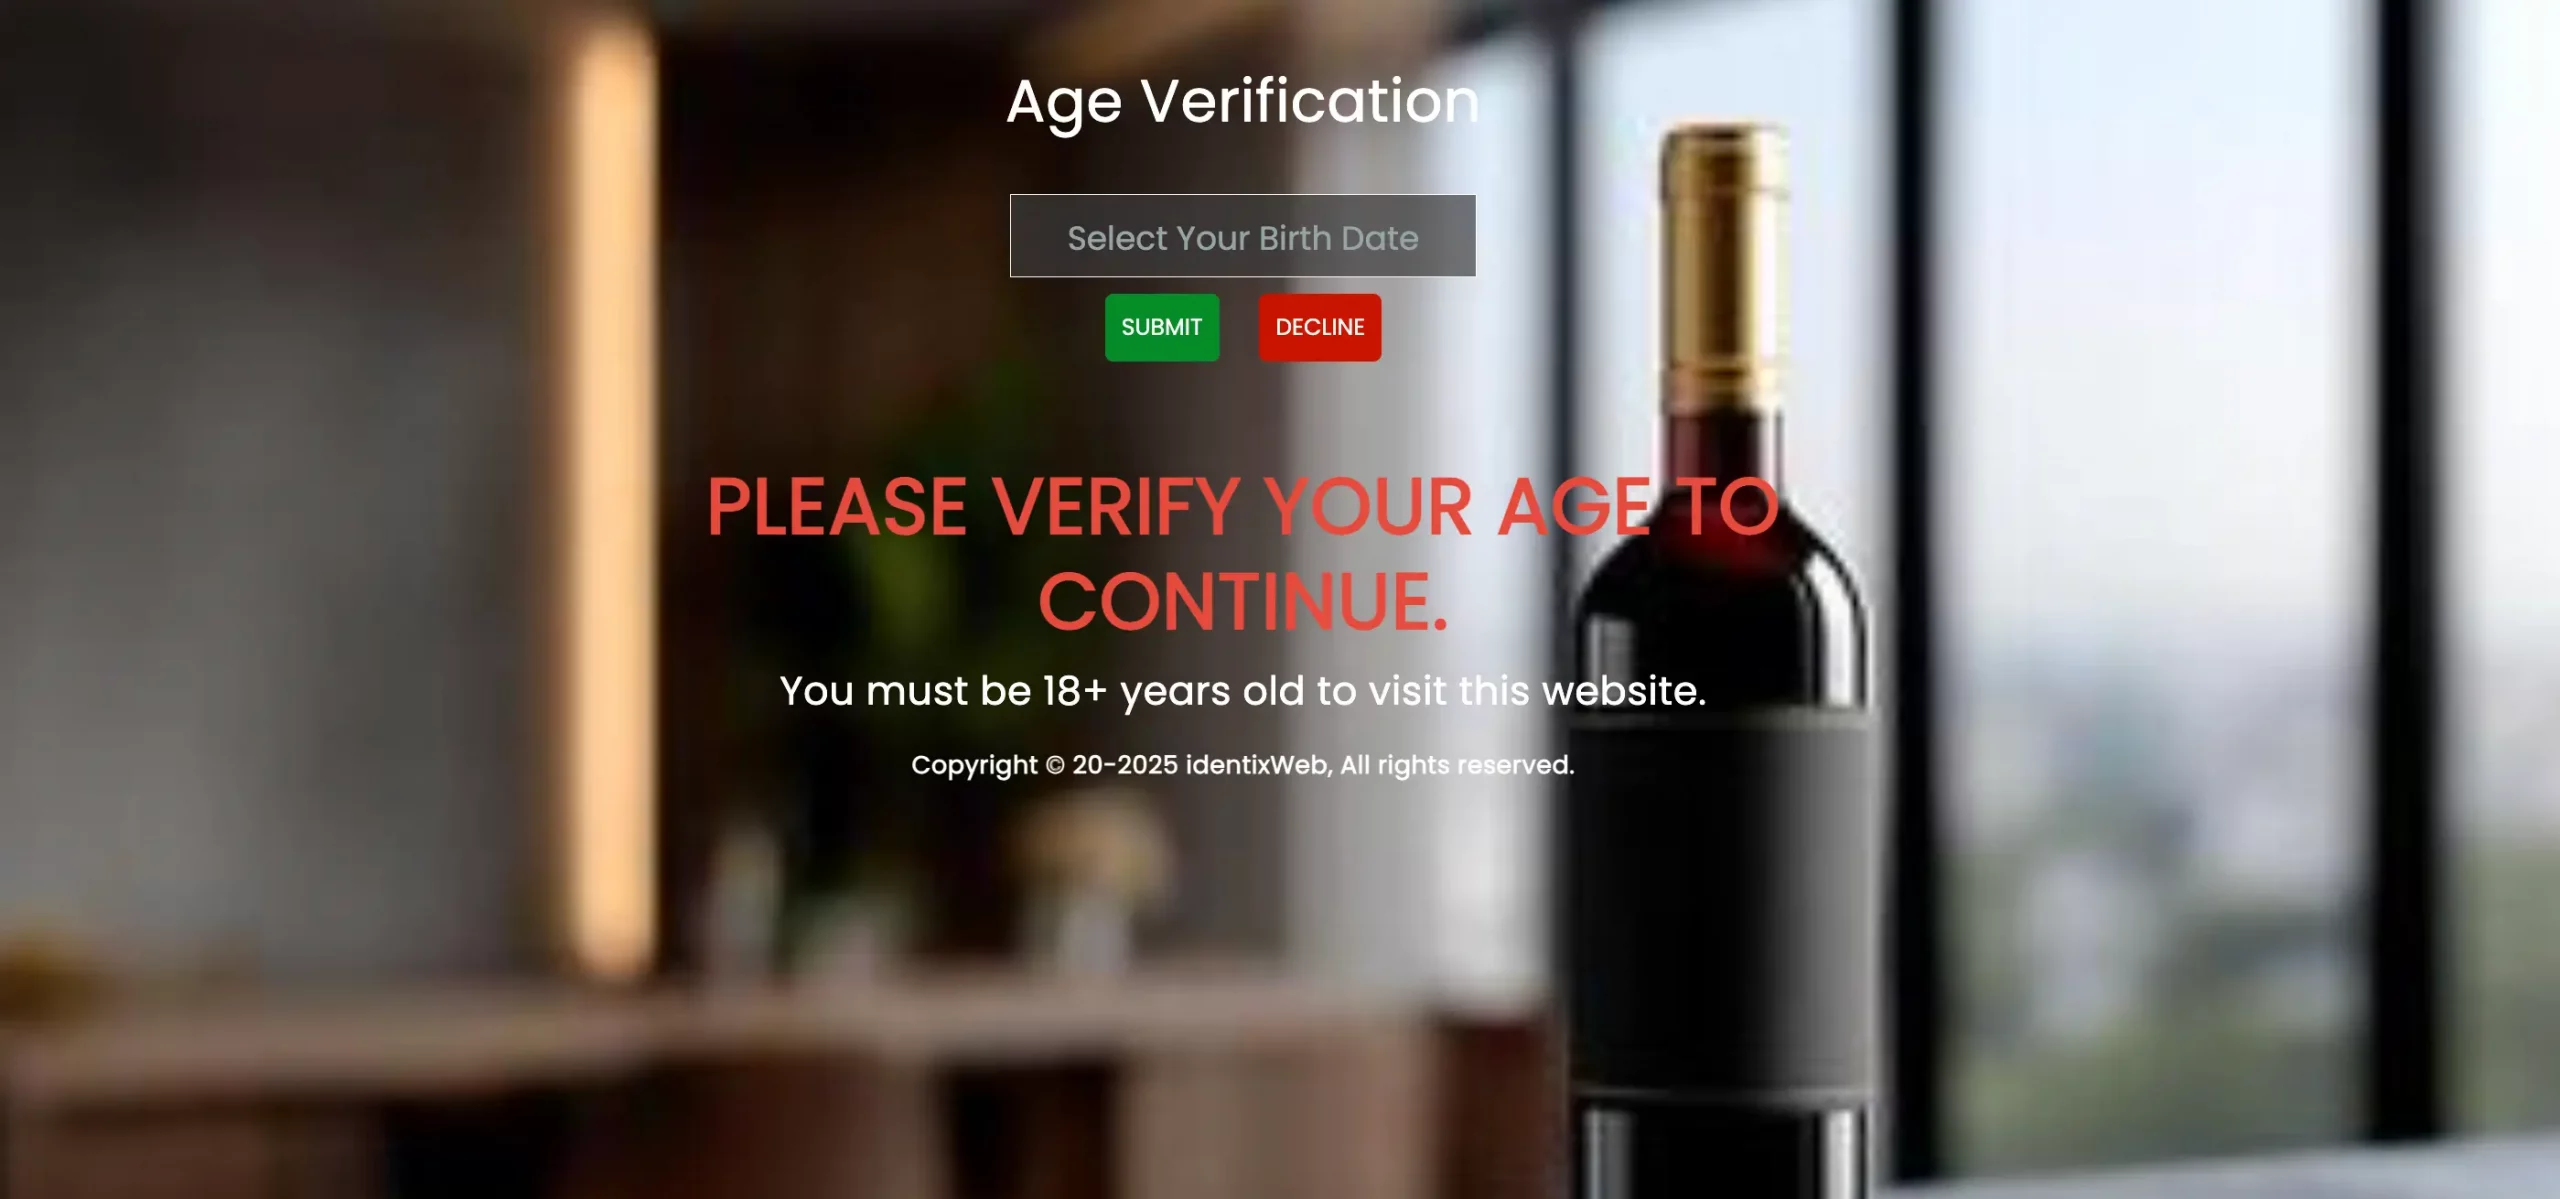
The General Settings section enables you to personalize the Age Verification screen for your store, allowing you to adjust fonts, background colors, and images for both desktop and mobile views. This ensures that your Age Verification experience is consistent and aligns with your brand across different devices. To customize, access your Shopify Admin, open the LaunchX – Coming Soon app, navigate to the Age Verification feature, and click the Customize button.
You can choose between Page View and Popup View for displaying the Age Verification screen, with Popup View requiring manual selection. Customize backgrounds and fonts to match your branding, keeping in mind that Page View is the default setting and adjustments for mobile should be optimized for better visibility and performance.
The General Settings section allows you to customize the look and feel of your Age Verification screen. You can control fonts, background color, and images for both desktop and mobile views, ensuring a consistent and branded experience across devices.
🧭 Steps to Access and Use
1. Go to your Shopify Admin.
2. Open the LaunchX – Coming Soon app.
3. Navigate to the Age Verification feature.
4. Click the Customize button.
5. Open the General Settings section.
6. Make changes as per your design and branding preferences.
7. Click Save to apply your changes.
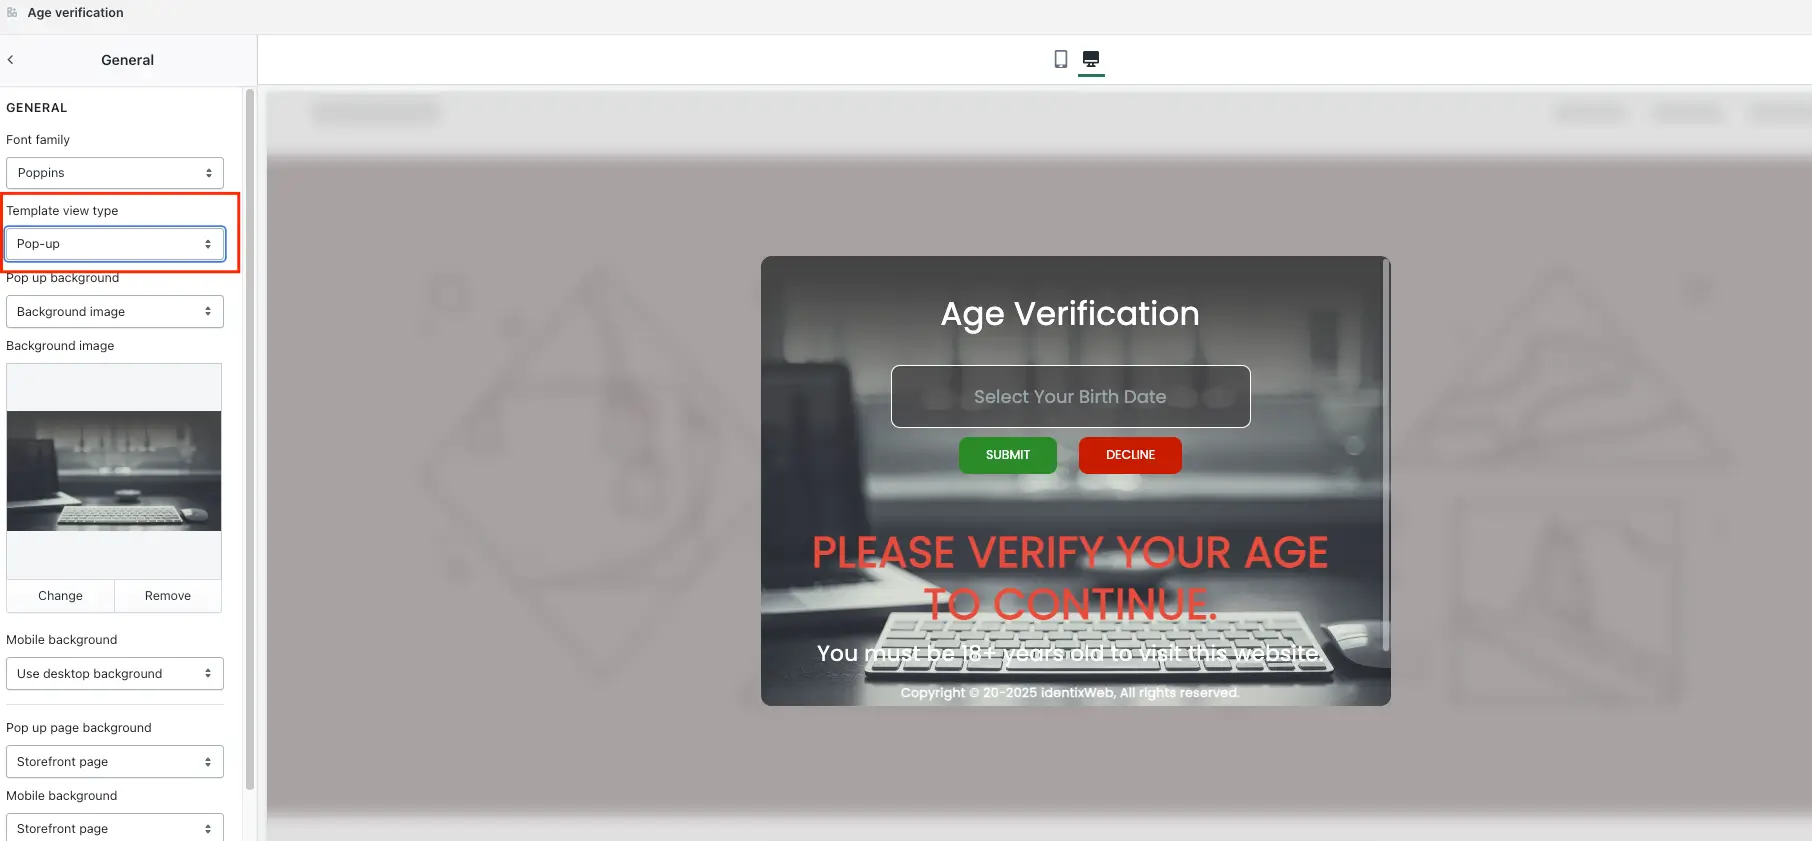
Age Verification is display in full Page and Popup View. With Popup View option, you can display the age verification message in a popup directly on your storefront while keeping customers on the same page.
Template view type
Page View – Displays the Age Verification screen as a dedicated page. This is the existing behavior and remains selected by default.
Popup View – Displays the Age Verification screen as a popup overlay on your storefront. You can choose to display the popup on specific pages using the Template Visibility option under Settings.
Note: Page View is selected by default. If you want the Age Verification screen to appear as a popup, you need to manually select Popup View from the Template View Type option.
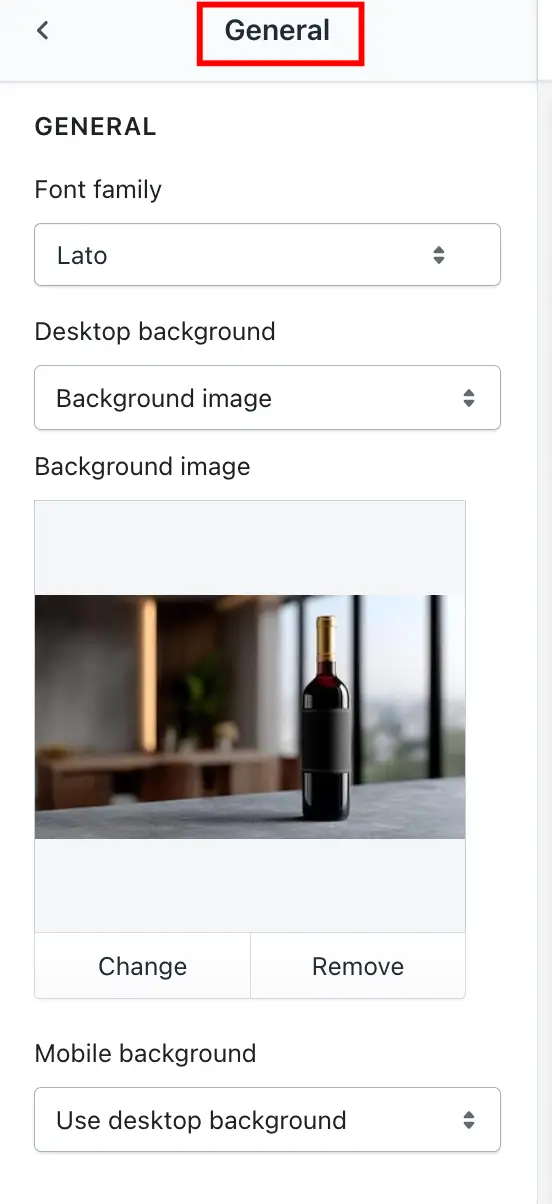
🅰️ Font Family
- What it does: Sets the font style used on the Age Verification popup/page.
- How to use: Select a font from the dropdown list.
- Why it matters: Helps match your brand’s typography and improve readability.
- Example: Choose “Roboto” for a modern look, or “Georgia” for a classic feel
💻 Desktop Background
Customize the background for desktop users.
🔹 Background Color
- Choose a solid color using a color picker or hex code.
- Sets the backdrop behind your age verification form.
- Tip: Use your brand’s primary or neutral tones.
🔹 Background Image
- Upload an image that will appear as the desktop background.
- Recommended format: JPG or PNG.
- Choose high-quality images that align with your brand or theme.
📱 Mobile Background
Customize how the age verification screen appears on mobile devices.
🔘 Use Desktop Background
A toggle to reuse the desktop background on mobile devices.
Saves time and ensures consistency if separate mobile styling isn’t required.
🔹 Background Color
Set a different background color for mobile view.
Ideal when you want a cleaner or more mobile-friendly appearance.
🔹 Background Image
Upload an image specifically optimized for mobile (preferably vertically aligned).
Popup Page Background
The Popup Page Background option is available only when using the Popup View template. It allows you to customize the background of the popup that appears on your store.
Background Color: Select the background color you want to display behind the Age Verification popup.
Storefront: The purpose of this option is to display the original page content with a blurred effect in the background behind the popup.
This option helps you customize the popup’s appearance to match your store’s branding and design.
Improves layout and loading performance on smaller screens.
➞ Setting
➞ Result