In an e-commerce platform, size charts are essential to help customers choose the right fit for clothing, footwear, and accessories. Different types of size charts may be used depending on the product category, region, and brand.
Access the size chart
- Log in to your Shopify admin account.
- From the left-hand menu, click on Apps.
- Select TablePress from the list of installed apps.
- You will be redirected to the Dashboard page.
Once you reach the TablePress dashboard (after accessing the size chart section), you’ll see a list of all your existing tables and size charts. If you’ve already created any data tables or size charts earlier, they will appear here on the dashboard.

Create size chart
To create a new data table or size chart, simply click the “Add Table” button located at the top right corner of the page.
Now, let’s walk you through the step-by-step process of creating a size chart—so you can easily set up your first one with confidence.
- Log in to your Shopify admin account.
- From the left-hand menu, click on Apps.
- Select TablePress from the list of installed apps.
- You will be redirected to the Dashboard page.
- Click on “Add table” button to create size chart
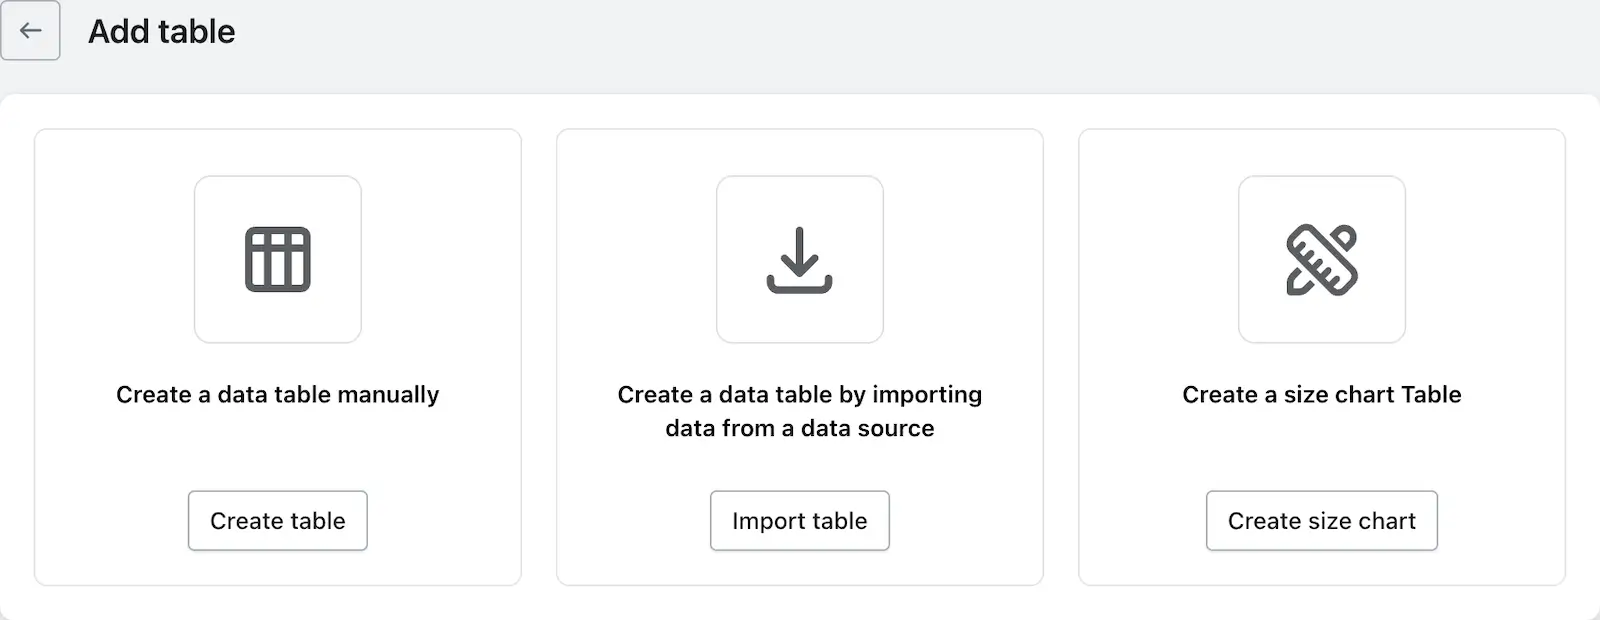
- On the next page, you’ll see options like Create table, Import table, and Create size chart. Click on Create size chart.
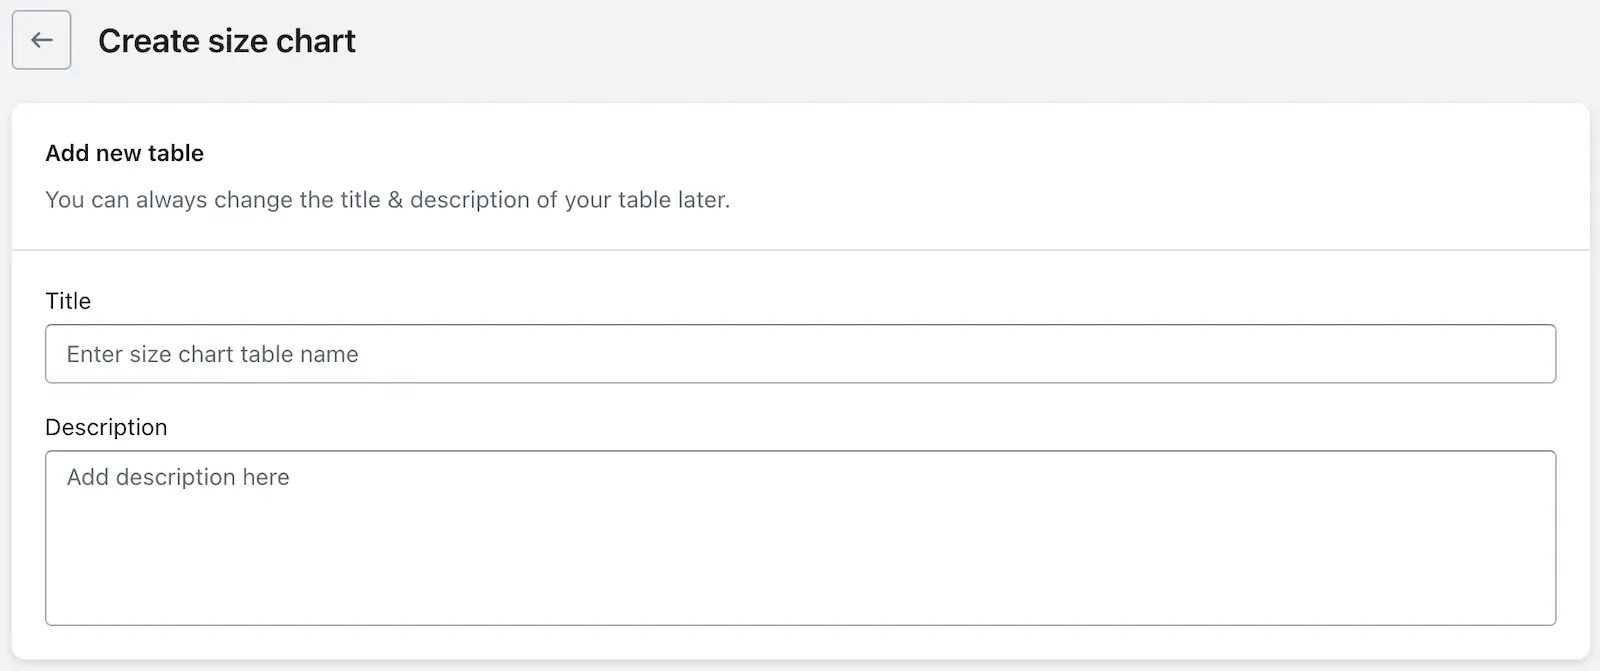
- Now, give your size chart a name and description, choose a template you like, and you’re ready to create your size chart.
That’s it! You’ve successfully created your first size chart. If you need to edit or customize it further, you’ll be redirected to the table customization page to modify as per your need.