

The Discount Widget in SellMore is designed to help you convert one-time buyers into repeat customers by displaying a discount code immediately after checkout on the Thank You and Order Status pages. This feature allows customers to easily copy the code or receive it via email, encouraging them to make another purchase. To set up the widget, you need to configure settings such as the widget title, discount code, and button actions.
You can customize the message, choose where the widget appears, and decide whether to include an email option for customers. It's important to ensure the visibility toggles are enabled and that the discount code is already created in Shopify, as the widget does not generate new codes. Testing different setups can help you find the most effective approach for your store.
In this guide, you will learn how to set up the Discount Widget and use it to boost repeat sales.
How This Feature Works
Once a customer completes an order, the Discount Widget appears on the Thank You page and the Order Status page. This puts your next offer right in front of them at the perfect moment.
- Instant code — Customers see a discount code as soon as checkout finishes
- One-click copy — They can copy the code without typing it out
- Smart redirect — You can send them straight back to your store
- Email backup — Optionally, customers can receive the code by email too
Widget Setup
Widget Basics Text
Widget Heading Admin Only
This name is only for you. It helps you identify the widget inside your admin panel. Customers never see it.
Widget Title Text
This is the main message your customers see inside the widget. Keep it short and clear. For example, try “Get 10% Off on Your Next Order.”
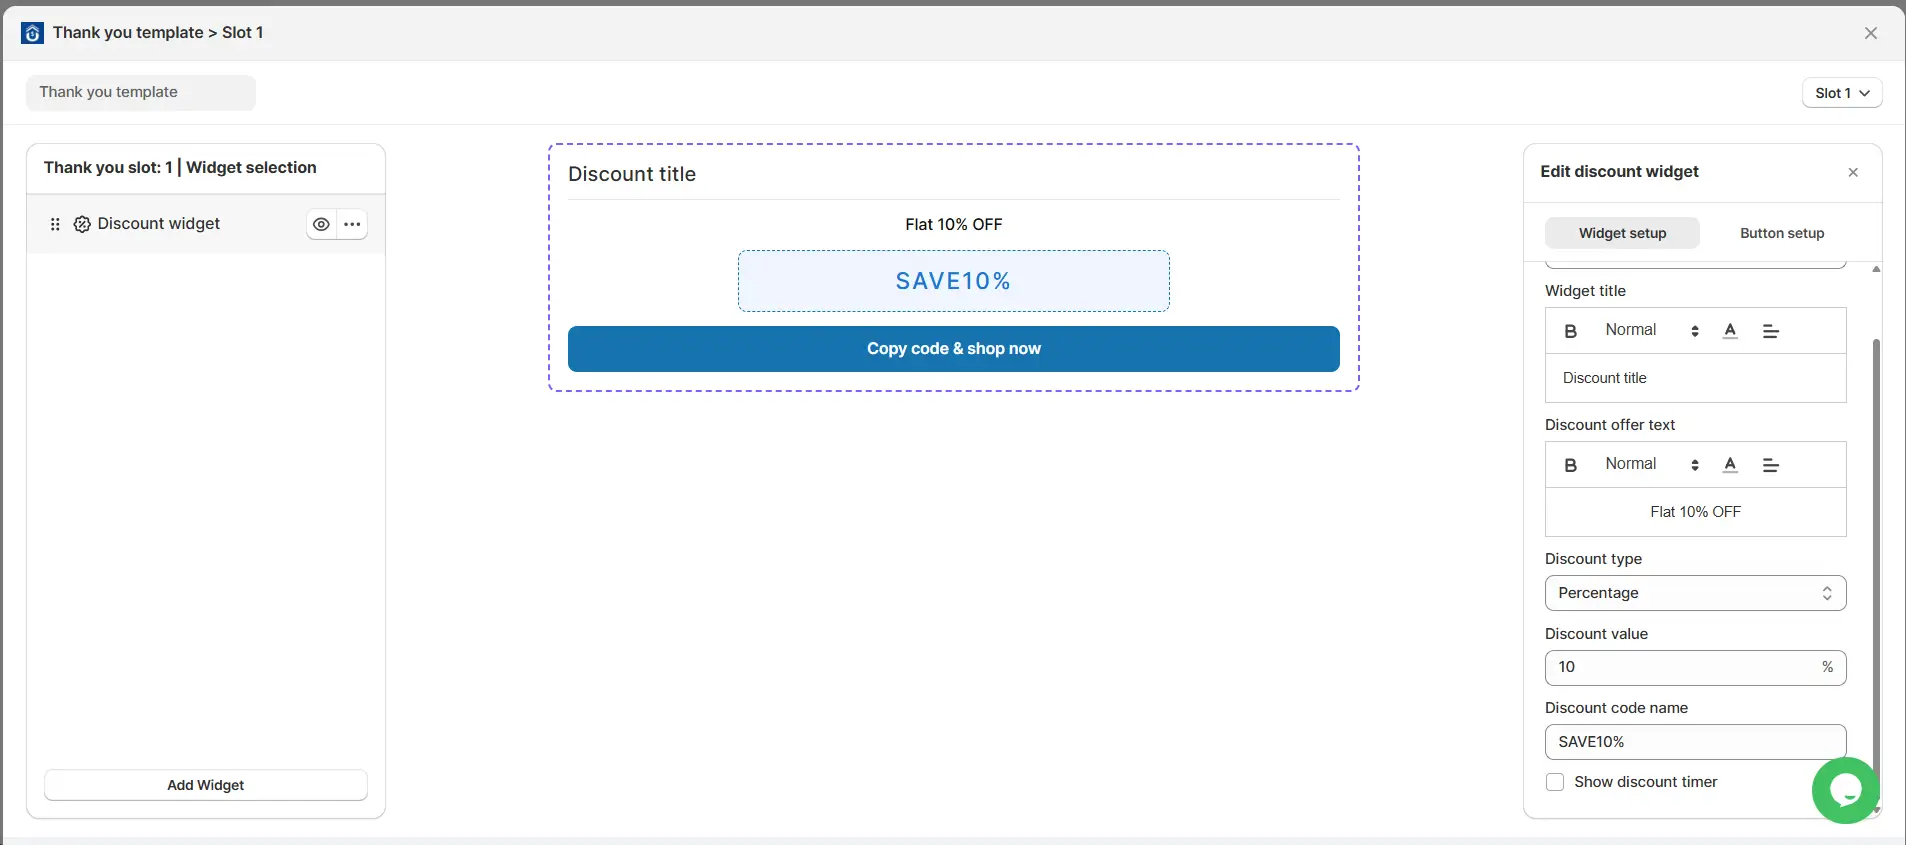
Discount Configuration
Discount Code Required
Discount Code Text
Enter the code you want to offer. Customers can apply this code on their next order.
Copy Code Field Toggle
This shows the code with a one-click copy button. As a result, customers do not need to type or remember it.
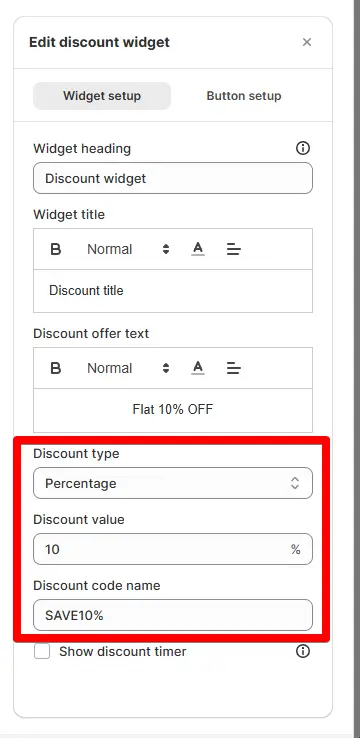
Button Settings
Action Button All Types
Button Text Text
Customize the label on your button to match your store’s voice. For example: “Shop Now,” “Use Code,” or “Grab Offer.”
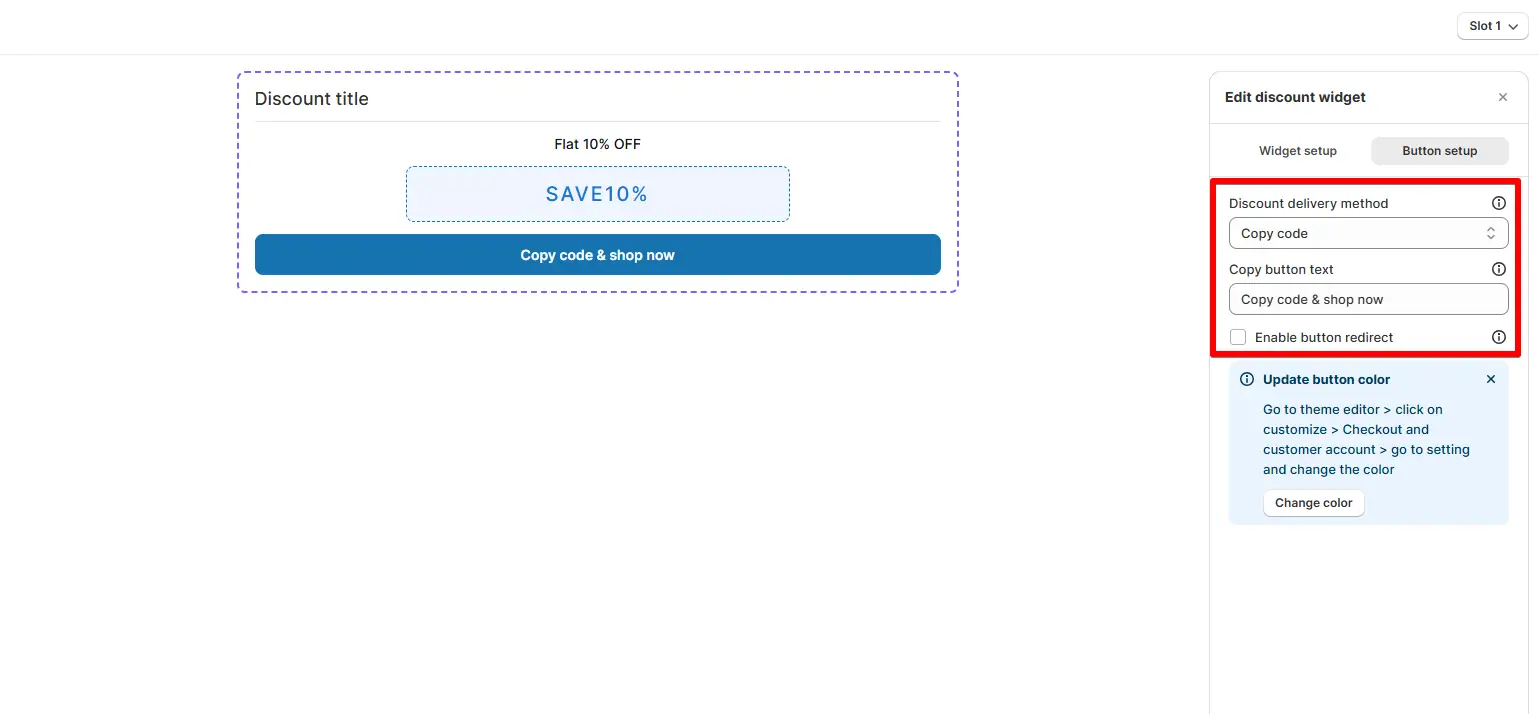
Redirect URL Optional
Add a link to send customers to after they click the button. You can point them to a product page, a collection, or your homepage.
Button Action Behavior Auto
When a customer clicks the button, two things happen automatically:
- The discount code copies to their clipboard
- The customer is redirected to your chosen URL, if you added one
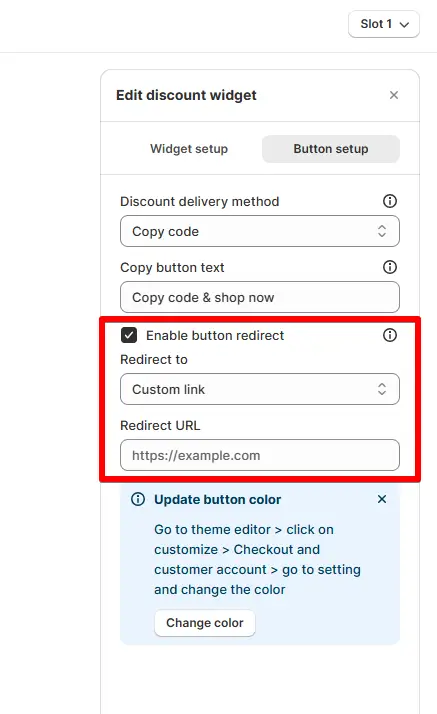
Email Option
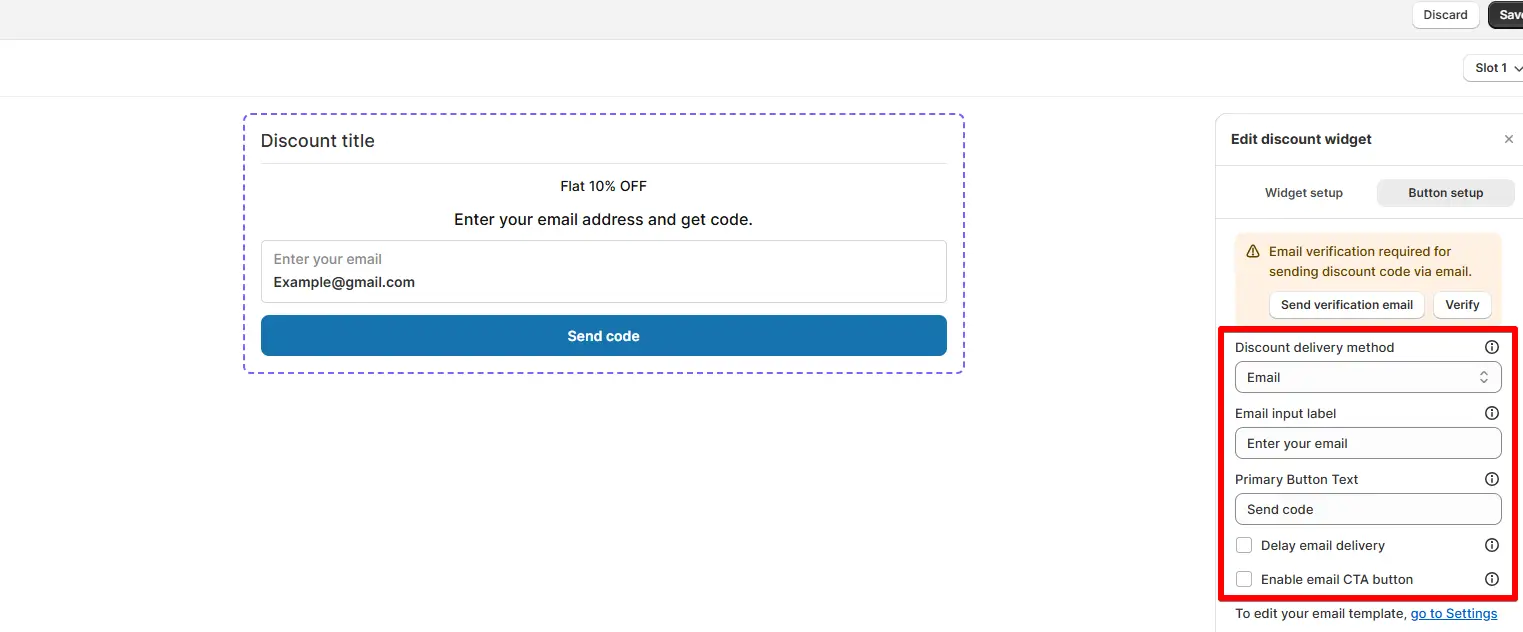
Send Code via Email Toggle
Send Code via Email Toggle
Turn this on to let customers receive the discount code by email. This gives them a backup if they miss the code on screen.
Email Input Placeholder Text
This is the placeholder text shown inside the email field. Customers type their email here to get the code sent to them.
Send Delay Minutes/Hours
Set a delay before the email goes out. This is useful because it lets you re-engage customers a little later, instead of only right after checkout.
Display Settings
Widget Placement All Types
Widget Placement Toggle
Choose where your widget appears:
- Thank You Page — shown right after checkout
- Order Status Page — shown whenever customers check their order
This way, customers see your offer at the exact moment they finish buying.
Design Options
Visibility Toggles All Types
Show Copy Code Toggle
Turn this on or off to show or hide the discount code section.
Show Button Toggle
Turn this on or off to show or hide the action button.
Show Email Field Toggle
Turn this on or off to show or hide the email input option.
Additional Options
- Visibility Toggle (👁 Icon) — Show or hide the widget
- Analytics — Track views, clicks, and conversions
- Duplicate Widget — Create a copy with the same settings
- Delete Widget — Remove the widget permanently
Common Use Cases
Reward Repeat Buyers
Offer a 10–20% discount to bring customers back for another order.
Guide Traffic
Redirect customers to a specific collection or product after checkout.
Grow Your List
Collect emails at checkout for future marketing campaigns.
Re-engage Later
Use a delayed email to remind customers about their discount.
Tips & Best Practices
2. Use a strong call to action — Buttons like “Shop Now” perform better than vague ones.
3. Offer a meaningful discount — Aim for 10–20% so customers feel it is worth using.
4. Guide with redirect links — Send customers to the page you most want them to see.
5. Test different setups — Try a few versions to see what brings customers back most often.


