

iDentixweb
Gather knowledge about the latest insights, updates, tips, and tricks in the Ecommerce industry.
5 Min • 29 April 2026
How Anua Unlocked 5X AOV Growth with iCart’s Smart Cart Features
delivery customization Challenges Solutions drive results Scale business delivery customization Challenges Solutions drive results Scale business delivery customization Challenges Solutions drive results Scale business delivery customization Challenges Solutions drive results Scale business Anua is a globally recognized Korean skincare brand known for its minimalist philosophy and focus on gentle yet effective formulations. Built on the idea of simplifying skincare routines, Anua develops products that deliver visible results while avoiding harsh or irritating components, making them suitable for sensitive skin types. Initially using a traditional full cart experience, Anua transitioned to iCart’s side cart solution in August 2025, to create a more seamless and engaging shopping journey. This shift allowed customers to easily explore complementary skincare products without disrupting their browsing flow, making it more intuitive to discover items that fit into a complete routine. By surfacing relevant recommendations directly within the cart, the brand enhanced product visibility across its range. Challenges Before implementing iCart’s side cart solution, Anua faced limitations with their existing full cart experience, which created friction in the customer journey. The traditional cart setup redirected users away from product pages, interrupting their browsing flow and reducing opportunities to explore additional products. As a skincare brand built around routines rather than single-item purchases, this made it difficult to effectively showcase complementary products and encourage customers to build complete regimens. Additionally, the lack of in-cart personalization and strategic upsell opportunities meant that customers were often unaware of related products that could enhance their skincare results. This limited the brand’s ability to increase average order value (AOV) and fully leverage its diverse product range. Anua needed a more dynamic and intuitive cart experience that could seamlessly introduce relevant recommendations while maintaining a smooth and engaging shopping journey. ❌ Cart Value Barriers Low average order value (AOV) due to single-item focus Most customers completed purchases with one primary product instead of building multi-step routines. Cart abandonment near shipping thresholds Customers were not clearly informed or motivated to reach free shipping or discount thresholds. Missed savings opportunities Customers were unaware of potential value in purchasing bundled routines or multiple complementary products. ❌ Absence of Progress-Based Incentives No free shipping or discount progress bar Customers were not motivated to increase their cart value due to lack of visible incentives. Missing tiered rewards system There were no structured milestones (e.g., “Spend more to unlock offers”), reducing upsell opportunities. ❌ Ineffective Cart UI/UX (Pre-Side Cart) Full-page cart disrupted shopping flowCustomers had to leave their browsing journey, increasing friction and drop-offs. No quick add/remove functionality Users couldn’t easily modify their cart or add suggested products without navigating away. Solution To overcome these challenges, Anua implemented iCart’s side cart solution to transform their traditional cart into a high-converting, interactive experience. By replacing the full-page cart with a seamless side cart, the brand ensured that customers could continue browsing while viewing their cart, significantly reducing friction in the shopping journey. Additionally, features like product recommendations & progress bars for free shipping and discounts motivated customers to increase their cart value. By combining personalization, incentive-driven messaging, and a user-friendly interface, Anua successfully turned their cart into a powerful revenue-driving touchpoint rather than just a checkout step. To maximize their cart effectiveness, they implemented two powerful features: ✅ Progress Bar with Multi-Reward Incentives Implemented a tiered progress bar to encourage higher cart value Customers are guided with a clear message like “Add $3.10 to unlock secret offer,” motivating them to continue adding products. Generated over $5M+ in revenue through incentive-driven cart progression Used product-based rewards to align with customer intent Instead of generic discounts, Anua incentivized purchases with relevant skincare items like Dark Spot Pads and mini serums. Built visual motivation for routine expansion As customers add products, they can clearly track progress toward unlocking multiple rewards, encouraging them to build a complete skincare routine. ✅ Product Recommendations Implemented “Frequently Bought Together” recommendations Customers adding a single product (e.g., toner) are shown complementary items like serums, moisturizers, or pads to complete their routine. Generated over 275K revenue through in-cart recommendations Encouraged full skincare regimen building Instead of isolated purchases, the cart suggests step-by-step product combinations aligned with common skincare routines. Increased product discovery at the final stage By surfacing relevant items directly in the cart, Anua ensured customers explore more of their catalog without leaving the checkout flow. Results Achieved in Last 180 Days 22932 Total Store Orders 45101 Total iCart Orders 5X iCart Generated AOV 65.70% Upsell Affected Conversion Rate These improvements reflect a clear shift in customer behavior on Anua’s store. Cart abandonment reduced as shoppers discovered complementary skincare products and felt encouraged to build complete routines. Engagement also increased, with customers interacting more with in-cart recommendations and exploring relevant product pairings. Results & Impact And...Results is Our Main Clarification By implementing iCart’s cart drawer, product recommendations, and progress bar, Anua transformed its cart into a high-performing conversion touchpoint. Shopping Experience Enhancement The improved cart experience encouraged customers to discover complementary products and understand the value of sustainable beauty routines. For instance, the clear presentation of subscription savings alongside one-time purchase options helped customers make more informed decisions about their long-term hair care needs. As Anua continues to optimize its cart experience, the brand is closely monitoring: Routine-based purchasing behavior - tracking how customers move from single items to multi-step regimens Engagement with in-cart recommendations - measuring interaction with suggested products Cart value progression - analyzing how incentives influence higher spending [related_cases_slider] Ready to Write Your Success Story? Try icart App Join successful businesses like Anua and Master your delivery scheduling Delight customers with precise timing Grow your special occasion orders Expand your delivery reach
Read Blog
7 Min • 10 February 2026
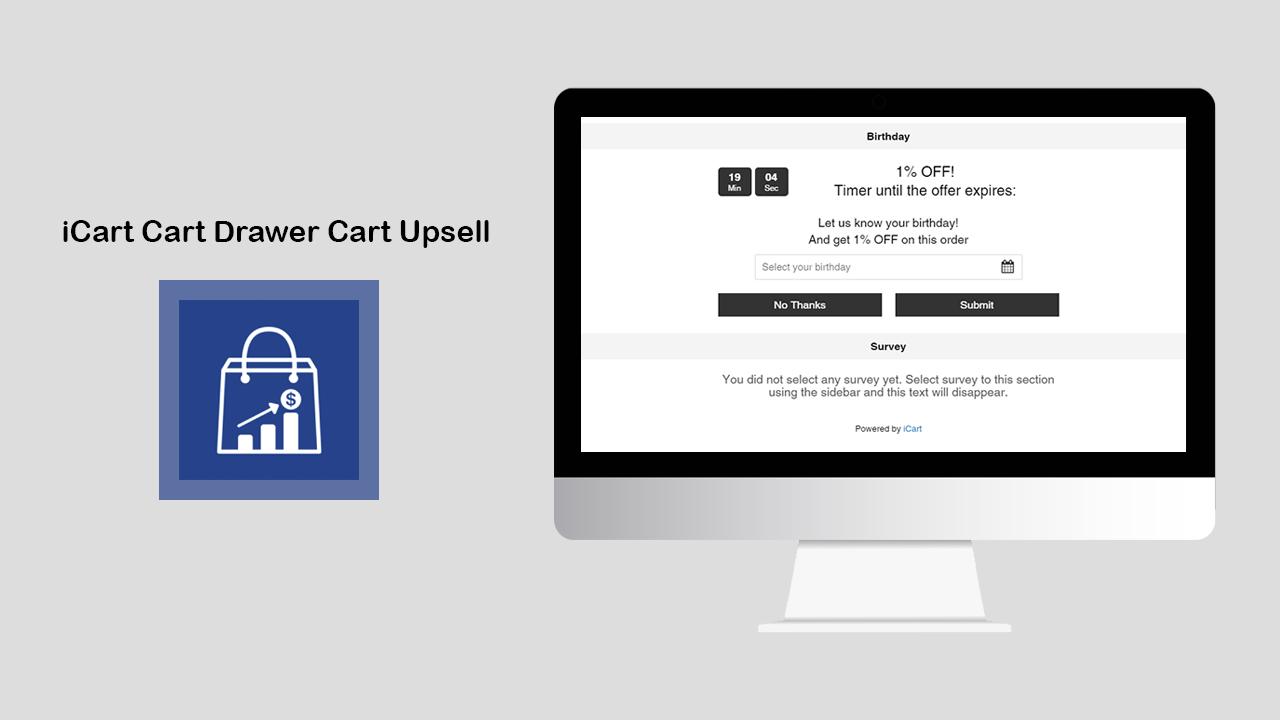
How Birthday and Survey Widget of iCart Works on the Full Cart
iCart has made it simpler to collect the birthdays of your customers and collect feedback with its birthday collector and survey widget. The birthday collector widget will help you to collect the birthdays of your customers and offer them special discounts on their purchases. And the survey widget will help you to collect the experience of customers from your store. Let’s understand both widgets one by one. How to use birthday collector on the full cart? Birthday collector allows you to customize the following options: Widget heading With this option, you can change the heading text of the widget so that you can easily identify your widget from the widget list. Title Under this option, you can show/hide the title, change the heading of the title, change the heading background color, and widget background color. Settings Free text With the help of this option, you can add free text. Date format This option allows you to change the format of the date. Placeholder text Here you can add and edit the text of the placeholder Calendar icon color This option allows you to change the color of the calendar icon. Discount Discount type This option allows you to select the type of discount you want to offer your customers. You can select any of the 3 options from this: free shipping, percentage, fixed amount. Let’s see one by one how all these options work. To know how discounts work read this blog. Time-limited offer If you want to give a specific time for the offer then you can enable/disable it. By enabling it you can set the timer duration for the offer which would be seen by your customers. When timer runout When the timer runs out you can set any of the options i.e hide widget, show message & disable submit button, hide timer, reset timer. Button Under this option, you can add the text for the submit button, change the background color and text color of the submit button. No thanks button text You can change the text of this button and can change the background color and text color of this button. Thank you message Here you can add the thank you message text. Error message This option allows you to add the error message text Rules Rules are used to hide/show the birthday collector widget. This option allows you to change your condition based on different parameters like: Parameter You can show this widget based on different parameters like cart sum, number of items in the cart, a specific item, a specific collection, product tags, and user location. Condition You can set the condition from any of these options: is greater than, is lesser than, equals. Value Here you can enter the value that your customer’s cart must contain.Now let’s jump into an example to understand how these conditions work. This Rules option provides you 2 conditions i.e AND, OR.First we will see how the AND condition works: Suppose parameter > cart sum, condition > is greater than, value > 300. AND Parameter > a specific item, condition > is in the cart, value > shirtSo in this scenario, if both the condition meets the customer’s cart i.e if his cart sum is greater than 300 and one of the items added in his cart is a shirt then the birthday collector widget will be visible to him.Similarly, it works for other parameters too in AND condition.Now let’s see how OR condition works:Suppose parameter > number of items in cart, condition > is greater than, value > 2 OR Parameter > a specific item, condition > is the only item in the cart, value > shirtSo in this scenario, if any of the conditions meet the customer’s cart i.e if the number of items in his cart is greater than 2 or the shirt is the only item his cart contains then the birthday widget will be visible to him.Remember after applying any options, click on the Save button. Delete widget If you want to delete the widget then click on the delete widget button. After adding the birthday widget and customizing it using all these options finally it will look like as shown in the screenshot below: How to create a survey form on the full cart with iCart Cart Drawer Cart Upsell? Log in to your store and go to Settings > Surveys. By clicking on it you can create a survey form. Also, you can export CSV under this option. The survey widget allows you to customize the below options: Widget heading With this option, you can change the heading text of the widget so that you can easily identify your widget from the widget list. Title Under this option, you can show/hide the title, change the heading of the title, change the heading background color, and widget background color. Settings Select survey From this option, you can select the survey form that you have already created. Submit button text Here you can add the text for the submit button, change the background color of the submit button, and the text color of the submit button. Thank you message text Here you can add the message text that you want to display with the widget in the cart drawer. Error message text This option allows you to add the text for the error message. Placeholder text for free text questions Here you can add and edit the text of the placeholder. Placeholder text for dropdown questions Here you can add and edit the text of the placeholder for the dropdown questions. Discount By enabling this option you can give discounts for customers if they fill up the survey form. To know more details about this discount widget read this guide. Time limited offer If you want to offer a specific time for the offer then you can add it by enabling this option. So if the customer fills the form within the timer duration then they will get the discount that you have added. Apart from this you can change the placement of the timer, location of the widget, duration of the timer, color of the timer text, and timer background color. When timer runout When the timer runs out you can set any of the options i.e: hide widget, show message & disable submit button, hide timer, reset timer. Rules Rules are used to hide/show the survey widget. This option allows you to change your condition based on different parameters like: Parameter You can show this widget based on different parameters like cart sum, number of items in the cart, a specific item, a specific collection, product tags, and user location. Condition You can set the condition from any of these options: is greater than, is lesser than, equals. Value Here you can enter the value that your customer’s cart must contain. Now let’s jump into an example to understand how these conditions work. This Rules option provides you 2 conditions i.e AND, OR. First will see how AND condition works: Suppose parameter > cart sum, condition >? Is greater than, value > 300 AND parameter > a specific item, condition > is in the cart, value > shirt. So in this scenario, if both the condition meets the customer’s cart i.e if his cart sum is greater than 300 and one of the items added in his cart is a shirt then the survey widget will be visible to him. Similarly, it works for other parameters too in AND condition. Now let’s see how OR condition works; Suppose parameter > number of items in cart, condition > is greater than, value > 2 OR Parameter > a specific item, condition > is the only item in the cart, value > shirt. So in this scenario, if any of the conditions meet the customer’s cart i.e if the number of items in his cart is greater than 2 or the shirt is the only item his cart contains then the survey widget will be visible to him. Remember after applying any options click on the Save button. Delete widget If you want to delete the widget then click on the delete widget button.
4 Min • 10 February 2026
A Complete Guide on Best Upsell for WooCommerce Plugin
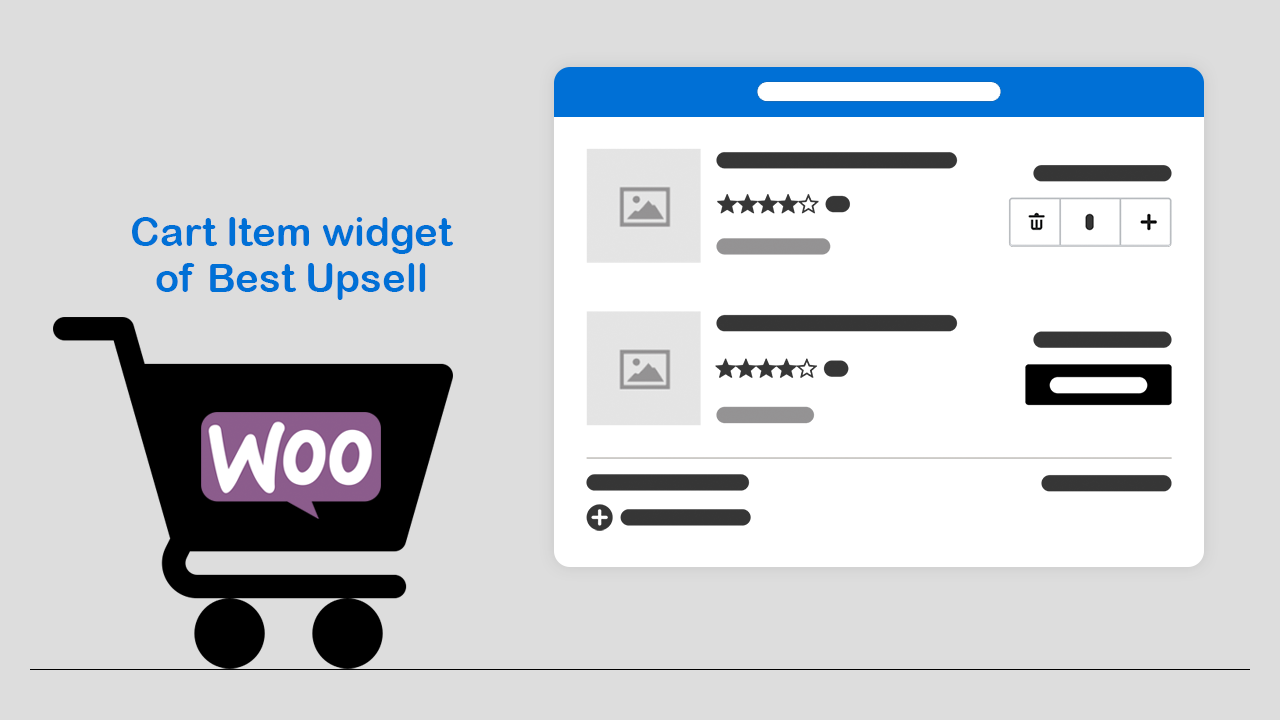
Best Upsell Overview Best Upsell For WooCommerce is an all-in-one plugin for Upselling & Cross-selling. With this WooCommerce upsell plugin, you can easily create bump sales to boost your sales and skyrocket Average Order Value (AOV)! It also offers an unlimited "Free version" for all the WordPress eCommerce merchants to make their online store conversion-ready. Highlighted features Product Upsell Multiple Checkout Buttons Advanced Analytics Ready-made Template Easy Customization Responsive UI Product Exclusion by Tags No Coding Required Built-in Preview Tool Sticky Cart Bubble NOTES You must have an SSL certificate. Pretty permalinks in Settings > Permalinks so that the custom endpoints are supported. Default permalinks will not work. Quick Installation & Set-up Please follow the step-by-step instructions to install the Best Upsell For WooCommerce plugin and make it ready for your WooCommerce store. Installing the plugin in your WooCommerce store Step #1: Go to the plugin tab of your store and search for the "Best Upsell For WooCommerce" plugin. Or directly visit the WordPress plugin page. https://wordpress.org/plugins/best-upsell-for-woocommerce/?campaign=blog&medium=identixweb&source=best-upsell-guide Step #2: Click on the "Install Now" button to add the plugin to your WordPress website. Step #3: Activate the Best Upsell For WooCommerce plugin by clicking on "Activate". Once you activate the plugin you can find the "Best Upsell" tab added in your WordPress navigation sidebar. Setting up the Best Upsell plugin in your store Step #4: After activating the plugin, go to the Best Upsell tab in your sidebar. Step #5: Click on the Start Setup button. Step #6: Next, you need to connect the Best Upsell plugin to your store. For that, log in with your WooCommerce store credentials. Step #7: Now, click on the "Approve" button to give data access permission to the plugin. Step #8: You can now select whether you want to use the pre-define cart drawer template or create a new template for your WordPress eCommerce store. Best Upsell provides an inbuilt side-cart template for the store owners to help them have a conversion-ready store effortlessly. After selecting the "cart upsell" option, click Next. Congratulations! You have successfully finished the Best Upsell plugin installation and setup. Getting familiar with Best Upsell For WooCommerce Plugin Here, you will learn about the dashboard, widgets, and settings of the Best Upsell plugin. Let's start with the plugin dashboard. Dashboard The dashboard of Best Upsell shows the valuable metrics at a single glance that helps you understand how the plugin is performing in your store. (1) Active Template Here, you can see the Side cart template that is currently active in your WooCommerce store. You can start customizing the Best Upsell cart template by clicking on the "Customize" button. You can also preview the template from here! (2) Advanced Analytics Here you can see the most valuable metrics of the plugin as well as your eCommerce stores such as impressions, clicks, click-through rate (CTR), conversions, conversion rate (CVR), orders, and revenue, measure the difference in your Average Order Value (AOV). By default, the dashboard shows data for the last 30 Days. If you want to see data for another date range, you can click on the Last 30 Days button and select a different date range. At the end of the Dashboard page, you can see the analytical metrics for individual widgets of the Best Upsell plugin. Therefore, you not only track the overall performance of the plugin but also check which widget is working better for your WordPress eCommerce website. Widgets Let's see get familiar with the amazing widgets of the Best Upsell for the WooCommerce plugin. (1) Cart Items Using the Cart Items widget, you can add distinct functionalities to customize the default shopping cart. This widget allows you to create multiple product upsells and set different discount offers for each upsell. How to customize the Cart Items widget? (2) Checkout button This widget of the Best Upsell plugin lets you create multiple ‘Checkout’ buttons to provide a super easy buying process. With the Checkout button widget, you can add multiple upsells just above the Checkout button. Therefore, you can remind your customers to get some add-ons with their purchase when they’re about to checkout. How to customize the Checkout button widget? Settings You can easily access the settings of the Best Upsell plugin by clicking on the "Settings" button on the Dashboard. In case you want to temporarily hide or remove the Best Upsell plugin from your WoocCommerce store, you can click on the Disable Bestupsell button.
7 Min • 10 February 2026
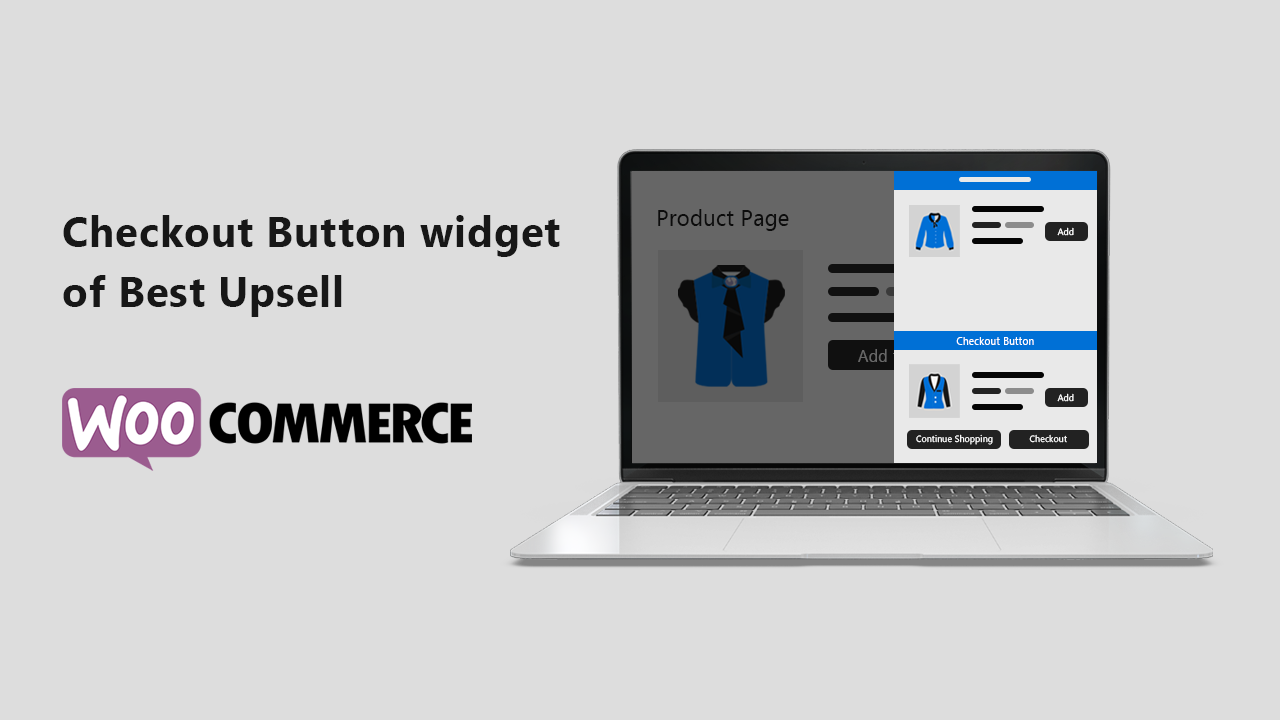
Customizing the Checkout Button Widget of Best Upsell for WooCommerce
Best Upsell For WooCommerce is an all-in-one plugin for Upselling & Cross-selling. With this WooCommerce upsell plugin, you can easily create bump sales to boost your sales and skyrocket Average Order Value (AOV)! This WooCommerce upsell plugin provides a Checkout Button widget, that helps you to provide a super easy buying process to your customers. Haven't installed this WooCommerce upsell plugin yet? Check out how to install the Best Upsell plugin in the WordPress eCommerce store? Customizing the Checkout Button Widget of Best Upsell Let's get familiar with the Checkout button widget and learn how to customize the shopping cart with this Best Upsell widget. Widget heading The widget heading allows you to change the default widget name. This will help you easily identify them in case you have added multiple checkout button widgets in the Best Upsell plugin. Title The title settings allow you to customize the widget title in your shopping cart. You can show/hide the title using the Show widget title option. The heading option helps you with the title formatting. Also, consider changing the header and background color to match your store theme. Continue Shopping The Continue Shopping button allows your customers to go back to the page they visited just before the shopping cart. Let's see how to customize the "Continue Shopping" button for your store's shopping cart. Show Continue Shopping - By selecting the checkbox you can make the "Continue Shopping" button visible to your customers in their shopping cart. Button Text - Enter the text you want to show on the "Continue Shopping" button. You can also change the text and background color of the button using the color palettes. Continue Shopping Button Alignment - Choose where you want to show the "Continue Shopping" button from the options: Top, Bottom, Left, Right of the "Checkout" button. Add link to continue shopping action - If you want to redirect your customers to a specific page when they click the "Continue Shopping" button, then you can enable it from here. Custom Link - Only visible when you've enabled the Add link to continue shopping action option. Add the page link here where you wish to take your customers by clicking "Continue Shopping". Settings Here you can customize the "Checkout" button in the shopping cart. Button Text - Enter the text you want to show on the "Checkout" button. Using the "[cart-subtotal]" shortcode, you can show the total cart amount on the button. You can also change the text and background color of the button using the color palettes. Make checkout button sticky - Choose "Top" or "Bottom" if you want to keep the checkout button sticky at the top or bottom of the shopping cart respectively. By selecting "None", you can make it flexible to move anywhere in the cart. Image Layout - Allows you to change the product image layout (in the upsell) to either square or circle. Other Upsell Here you can see how many upsell offers are added to the checkout button widget. By simple drag and drop, you can reorder the upsell tabs and the checkout button. This section of the widget allows you to create product upsells within the checkout button widget. Creating Product Upsell in the Checkout Button Widget Let's learn how to create product upsells in the checkout button widget of the Best Upsell plugin. Simply click on the Add Upsell button and start product setup for your upsell. Product to Display This option lets you choose the product you want to upsell by the Checkout button. Pick any method from the given options for product selection: (1) WooCommerce Recommendation - Product will be automatically selected for upselling by WooCommerce based on its recommendation algorithm. You can also exclude some products by checking the Exclusion tags checkbox and defining the tags you want to avoid. (2) Cheapest product in the cart - The product in the cart item with the lowest selling price will be displayed in the product upsell. To avoid the product tagged with the exclusion tags, you can hide the product by selecting the Hide featured product option else display another product by the “Display alternative product” option. If you select the Display alternate product option then you need to choose a product manually by clicking on the Select product button. (3) Most expensive product in the cart - The product in the cart item with the highest selling price will be displayed in the product upsell. (4) Specific product - If you want to show a specific product in the product upsells, then you can select this option. Next, you need to choose the featured product manually by clicking on the Select product button. There comes an option to select what will happen if the product is already available in the cart. You can select the: Display selected product anyway option to allow repeated products in the cart. Hide featured product option to restrict repeated products and hide the product upsell section. Display alternative product to show another featured product in the product upsells to avoid repetition. (5) Random product - Select the product collection from which you want to show the upselling product. You can also precise the product selection by defining the product tags. Product Title Product title color - Select the text color for the product title in the product upsells. Product Options The Product options allow you to show or hide the variant of the upsell product. Using the color palettes you can customize the product variant design. Discount If you want to offer any discount on the upsell product, check the Offer a discount option and select the discount type you want to offer. Following are the discount options available: Percentage: Offer a discount in percentage that will apply to the upsell product. Fixed amount: Give a fixed amount OFF on the upsell product. Discount value - Enter a value that you want to offer on the upsell product. Only apply for item over - Discount will only apply to the upsell product if its price exceeds the value that you have mentioned in the box. Discount name - Give a discount name that will be visible to the customer when the discount is applied on the product upsell. Prices To Display Here you can choose an appropriate option to show the upsell product price. Store price only: The selling price of the product will be displayed to the customer. Store compare to price & store price: The price to compare and the selling price of the product will be displayed. Store compare to price & cart discount price: The price to compare and the final selling price (after deducting the discount) will be displayed. Store price & cart discount price: The original selling price and the final selling price (after deducting the discount) will be displayed. Add To Cart Button This option lets you customize the Add To Cart button of the upsell product. Provide the display text for the Add button and change the text or background color as you want. Remove upsell By clicking on the Remove upsell button will delete the product upsell from the checkout button widget. Make sure to click on the Save button to save the changes you made in the checkout button widget.
Vineet Nair
10 Min • 25 June 2026
151 Views
Bhavesha Ghatode
16 Min • 27 August 2025
939 Views
Vineet Nair
4 Min • 29 July 2025
1397 Views
Bhavesha Ghatode
4 Min • 12 February 2026
1780 Views

Ritika Tyagi
8 Min • 27 March 2025
1398 Views

Bhavesha Ghatode
5 Min • 12 February 2026
1858 Views

Ritika Tyagi
8 Min • 12 February 2026
1841 Views
Sajini Annie John
2 Min • 10 February 2026
6527 Views
Sagarika Das
7 Min • 10 February 2026
7996 Views
Sagarika Das
6 Min • 10 February 2026
6992 Views
Sagarika Das
4 Min • 10 February 2026
8613 Views
Sajini Annie John
9 Min • 12 February 2026
6726 Views