iDentixweb
Gather knowledge about the latest insights, updates, tips, and tricks in the Ecommerce industry.

5 Min • 29 April 2026
How Anua Unlocked 5X AOV Growth with iCart’s Smart Cart Features
delivery customization Challenges Solutions drive results Scale business delivery customization Challenges Solutions drive results Scale business delivery customization Challenges Solutions drive results Scale business delivery customization Challenges Solutions drive results Scale business Anua is a globally recognized Korean skincare brand known for its minimalist philosophy and focus on gentle yet effective formulations. Built on the idea of simplifying skincare routines, Anua develops products that deliver visible results while avoiding harsh or irritating components, making them suitable for sensitive skin types. Initially using a traditional full cart experience, Anua transitioned to iCart’s side cart solution in August 2025, to create a more seamless and engaging shopping journey. This shift allowed customers to easily explore complementary skincare products without disrupting their browsing flow, making it more intuitive to discover items that fit into a complete routine. By surfacing relevant recommendations directly within the cart, the brand enhanced product visibility across its range. Challenges Before implementing iCart’s side cart solution, Anua faced limitations with their existing full cart experience, which created friction in the customer journey. The traditional cart setup redirected users away from product pages, interrupting their browsing flow and reducing opportunities to explore additional products. As a skincare brand built around routines rather than single-item purchases, this made it difficult to effectively showcase complementary products and encourage customers to build complete regimens. Additionally, the lack of in-cart personalization and strategic upsell opportunities meant that customers were often unaware of related products that could enhance their skincare results. This limited the brand’s ability to increase average order value (AOV) and fully leverage its diverse product range. Anua needed a more dynamic and intuitive cart experience that could seamlessly introduce relevant recommendations while maintaining a smooth and engaging shopping journey. ❌ Cart Value Barriers Low average order value (AOV) due to single-item focus Most customers completed purchases with one primary product instead of building multi-step routines. Cart abandonment near shipping thresholds Customers were not clearly informed or motivated to reach free shipping or discount thresholds. Missed savings opportunities Customers were unaware of potential value in purchasing bundled routines or multiple complementary products. ❌ Absence of Progress-Based Incentives No free shipping or discount progress bar Customers were not motivated to increase their cart value due to lack of visible incentives. Missing tiered rewards system There were no structured milestones (e.g., “Spend more to unlock offers”), reducing upsell opportunities. ❌ Ineffective Cart UI/UX (Pre-Side Cart) Full-page cart disrupted shopping flowCustomers had to leave their browsing journey, increasing friction and drop-offs. No quick add/remove functionality Users couldn’t easily modify their cart or add suggested products without navigating away. Solution To overcome these challenges, Anua implemented iCart’s side cart solution to transform their traditional cart into a high-converting, interactive experience. By replacing the full-page cart with a seamless side cart, the brand ensured that customers could continue browsing while viewing their cart, significantly reducing friction in the shopping journey. Additionally, features like product recommendations & progress bars for free shipping and discounts motivated customers to increase their cart value. By combining personalization, incentive-driven messaging, and a user-friendly interface, Anua successfully turned their cart into a powerful revenue-driving touchpoint rather than just a checkout step. To maximize their cart effectiveness, they implemented two powerful features: ✅ Progress Bar with Multi-Reward Incentives Implemented a tiered progress bar to encourage higher cart value Customers are guided with a clear message like “Add $3.10 to unlock secret offer,” motivating them to continue adding products. Generated over $5M+ in revenue through incentive-driven cart progression Used product-based rewards to align with customer intent Instead of generic discounts, Anua incentivized purchases with relevant skincare items like Dark Spot Pads and mini serums. Built visual motivation for routine expansion As customers add products, they can clearly track progress toward unlocking multiple rewards, encouraging them to build a complete skincare routine. ✅ Product Recommendations Implemented “Frequently Bought Together” recommendations Customers adding a single product (e.g., toner) are shown complementary items like serums, moisturizers, or pads to complete their routine. Generated over 275K revenue through in-cart recommendations Encouraged full skincare regimen building Instead of isolated purchases, the cart suggests step-by-step product combinations aligned with common skincare routines. Increased product discovery at the final stage By surfacing relevant items directly in the cart, Anua ensured customers explore more of their catalog without leaving the checkout flow. Results Achieved in Last 180 Days 22932 Total Store Orders 45101 Total iCart Orders 5X iCart Generated AOV 65.70% Upsell Affected Conversion Rate These improvements reflect a clear shift in customer behavior on Anua’s store. Cart abandonment reduced as shoppers discovered complementary skincare products and felt encouraged to build complete routines. Engagement also increased, with customers interacting more with in-cart recommendations and exploring relevant product pairings. Results & Impact And...Results is Our Main Clarification By implementing iCart’s cart drawer, product recommendations, and progress bar, Anua transformed its cart into a high-performing conversion touchpoint. Shopping Experience Enhancement The improved cart experience encouraged customers to discover complementary products and understand the value of sustainable beauty routines. For instance, the clear presentation of subscription savings alongside one-time purchase options helped customers make more informed decisions about their long-term hair care needs. As Anua continues to optimize its cart experience, the brand is closely monitoring: Routine-based purchasing behavior - tracking how customers move from single items to multi-step regimens Engagement with in-cart recommendations - measuring interaction with suggested products Cart value progression - analyzing how incentives influence higher spending [related_cases_slider] Ready to Write Your Success Story? Try icart App Join successful businesses like Anua and Master your delivery scheduling Delight customers with precise timing Grow your special occasion orders Expand your delivery reach
Read Blog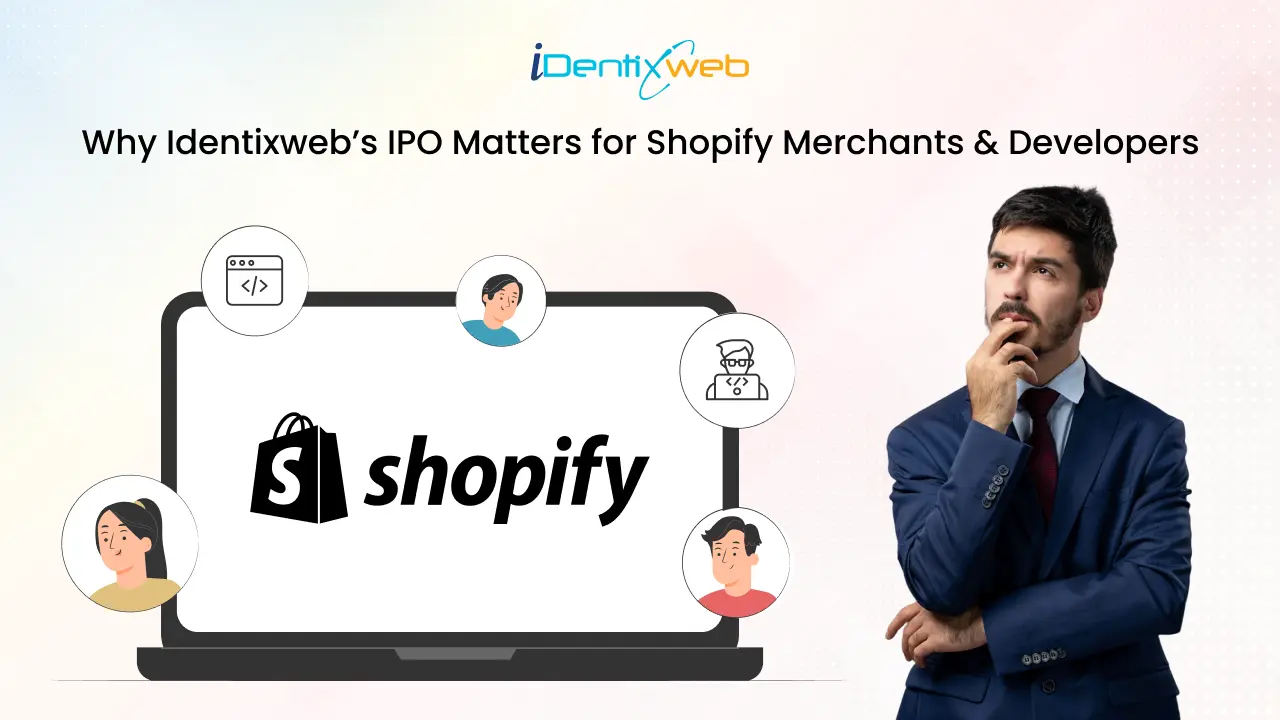
8 Min • 12 February 2026
Why Identixweb’s IPO Matters for Shopify Merchants & Developers
It is with great excitement that we expand our footprint in the e-commerce technology space in India through the IPO of Identixweb Limited. As Shopify continues to revolutionize global e-commerce, Identixweb is positioned at the forefront of this transformation, creating a unique investment opportunity at the intersection of technology and digital retail. We are gearing up for our entry into the public market, and here’s a comprehensive overview of everything Shopify merchants, developers, investors and stakeholders need to know about our offering and the Identixweb growth story. Here's everything you need to know about our offering and the growth story behind Identixweb. About Identixweb Limited’s Journey At Identixweb Limited, we manifested our growth and evolution in the plethora of Shopify ecosystem. We are an established name in creating personalized solutions for the design and development of Shopify apps, tailoring them for better merchant experience while they are running their Shopify stores built on the platform of new advanced technology. As our vast majority of revenue comes from serving the merchant ecosystem from Shopify, which makes us the beating heart of creating one of the fastest-growing and evolving Shopify app development platforms. We make sure to provide highly scalable solutions for all kinds of industries that help businesses streamline operations and optimize sales for their Shopify stores. Behind the Decision! Explore Why Identixweb Chose to Go Public and what it means for the future of eCommerce. Getting to Know the Shopify Ecosystem: Our Growth Engine The e-commerce industry, and the Shopify ecosystem specifically, has become one of the biggest growth driver of the global digital economy. The IT & BPM sector is contributing around 6.8% in fiscal 2023 to India’s GDP with specialized e-commerce technology services witnessing the strongest growth. The Shopify ecosystem is flourishing and Identixweb is at the centre of it due to our exclusive business model which caters to Shopify merchants. We generate our revenue primarily from our only major customer, Shopify Inc., which operates a platform for over two million merchants around the world. Our focus also enables us to seize a growing demand from enterprises looking for niche solutions to improve their Shopify stores. Identixweb IPO Details: What You Need to Know Understanding the Offering and Price The IPO is being made through what's called a "Book Building Process" – a method where investors bid within a price range, helping determine the final offer price. Here are the key details in simple terms: Price Range: ₹51 to ₹54 per share (each share has a face value of ₹10) Floor Price: 5.10 times the face value (the minimum price) Cap Price: 5.40 times the face value (the maximum price) P/E Ratio: This measures the company's share price relative to its earnings. At our offering, this ratio is between 13.21-13.99 times, which tells you how many years of current earnings you're paying for when buying the share. Minimum Investment: 2000 shares (and in multiples of 2000 thereafter) Key Dates to Remember Anchor Investor Bidding: Tuesday, March 25, 2025 Public Offering Opens: Wednesday, March 26, 2025 Public Offering Closes: Friday, March 28, 2025 How the Shares Will Be Distributed The offering is structured to accommodate different types of investors: Qualified Institutional Buyers: Up to 50% of the offering Non-Institutional Investors: At least 15% of the offering Retail Individual Investors: At least 35% of the offering Market Makers: 1,54,000 shares (about 5% of the offering) to ensure liquidity Invest in the Future! Learn the step-by-step process on How to Apply for Identixweb IPO and secure your stake in the company. Financial Highlights: Growth You Can See Identixweb has shown strong financial performance, reflecting our efficiency and market acceptance. Here's a simplified look at our recent results: Return on Investment (Return on Net Worth) Financial Year Return on Net Worth Weight 2024 27.30% 3 2023 29.32% 2 2022 68.78% 1 Transaction Fees Standard fees Lower transaction fees with Shopify Payments Our weighted average return stands at an impressive 38.26%, showing how effectively we've used our resources to generate value for our shareholders. The company has maintained healthy profit margins while strategically growing our service offerings, resulting in solid financial fundamentals that support our future growth plans. Income and Profit Growth With prudent management of resources and disciplined expansion of our service offerings, the company has demonstrated significant growth in revenue and profitability. This has led to better margins and increased shareholder value over the long run. Why Invest in Identixweb IPO? The Shopify Merchant Advantage Shopify Growth Trajectory: We are directly parallel to Shopify’s explosive growth and its expansion in global markets as businesses increasingly transition online. Under the platform, we have a large customer base allowing us to customise our apps based on their feedback. Niche Expertise: Unlike other IT service providers who have to spread their resources across many platforms, we are only engaged with Shopify applications and have deep expertise and a competitive advantage in this high-growth sector. Robust Financial Growth: Our steady financial growth proves the growing demand and efficient operation for specialized Shopify development. Shopify Partnership: Our partnership with the elements of the Shopify ecosystem leaves us well-positioned to ride the success wave of Shopify as it continues its development and expansion. Well Defined Growth Strategy: We have a clear blueprint in place outlining how we will develop new Shopify apps and expand our offering into the global Shopify merchant market. Our Future Proceedings: Expanding Our Shopify Solutions The new addition to the Shopify ecosystem, the net proceeds we raise from the IPO will be deployed strategically to accelerate our momentum in the Shopify ecosystem: Building innovative new applications for Shopify merchants that meet new e-commerce needs. Bringing in additional Shopify-focused resources onto our dedicated Shopify development team. Expanding our marketing capabilities so that we can access more Shopify merchants around the world. Making investments in R&D in order to keep ahead of changes to the Shopify platform and requirements from merchants. These advances are in line and consistent with our aim to be the leading solutions developer for all Shopify merchants around the world. They allow us to scale quickly while remaining true to our ability to deliver quality and innovation in the Shopify ecosystem. Shopify-Focused Competitive Advantages While gearing up for our public offering, we’d like to play up a few core strengths that uniquely position us in the Shopify ecosystem: That's why we have developed deep and expert-level skills in tailoring Shopify application development and building your needs into a solid solution for difficult e-commerce pain points. We also have solid relations with the Shopify platform, creating apps that work smoothly with their ecosystem and improve merchant options. Because we have a deep understanding of the needs of Shopify merchants, we’re able to create targeted solutions that drive measurable business results. Agile development methodology that works excellently within the fast-moving Shopify ecosystem allows for speedy delivery and iterative enhancement of applications. Servicing merchants with deep domain knowledge of changing e-commerce trends and Shopify capabilities, our team is a trusted advisor on tech excellence. Leadership and Vision The team at Identixweb consists of experienced and qualified professionals from the IT industry. Our promoters combine years of expertise that helped fuel our growth and shape our market expansion. By doing so, they have successfully instilled a legacy of their vision of guiding the company with a focus on their clients and technology. The Bottom Line: Be a Part of Our Shopify Success Story Join us in our journey to becoming one of the pioneering companies in the rapidly growing Shopify ecosystem. We are thrilled they invite us to reach new heights and become publicly traded. Tangible globally and impactful locally, the IPO is much more than finance. It is a reaffirmation of our mission to deliver innovation that allows Shopify merchants across the globe to access everything they need to power their businesses. The company has received in-principal approval from BSE Limited on the BSE SME platform for listing the shares, with BSE Limited being the designated stock exchange for the issue. We're solely set up to help Shopify merchants and our business model places us smack bang in the middle of one of the fastest growing global e-commerce platforms. The more merchants that adapt to online selling through Shopify, the more growth opportunities exist for us. For other details of the IPO, please refer to the Red Herring Prospectus and make investment decisions as per your financial goals and risk appetite. Frequently Asked Questions 1. When is the Identixweb IPO opening?The IPO opens on Wednesday, March 26, 2025, and closes on Friday, March 28, 2025. The anchor investor bidding date is Tuesday, March 25, 2025. 2. Where will Identixweb shares be listed?Identixweb shares will be listed on the SME platform of BSE Limited ("BSE SME"). BSE Limited will be the designated stock exchange for this issue. 3. What is the price band for Identixweb IPO?The price band for the Identixweb Limited IPO is ₹51 to ₹54 per equity share of face value ₹10 each. 4. What is the financial performance of Identixweb?Identixweb has demonstrated consistent financial growth. The company's weighted average return on net worth stands at 38.26% (based on the financial data provided in the prospectus), showcasing its ability to generate substantial returns for shareholders.
2 Min • 10 February 2026
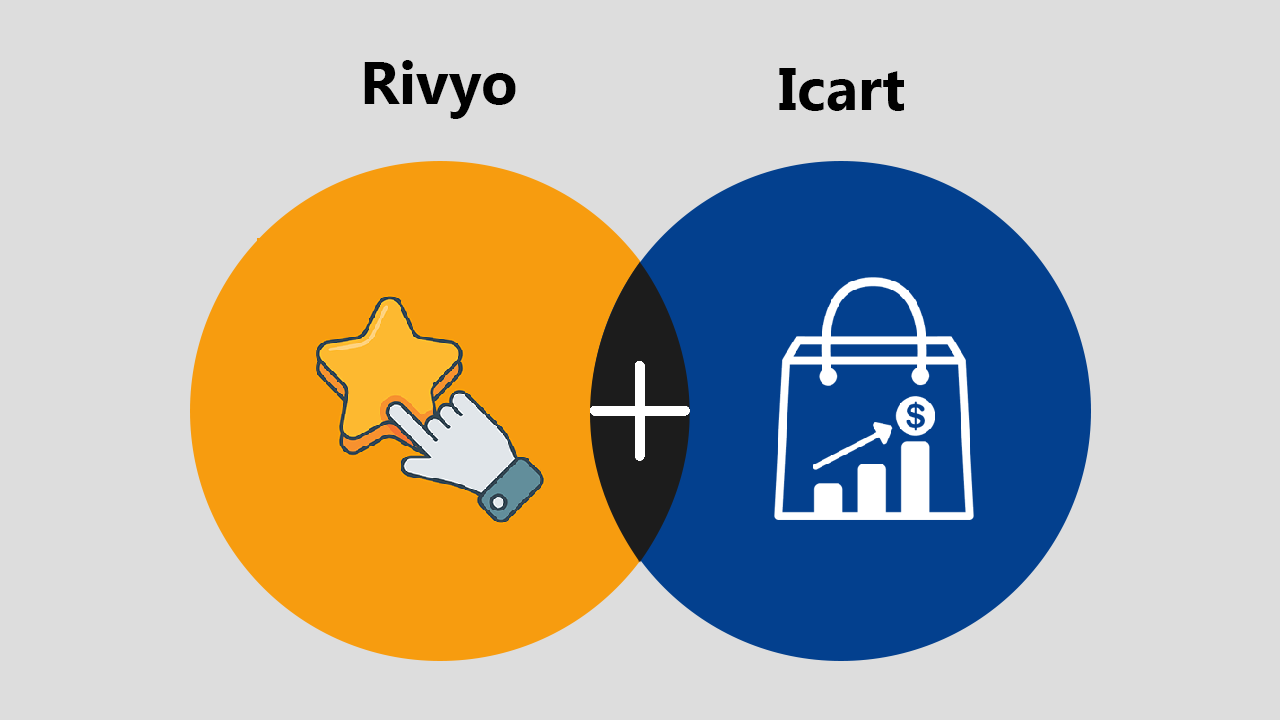
Rivyo+iCart Cart Drawer Cart Upsell Integration Announcement
99% of customers buy products after reading online reviews. If you want to increase your customer trust then Rivyo Shopify app is for you. What is Rivyo? Rivyo collects reviews by sending automatic customer review request emails. Build trust in your customers by showing photo reviews with star ratings. Import valuable reviews to your store from Amazon or AliExpress. Key Features of Advance Plan Of Rivyo : Merchants can Import reviews from Amazon or AliExpress easily. Show reviews as a testimonial anywhere in your store. SEO rich widget: Appear product rating in the Google search results to make a positive impact on Google. Highly Customizable: Design review & all segments with a high degree of flexibility. Style each object from text color, font size, button style to verify icons. Admin can also raise a question about any product to get customer feedback. It will help to resolve the customer's all doubt about products. Export limitless reviews as a CSV file format. Auto release reviews of specific ratings. Hide review label of non-review products. New & fresh modified verify icon designs to reveal that the user is real or not. Review sidebar PopUp visits. A dashboard of all products & all reviews. Show average rating of product reviews. Vote for worthy Question & Answers. Modernized Grid Layouts to display reviews as different & unique way. Display product reviews on the thank you page with our ReConvert integration Increase your brand visibilities on google shopping by displaying reviews on your shopping feed. Merchant can set coupon codes when their customer will give reviews on their products. Review Request: You can send a review request via email. How Rivyo works with iCart Cart Drawer Cart Upsell Rivyo is integrated with iCart to show product reviews on product recommendations and product upsell widgets in iCart. Rivyo shows image reviews that are super impressive for customers and make them to buy from your store.
6 Min • 10 February 2026
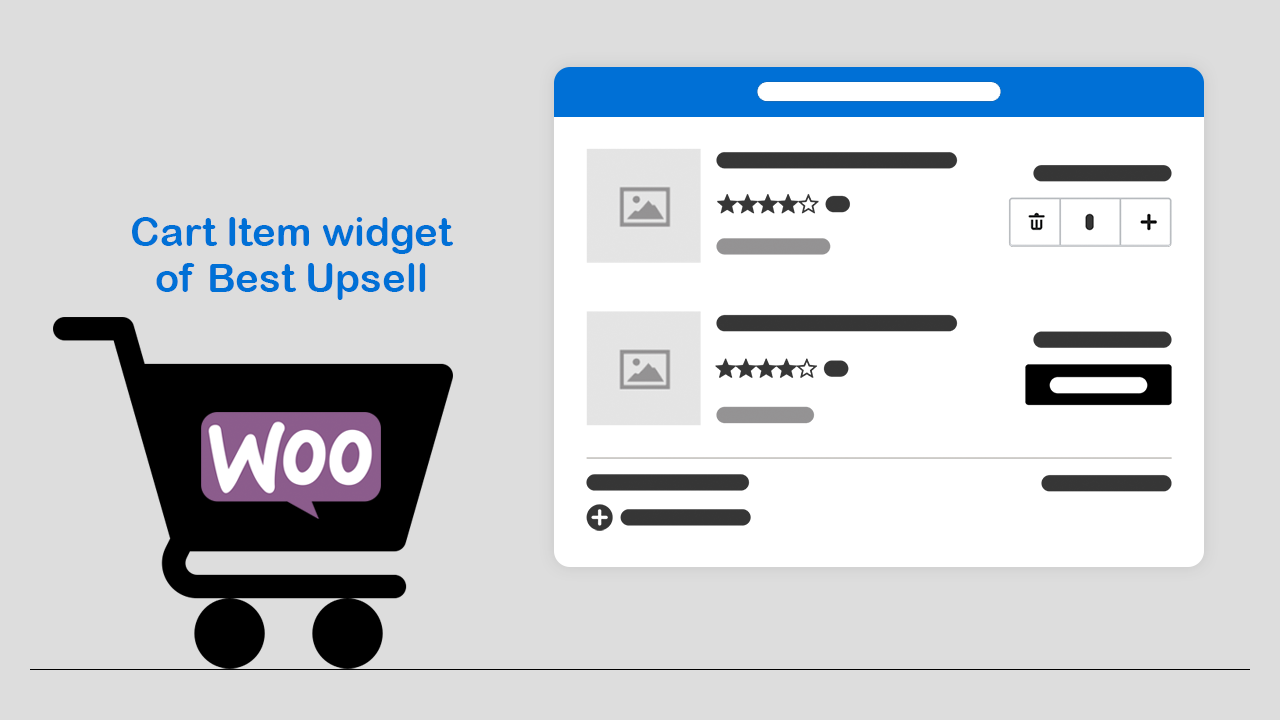
Customizing the Cart Items Widget of Best Upsell for WooCommerce
Best Upsell For WooCommerce is an all-in-one plugin for Upselling & Cross-selling. With this WooCommerce upsell plugin, you can easily create bump sales to boost your sales and skyrocket Average Order Value (AOV)! This WooCommerce upsell plugin provides a Cart Items widget, that helps you add distinct functionalities to customize the default shopping cart. Haven't installed this WooCommerce upsell plugin yet? Check out how to install the Best Upsell plugin in the WordPress eCommerce store? Customizing the Cart Items Widget of Best Upsell Let's get familiar with the Cart Items widget and learn how to customize the shopping cart with this Best Upsell widget. Widget heading The widget heading allows you to change the default widget name. This will help you easily identify the cart items widget in the Best Upsell plugin. Title The title settings allow you to customize the widget title in your shopping cart. You can show/hide the title using the Show widget title option. The heading option helps you with the title formatting. Also, consider changing the header and background color to match your store theme. Product Options The product options help you to customize the look and feel of the products in the cart items. You can use the color palettes to change the text, background, and border colors. Show variant - Select the checkbox to show the product variants. Show quantity picker - Select the checkbox to show the quantity picker for the products. Remove button text - Allows you to change the remove button text in the cart items. Image layout - Allows you to change the product image layout to either square or circle. Prices To Display Don't want to show the comparison price of the products in the cart items? Simply uncheck the Display compare to price option. Also, you can customize the color of the product prices. Total Options Here you can customize the text, size, and color of the total cart amount in the shopping cart. Cart Discount Settings The cart discount settings help you to customize the look of the discount code box and discount tags in the shopping cart. Use the color palettes in the settings to make it more attractive. Cart Empty Message Here you can manage what is to be displayed to the customers when the shopping cart is empty. If you wish to change the default message, do it here. Product Quantity Not Enough Error Message Here you can enter the message that you want to show to your customers when the product quantity in the cart is not enough for Checkout. Other Upsell Here you can see how many upsell offers are added to the cart items. By simple drag and drop you can reorder the upsell tabs and cart item list. This section of the widget allows you to create product upsells within the cart items. Creating Product Upsell in the Cart Items Widget Let's learn how to create product upsells in the cart items widget of the Best Upsell plugin. Simply click on the Add Upsell button and start product setup for your upsell. Product to Display This option lets you choose the product you want to upsell with the cart items added by the customers. Pick any method from the given options for product selection: (1) WooCommerce Recommendation - Product will be automatically selected for upselling by WooCommerce based on its recommendation algorithm. You can also exclude some products by checking the Exclusion tags checkbox and defining the tags you want to avoid. (2) Cheapest product in the cart - The product in the cart item with the lowest selling price will be displayed in the product upsell. To avoid the product tagged with the exclusion tags, you can hide the product by selecting the Hide featured product option else display another product by the “Display alternative product” option. If you select the Display alternate product option then you need to choose a product manually by clicking on the Select product button. (3) Most expensive product in the cart - The product in the cart item with the highest selling price will be displayed in the product upsell. (4) Specific product - If you want to show a specific product in the product upsells, then you can select this option. Next, you need to choose the featured product manually by clicking on the Select product button. There comes an option to select what will happen if the product is already available in the cart. You can select the: Display selected product anyway option to allow repeated products in the cart. Hide featured product option to restrict repeated products and hide the product upsell section. Display alternative product option to show another featured product in the product upsells to avoid repetition. (5) Random product - Select the product collection from which you want to show the upselling product. You can also precise the product selection by defining the product tags. Product Title Product title color - Select the text color for the product title in the product upsells. Product Options The Product options allow you to show or hide the variant of the upsell product. Using the color palettes you can customize the product variant design. Discount If you want to offer any discount on the upsell product, check the Offer a discount option and select the discount type you want to offer. Following are the discount options available: Percentage: Offer a discount in percentage that will apply to the upsell product. Fixed amount: Give a fixed amount OFF on the upsell product. Discount value - Enter a value that you want to offer on the upsell product. Only apply for item over - Discount will only apply to the upsell product if its price exceeds the value that you have mentioned in the box. Discount name - Give a discount name that will be visible to the customer when the discount is applied on the product upsell. Prices To Display Here you can choose an appropriate option to show the upsell product price. Store price only: The selling price of the product will be displayed to the customer. Store compare to price & store price: The price to compare and the selling price of the product will be displayed. Store compare to price & cart discount price: The price to compare and the final selling price (after deducting the discount) will be displayed. Store price & cart discount price: The original selling price and the final selling price (after deducting the discount) will be displayed. Add To Cart Button This option lets you customize the Add To Cart button of the upsell product. Provide the display text for the Add button and change the text or background color as you want. Remove upsell By clicking on the Remove upsell button will delete the product upsell from the cart items list. Make sure to click on the Save button to save the changes you made in the cart items widget.

Sajini Annie John
4 Min • 12 February 2026
9972 Views

Sajini Annie John
3 Min • 4 August 2020
7145 Views

Sajini Annie John
3 Min • 10 February 2026
8493 Views

Sajini Annie John
7 Min • 19 January 2026
25334 Views

Sajini Annie John
2 Min • 9 April 2020
6040 Views

Sajini Annie John
1 Min • 10 February 2026
8717 Views

Sajini Annie John
6 Min • 27 January 2026
8492 Views

Sajini Annie John
2 Min • 27 January 2026
22422 Views

Sajini Annie John
2 Min • 10 February 2026
8147 Views

Sajini Annie John
4 Min • 11 December 2019
7680 Views

Manoj Prajapati
3 Min • 10 February 2026
9031 Views


