Generating AI overview
To add a dynamic table on the product page using a metafield, you first need to create the metafield. In this guide, we’ll walk you through the steps to create a metafield, add a dynamic table to it, and copy the necessary shortcodes. You can create different metafields for different pages based on your preferences. In this guide, we’ll focus on setting up a metafield specifically for the Product Page.
Please check below stpes to create metafields.
1. Log in to your Shopify Admin.
2. Go to Settings > Custom data > Products.
3. Click “Add definition” to create a new metafield definition.
4. Add name and description and choose that specific product and save it.

Once you’ve created the metafield definition in Shopify, you can add the metafield value to a specific product like this:
Steps to Add a Metafield Value to a Product:
1. Go to your Shopify Admin.
2. Click on “Products” in the left menu.
3. Select the product where you want to add the metafield.
4. Scroll down to the “Metafields” section (usually at the bottom of the product page).
5. You’ll see the metafield(s) you defined.
6. Paste table shortcode in metafield.
7. Click Save.
To add a metafield block to your Shopify theme, follow these steps. This will let you show the metafield value directly on the product page.
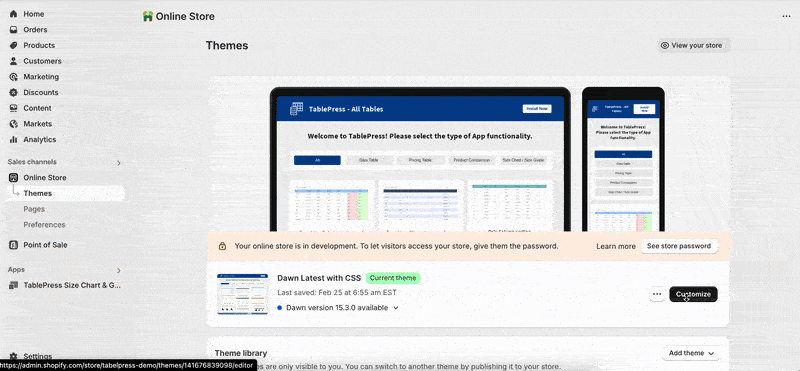
1. Go to Online Store > Themes > click customize
2. Select page for which metafield is created
3. Add Section or Block → Select custom liquid → Paste metafield code
4. Save