Blog
Gather knowledge about the latest insights, updates, tips, and tricks in the Ecommerce industry.
4 Min • 15 April 2025
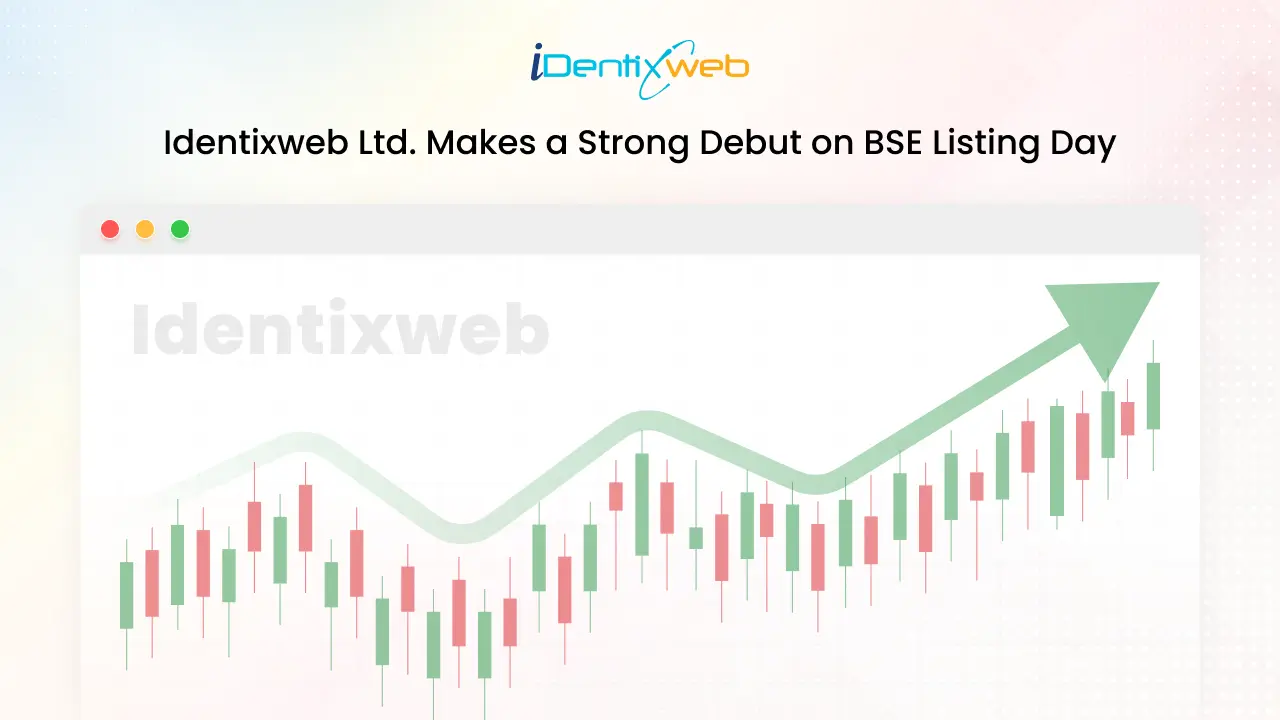
Historic Moment For Identixweb Limited A Successful Debut on BSE Listing Day!
Identixweb Limited, one of India’s most innovative IT solutions provider, marked a significant milestone with its historic & successful BSE listing on Thursday, 3rd April 2025.
Read Blog
10 Min • 13 June 2025
25 Best Shopify Dawn Theme Examples
Were you in search for some inspiring Shopify dawn theme examples for your Shopify store? You have landed to the right place. Every merchants dream is to make their store unique from others. Customization is the first step to achieve this and that too from design to development. The first thing that attracts a new visitor to your store will be your storefront or the design.

4 Min • 3 July 2025
How to Display Images Using Metafields in Shopify
As we all know how important metafields are for building an outstanding storefront for your online store. After the Online Store 2.0 launch, Shopify merchants have a built-in metafields feature in their store. This guide is to help you how to use Shopify metafields to display images in your store.

6 Min • 3 July 2025
An Ultimate Guide to Shopify Variant Metafields for your Store
The e-commerce platform designed by Shopify is common for all. Therefore, you need unique functionalities to make your Shopify Store Outstanding. Personalization matters when you want to attract more customers. Today, we will learn how to use Shopify variant metafields to add special data about the product variants and customize the product page.

Sajini Annie John
3 Min • 6 November 2020
5761 Views

Sajini Annie John
4 Min • 19 October 2020
7631 Views

Sajini Annie John
3 Min • 12 October 2020
6793 Views

Sajini Annie John
3 Min • 9 October 2020
8715 Views

Sajini Annie John
5 Min • 6 October 2020
6755 Views

Sajini Annie John
3 Min • 26 September 2020
12385 Views

Sajini Annie John
2 Min • 24 September 2020
11901 Views

Sajini Annie John
1 Min • 23 September 2020
11668 Views

Sajini Annie John
1 Min • 22 September 2020
11577 Views

Sajini Annie John
2 Min • 21 September 2020
11395 Views

Sajini Annie John
2 Min • 21 September 2020
12304 Views

Sajini Annie John
6 Min • 19 September 2020
12719 Views


