

You can easily enable the app through the app settings or theme embed options in your Shopify admin. If the app is not enabled, its status will be visible on your dashboard, allowing you to enable it directly from there or via the settings page. To enable the app, go to your Shopify admin and open the iTable app.
Access the Settings page from the left-hand menu, then click the “enable” button in the Application Status section. Follow the prompt to enable the app from the Theme Embed section in the theme editor, ensuring to save your changes. Once enabled, the table will appear on the page where you’ve added the shortcode.
The app settings page allows you to enable the app, and the process is very simple. You can enable the app through the app settings or the theme embed options.
If the app is not enabled, its status will be displayed directly on the dashboard when you open the app. You can enable it from there or from the settings page. We’ve provided the full steps below—please follow them to enable the app.
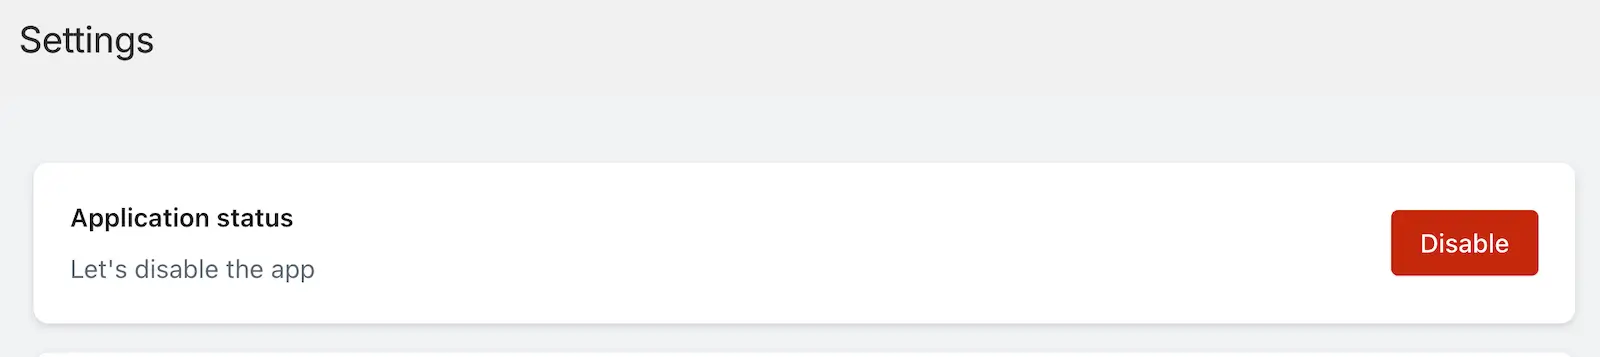
Steps to Enable the App
Step 1: Go to your Shopify admin.
Step 2: Open the iTable app.
Step 3: From the left-hand side menu (below the app name), open the Settings page.
Step 4: Click the “enable” button in the Application Status section.
Step 5: A popup will appear prompting you to enable the app from the Theme Embed section.
Step 6: Go to the theme editor, and if the app is not enabled from the App block, then enable it.
Step 7: Click “Save” to apply the changes.
Once enabled, the table will be displayed on the page where you have added the shortcode.