


When working with Shopify and you want to automate some of your tasks you might be tempted to go for a third-party app. But why spend money, when there is a free solution?
In this article, I'll show you how do you create your own automated workflows with the Shopify Flow app. Shopify Flow is a great addition to all Shopify stores that can be used to automate tasks, run promotions, and even help you track orders.
In this blog, we walk you through all the steps needed to create a workflow that does what you need it to do. Workflows help you to set up predefined tasks in your store that will be triggered in response to a specific event.
What is Shopify Flow?
Shopify Flow is the latest eCommerce automation platform that helps you to create automated workflows. This helps you to save your time so that you can focus on other things in your business. Shopify Flow has become so popular and useful for every customer.
Shopify Flow is an excellent tool for automation, allowing you to create and customize workflows that automate behind-the-scenes tasks. In this article, we’ll explore how to set up and customize automated workflows using Shopify Flow, so you can work smarter and save time. It can do many things like reject orders that appear to be fraudulent, hide out-of-stock products, reward your loyal customers, notify high-risk orders, and many more.
How to use Shopify Flow?
In many discussions, I have noticed that half of them are confused or seeking help to understand the new Shopify Flow. Take a deep breath as you are finally getting the detailed information regarding the Shopify Flow with explanations.
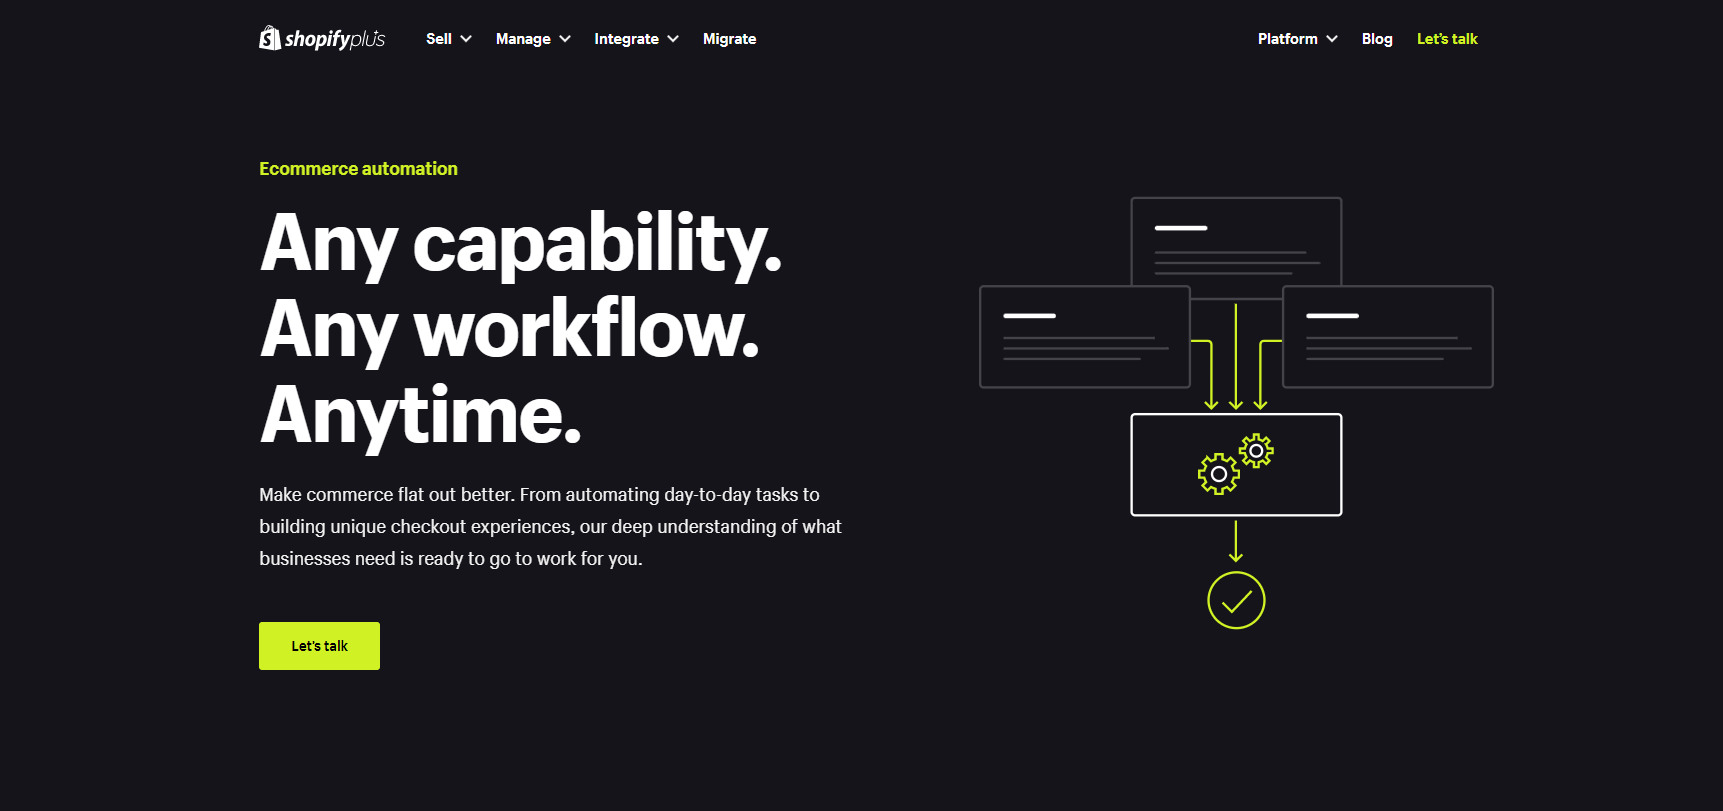
Shopify Flow uses trigger, condition, and action. So basically “trigger” is an event that Flow looks out for and which sets an automation in motion, a “condition” must then be met, and the “action” is the task that is completed when the condition is met. Let’s see an example of this.
Trigger: An order is placed.
Condition: Total amount must be above $200.
Action: The customer is tagged as a VIP in the system.
How to create a new workflow?
To create a new workflow follow the below steps:
Step1: Open the Shopify Flow app from your Shopify admin
Step 2: Click on the “Create workflow” button.
Step 3: Click on “Select a trigger” and add the trigger that you want to create.
Step 4: Click on the “+” icon and add the condition that should be met before performing any action.
Step 5: After adding the condition select the action to be taken.
Step 6: Optional: click Otherwise to add to your workflow if the condition you set is false. You can add additional conditions or actions.
Step 7: On the top of the page click New Workflow and give a title for your workflow.
Step 8: To start your workflow, click on the “Turn on Workflow” button.

Apart from this, you can also create a workflow using a template. You can use the pre-made templates and customize them as per your needs.
Conclusion
Shopify Flow is a great app, and you can use it to help automate tasks. The options are limitless with the Shopify Flow app, and it will take you some time to learn everything that you can do with it. However, with a bit of creativity, you can make your tasks easier to run and manage on a day-to-day basis.


")

About the author
Sajini Annie John
Meet Sajini, a seasoned technical content writer with a passion for e-commerce and expertise in Shopify. She is committed to helping online businesses to thrive through the power of well-crafted content.