

When we select any Shopify theme for our store, we get default page templates for every page such as homepage, product page, collection page, cart pages, and so on. Customizing the default page templates for any product or collection applies to all the products or collections in the store. In case you need a different layout for different categories of products, you need to create a custom product template in your theme.
Welcome to our guide on creating a custom Shopify product template! For every merchant, getting conversions by giving a seamless shopping experience to customers is the ultimate goal. And to achieve this goal, everyone implements unique options ro make their product/service unique from others. And everything starts from providing a customized Shopify product page or a custom Shopify theme. In this guide, we will see how to create custom product pages in Shopify.
What Is Custom Shopify Product Template
Custom Shopify product template refers to a personalized design or layout created for displaying individual products on your Shopify store. Suppose you want to build a clothing store where you can sell products for men, women, and kids. You may need to design different page templates with different size charts for men, women, and kids.
Don’t worry! It is possible and you can do that easily by following this guide and also you can make use of Shopify custom theme. Or if you would like to add some extra selling options in your store and delight your customers then you can make use of our Shopify app called iCart Cart Drawer Cart Upsell by which you can show upsell, cross-sell, bundles, discounts, progress bar, etc. You can show these options in cart drawer, cart popup or cart page.
How To Add Customization for Custom Products On Shopify Product Page
Benefits of creating custom Shopify page template
There are several benefits in creating product pages or custom Shopify product page template:
Brand consistency: Custom product pages help you to maintain your brand identity. It provides a consistent look and feel to your store’s pages.
Improve user experience: You can create customer-centric product pages that caters to specific preferences of your target audience.
Customization: You can get full control over customization. You can customize the color scheme, text, design/layout and make it more appealing to your customers.
Flexibility: Integrates flexibility or unique functionalities which may not be found in standard Shopify product page templates.
Marketing & SEO: You can improve your SEO by optimizing your product page template with proper strusctured data markup and all.
Steps to Create Custom Product Template in Shopify
We are going to see 2 methods for creating custom product pages: (1) For Shopify 2.0 themes (2) For all Shopify themes
METHOD – 1 (Use the below steps for Shopify 2.0 themes only)
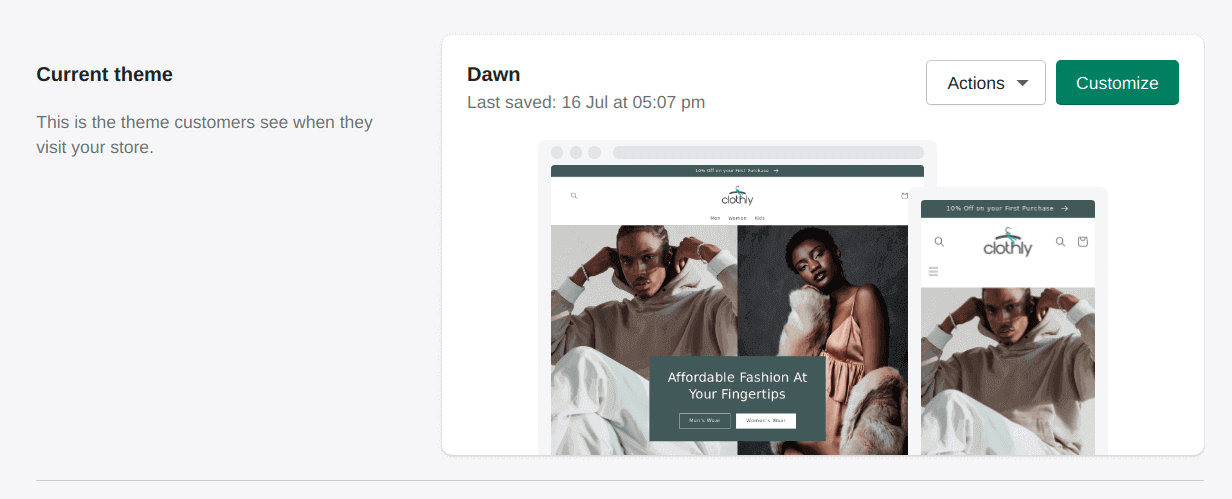
Step 1: Go to Online Store > Themes.
Step 2: Click on the Customize button.
Step 3: Use the dropdown menu to select the “Product” template type.
Step 4: Click on Create template.
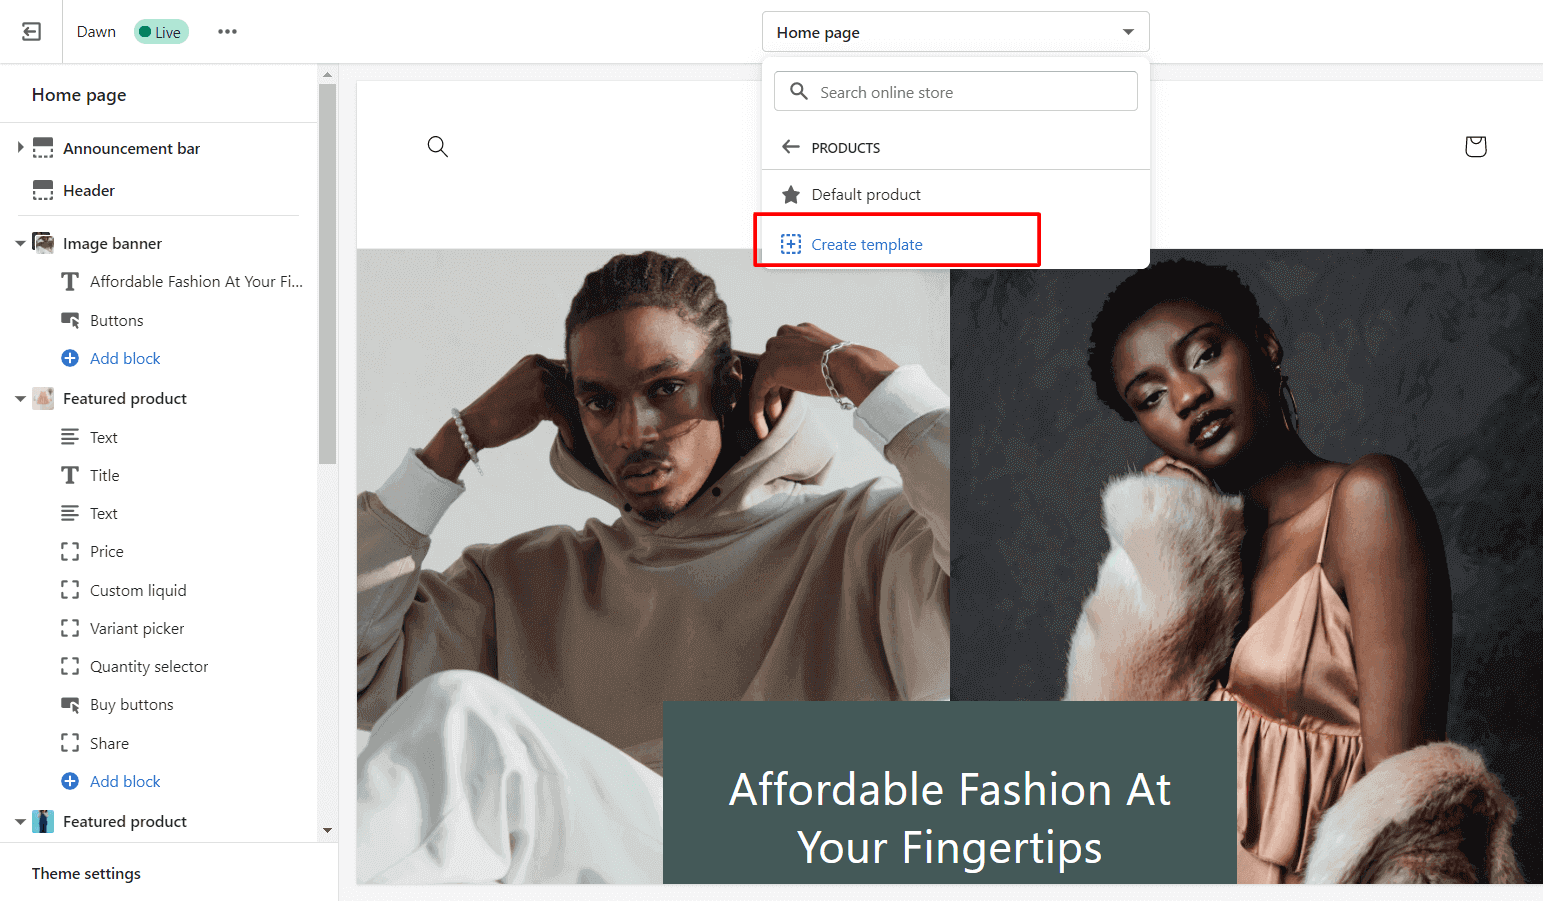
Step 5: Give a name to your new product page template.
Step 6: Select the product template type. You can select from all the product templates available in your theme. If you have not created any, it will show only the “Default product” in the option.
Step 7: Click on Create Template button.

METHOD – 2 (Use the below steps for all Shopify themes)
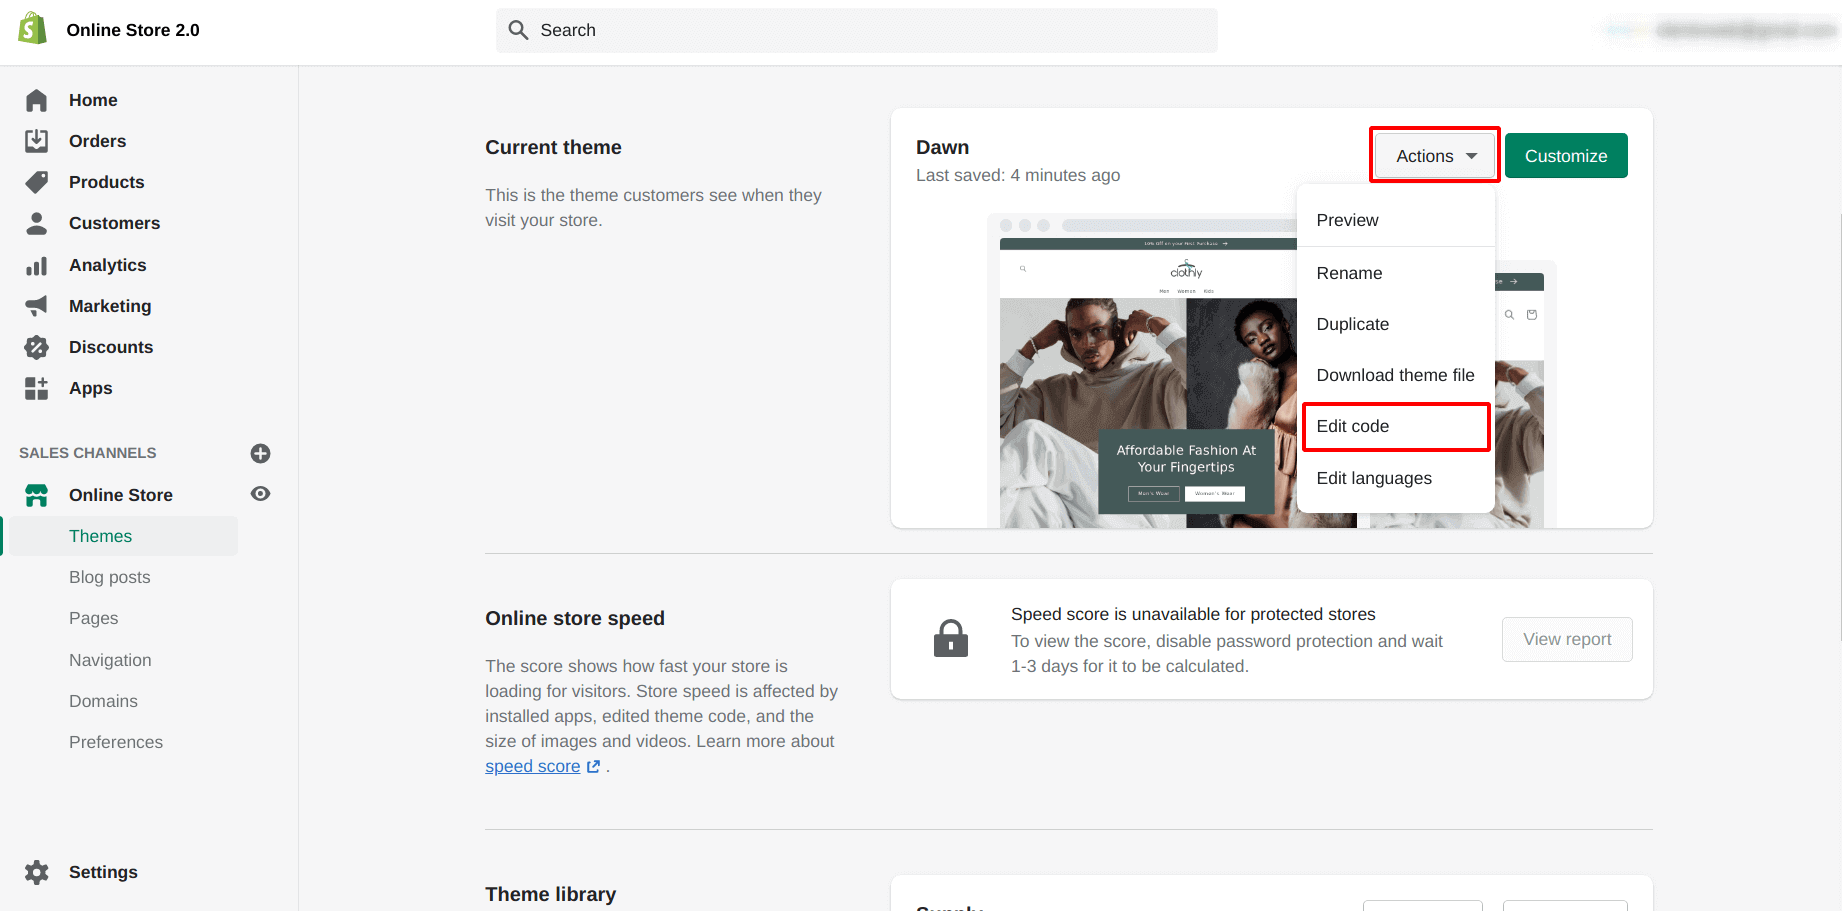
Step 1: Open Online Store > Themes from the Shopify Admin.
Step 2: Go to Actions > Edit Code.
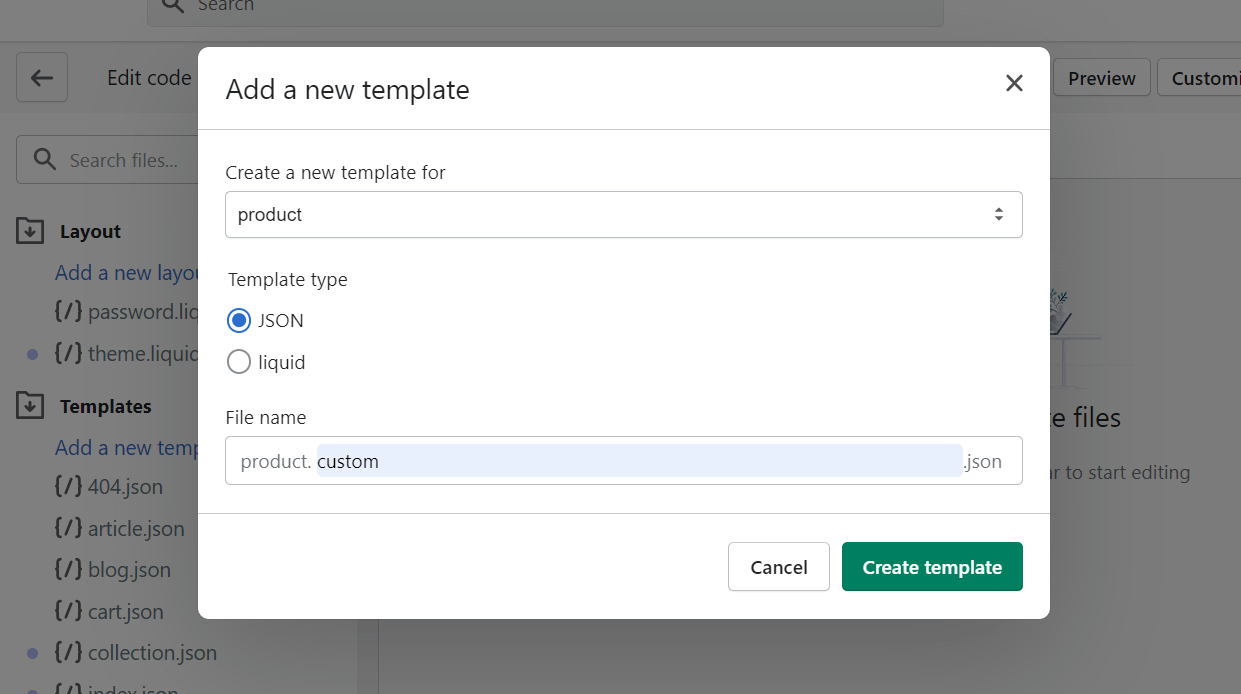
Step 3: Under the Templates folder, click on Add a new template.
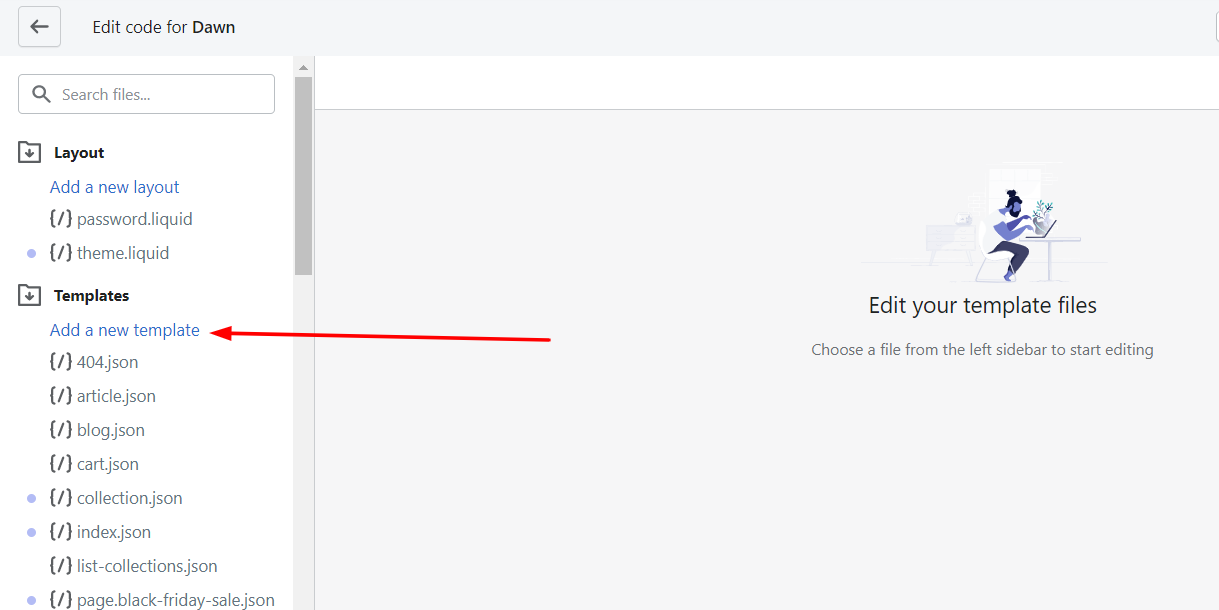
Step 4: Select “product” from the Create a new template for dropdown list.
Step 5: Keep the Template type “JSON” if using Shopify 2.0 themes or “liquid” for other Shopify themes.
Step 6: Give a name to your new product page template.
Step 7: Click on Create Template button.
Step 8: Now remove all the code from the newly created product template. This file should be blank.
Step 9: Open product.json (for Shopify 2.0 themes or “product.liquid” for other themes) from the Templates folder.
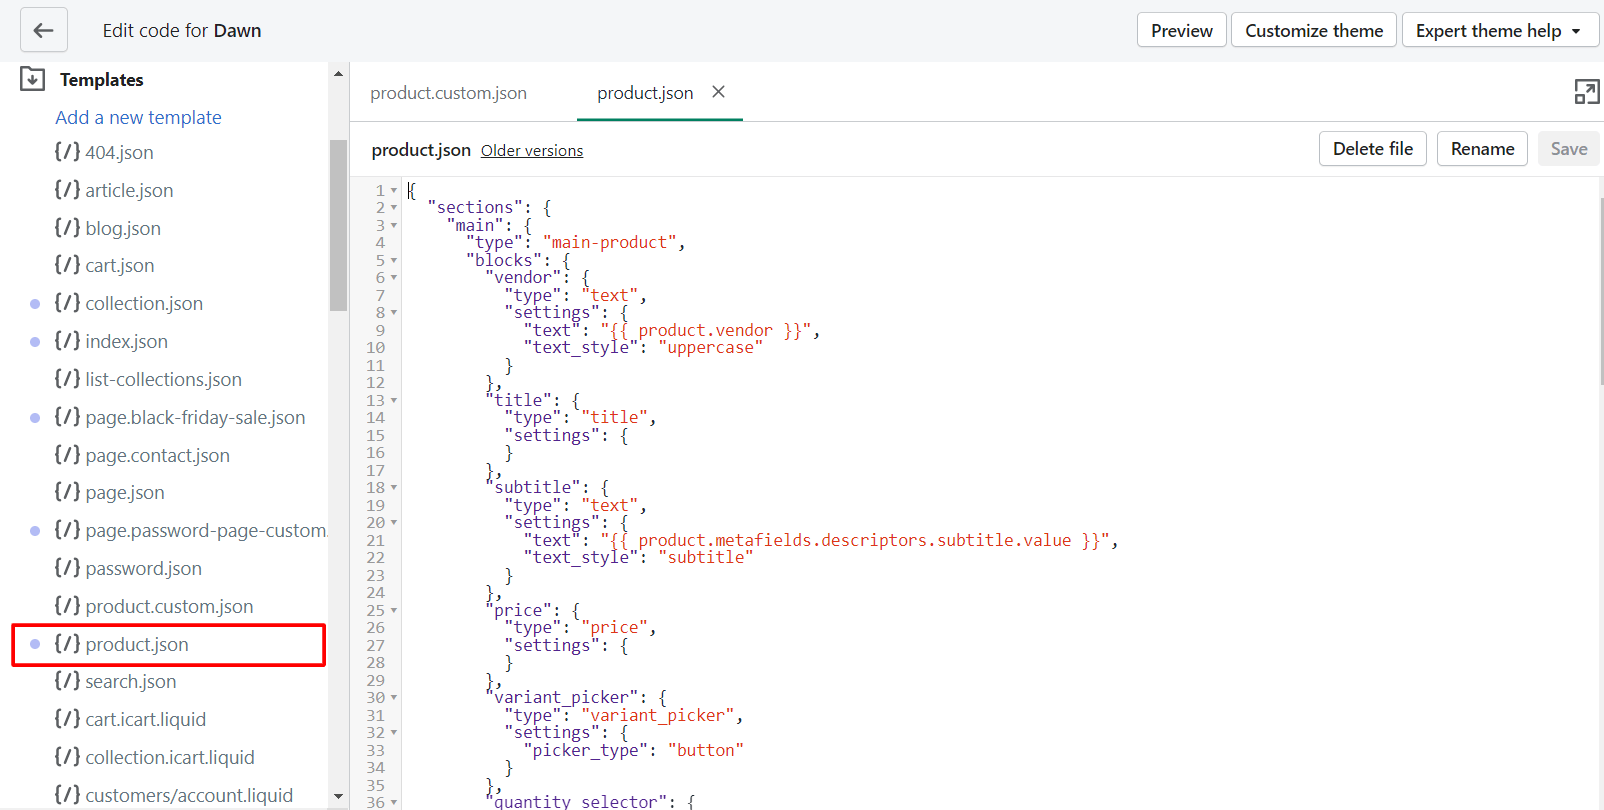
Step 10: Now copy all the code in the product.json and paste it into your new product template.
Step 11: Replace the “main-product” with “custom-product” in your new product template.
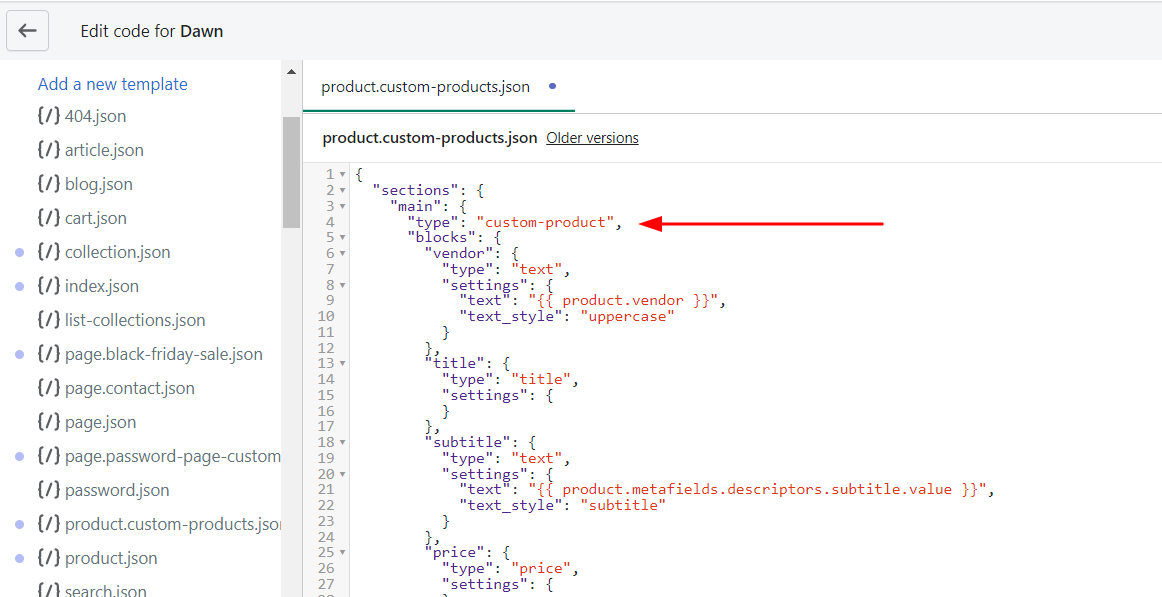
Step 12: Save the changes by clicking the Save button.
Step 13: In the Sections directory, click Add a new section.
Step 14: Name your new section file ‘custom-product‘.
Step 15: Click Create section. Your new file will open in the code editor.

Step 16: Delete all of the default code.
Step 17: Copy all of the content from your main-product.liquid file (in the Sections directory), and paste it into your new custom-product.liquid file.
Step 18: Click Save.
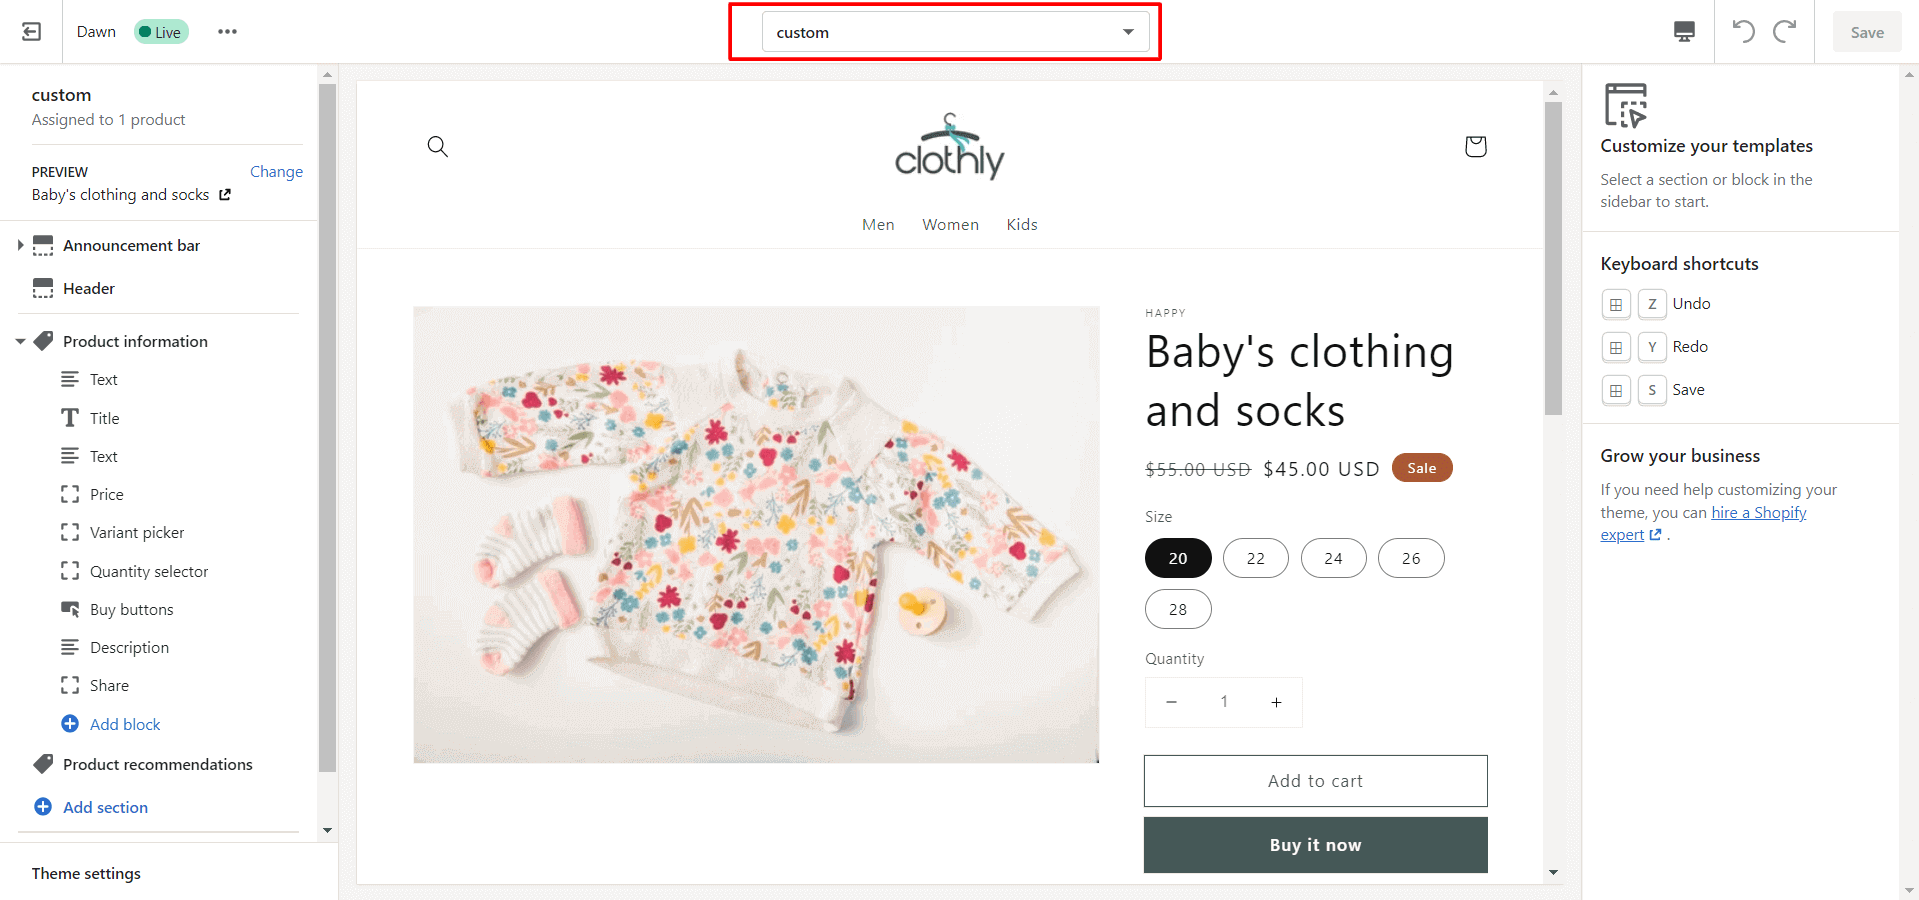
Now you can customize this new product template from the theme editor. For that go to Online Store > Themes and click on the Customize button.
Then, open the custom product template and customize it using Shopify sections, blocks, and metafields.
Shopify Metafields Guide: Overview, Types, Manage 2.0 Metafields
What’s next? After you are done with the product page design, you need to assign products to the new product template. Let’s see how to do that.
Steps to Change Product Page Shopify
Step 1: Click on the Products tab from the Shopify Admin.
Step 2: Open the product you want to assign to the custom template.
Step 3: Scroll down to the Online store section.
Step 4: Now select your custom template from the Theme template dropdown.
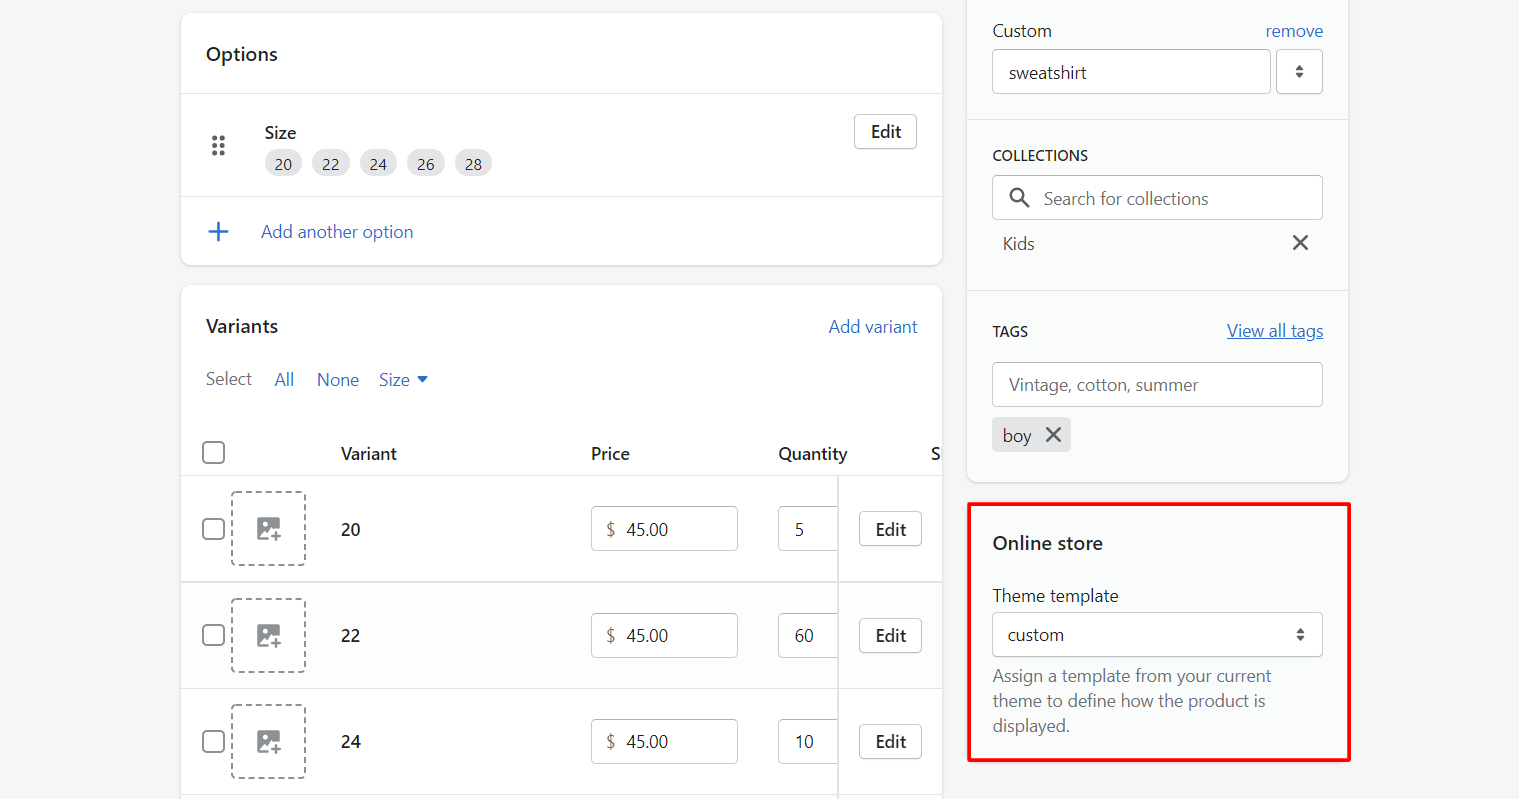
Step 5: Hit the Save button.
Congratulations! You’ve successfully created a custom template for your products. This way, you can create custom templates for other pages like collection, cart, customer account, and so on.
Hope this guide helped you. For more helpful guides you can explore our blog section.


About the author
Sagarika Das