


As we all agree there will be no store without themes. It’s quite usual that after setting up the Shopify account the next step that everyone does is choosing a theme for their store. Having an attractive and beautiful theme is really important to catch the first attention of customers. It should really have a good style, color combination, and many more things to make it out perfect.
On top of that retailers must be fluent in installing a Shopify theme. So in this blog let’s see how to install a Shopify theme for a store. We will see both the free and paid theme installation.
How to Install a Free Shopify Theme
Step #1: Open the Themes Collection
First of all, log in to your Shopify account, and from your admin panel click online store. After that choose themes.
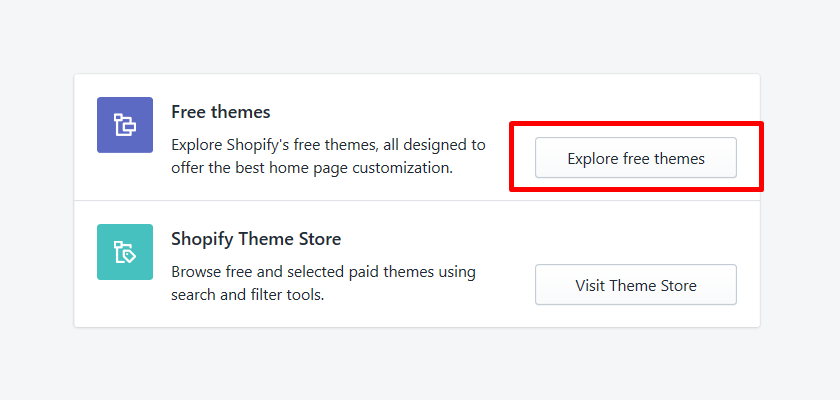
Step #2: Explore free themes of Shopify
When you scroll down to the bottom of the page you will see the button Explore Free Themes, click on it. Now you will get a collection of free themes displayed on the window.
Step #3: Preview the theme
Select any theme and see the preview the style of the theme. You will get to know more features of the theme from here.
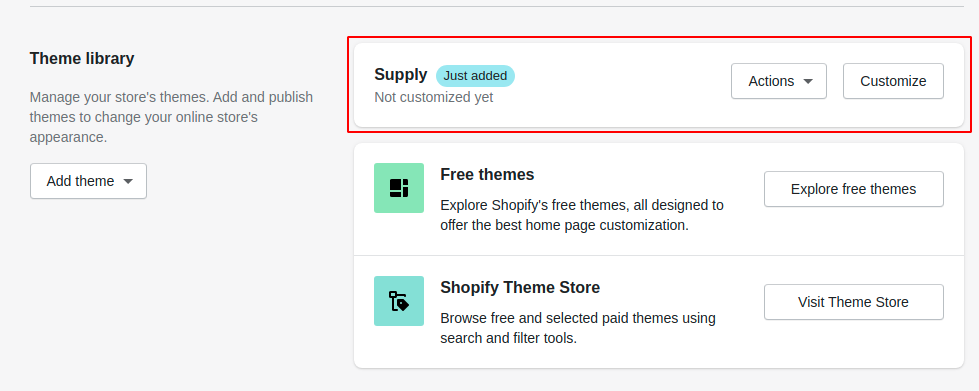
Step #4: Add the theme to the library
After finalizing the theme that you want, click Add theme to the library button of your theme.
Step #5: Customize the theme
Once the theme is added to the theme library, you can customize it as per your needs. Click on the Customize button. The theme template editor will open. Do all the changes and hit the Save button.

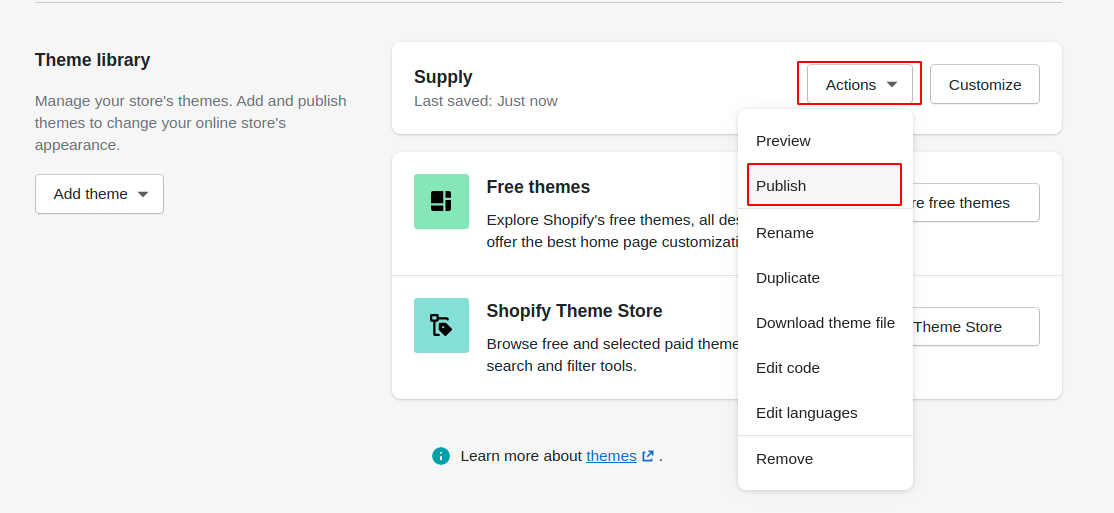
Step #6: Publish the theme
Before you publish the theme, make sure to check if all the changes or customizations are reflected perfectly in your Shopify store. Go to the themes and there on the right side of the page you will see the theme. After setting up the theme, click on Action and then on publish.
How to Install a Paid Shopify Theme
Step #1: Open the Paid Themes
Go to Shopify theme store by clicking the Visit Theme Store button.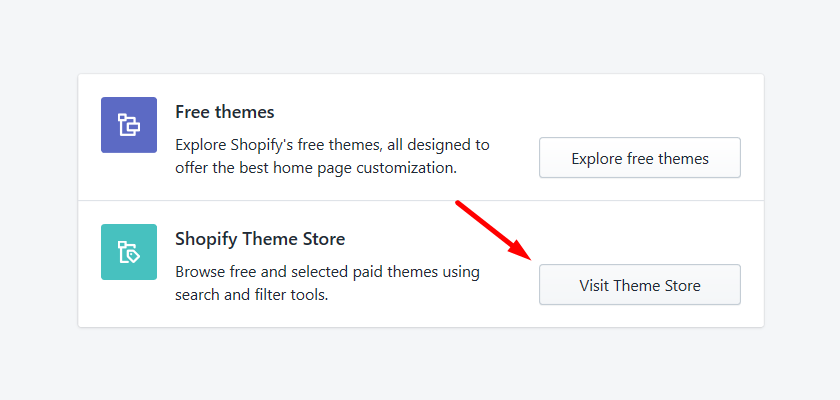
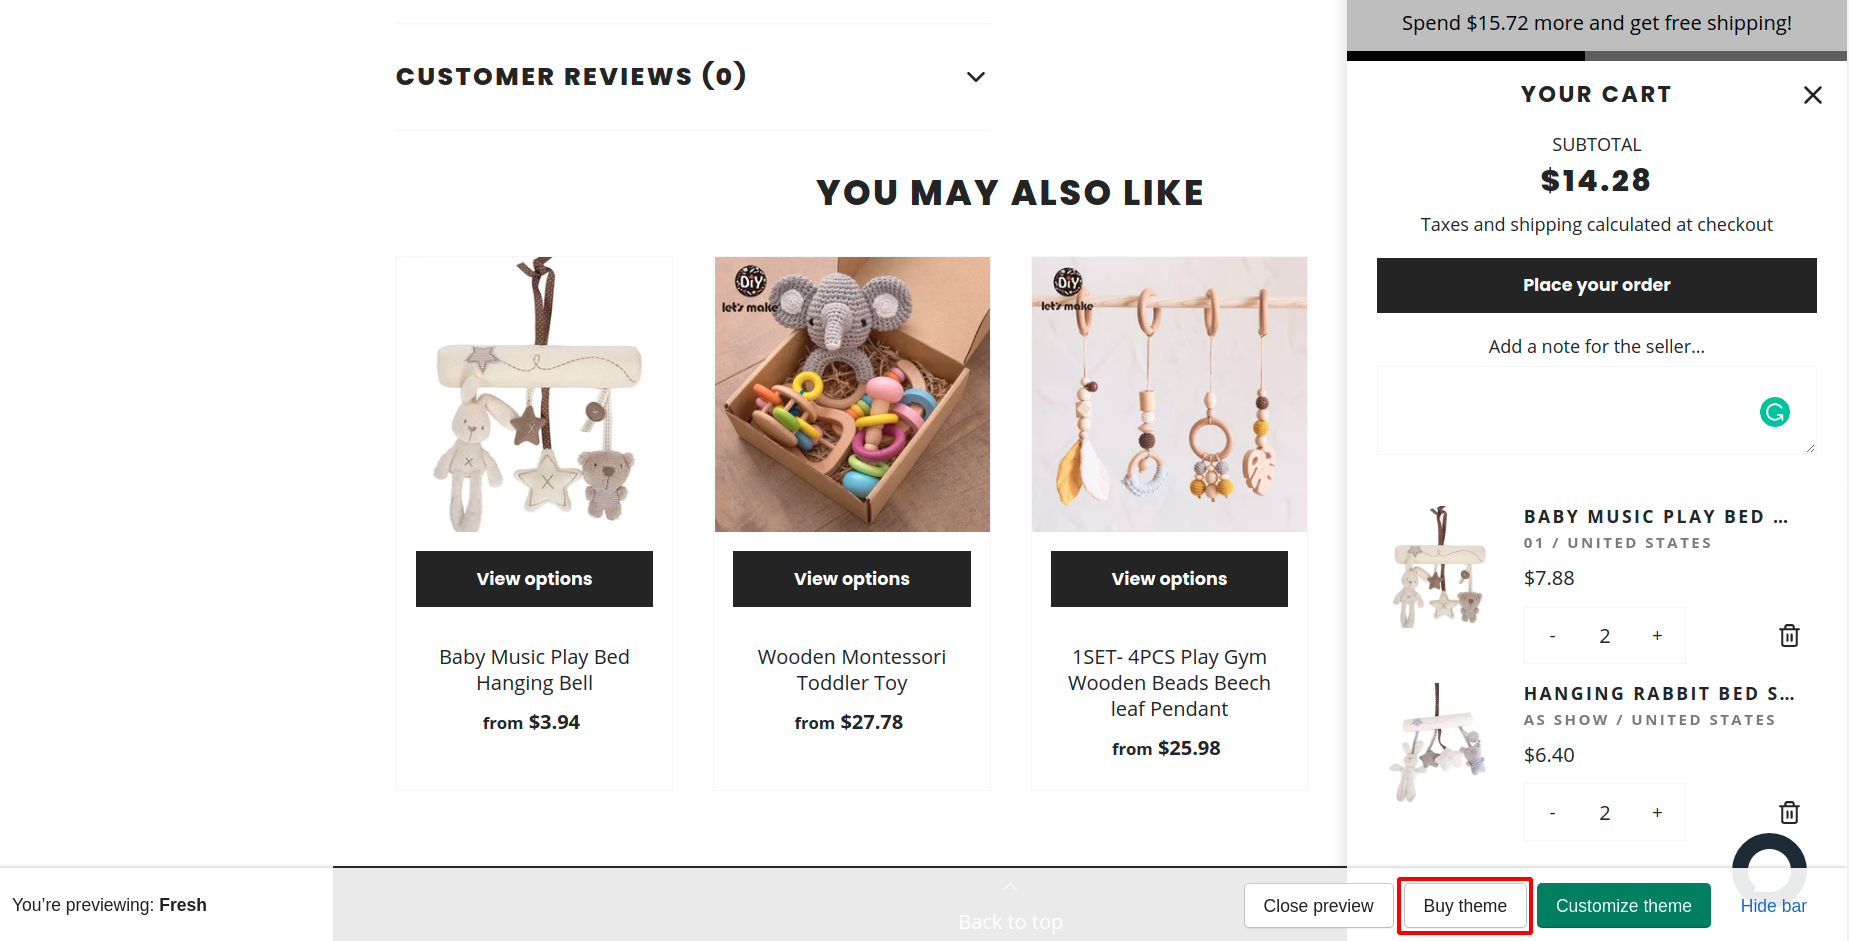
Step #2: Select the theme and buy it
Explore the paid themes in the Shopify theme store and pick the best one you like for your store. Before you finalize any theme, make sure to go through the features, reviews, support, and documentation of the theme. View the demo store. Click on the Try theme button if you want to use it for your Shopify store. Click on the Buy theme to purchase it.
Note: Shopify will NOT refund the amount that you are paying to buy the theme.
Step #3: Approve the payment
After selecting the theme now you need to make your payment. If you haven't saved the default payment methods yet, click on the Add payment method and fill all the required details. Approve the charge to complete the payment. After the successful payment, your theme will be added to the theme library.
After your paid Shopify theme is added to the theme library of your store, follow Steps 5 and 6 that we have seen in installing a free theme.


")


About the author
Sajini Annie John
Meet Sajini, a seasoned technical content writer with a passion for e-commerce and expertise in Shopify. She is committed to helping online businesses to thrive through the power of well-crafted content.