


Introduction
Ultimate Subscriptions App allows your customers to subscribe to the products they might need regularly at a better price and can save their time as every time they don’t need to come again and again on site and place the order.

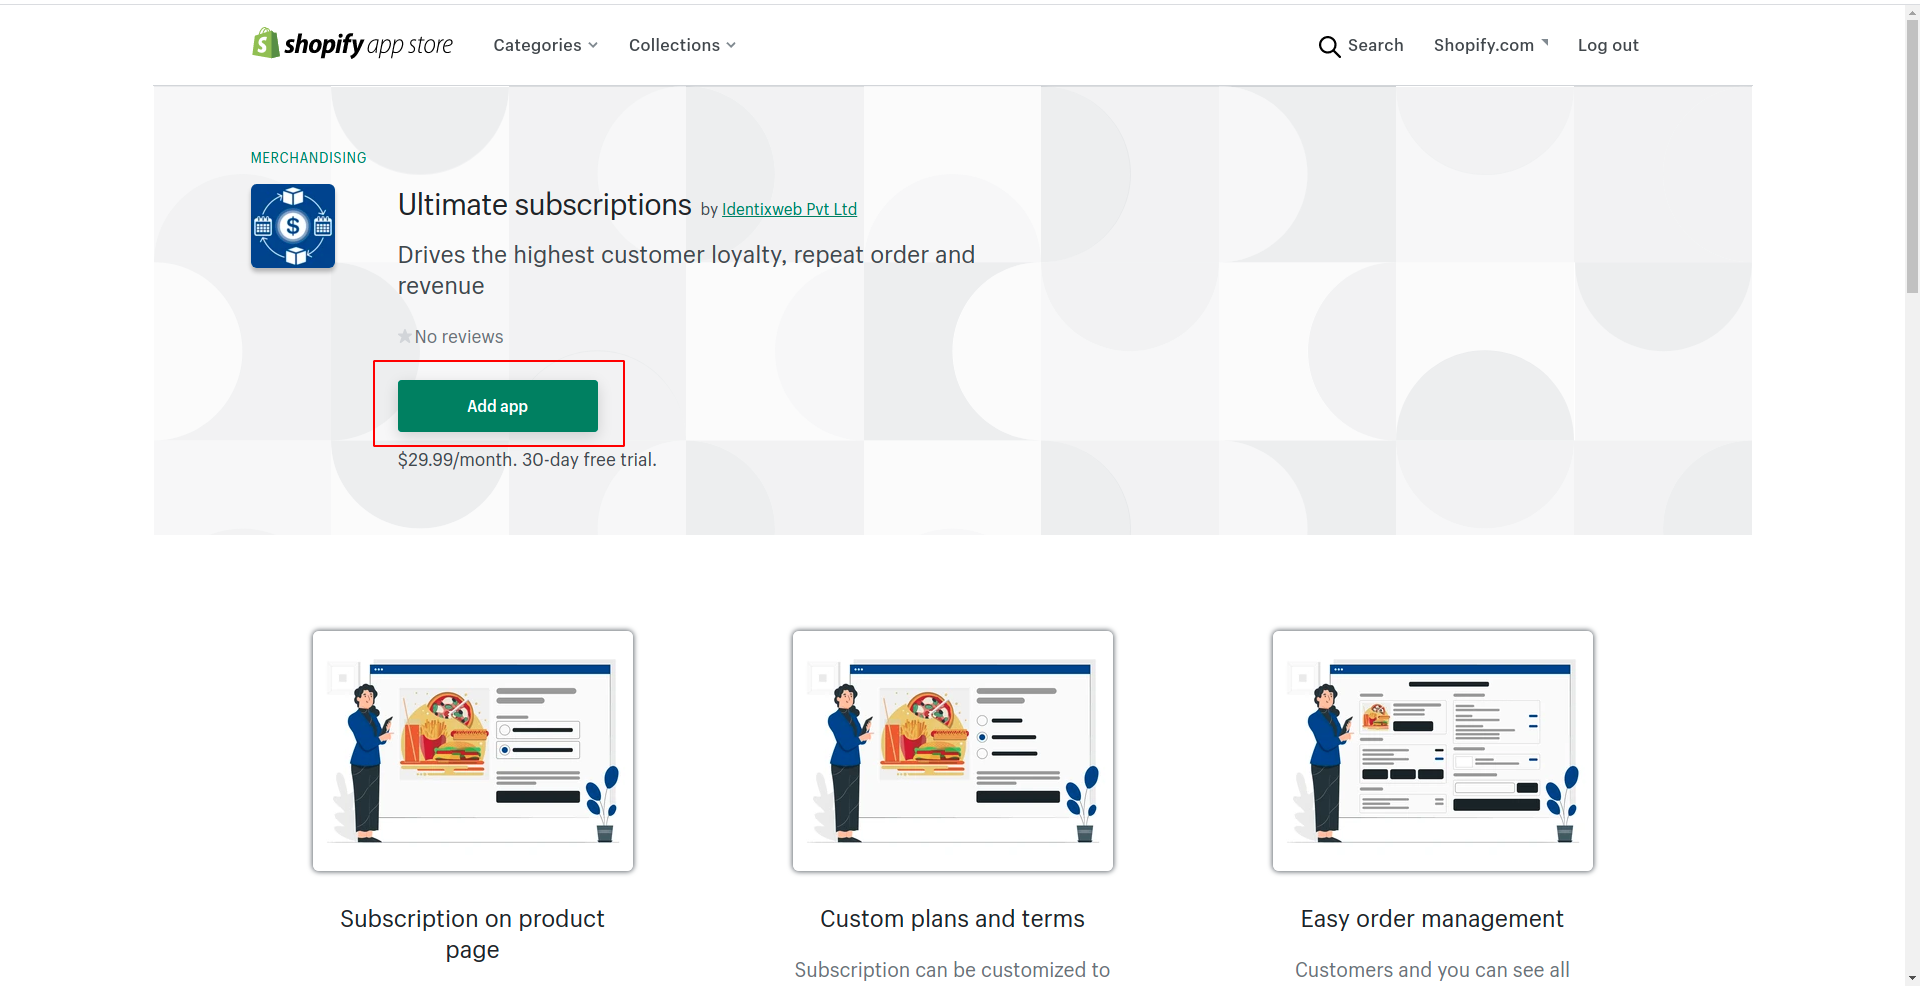
Installing Ultimate Subscriptions on Shopify store
As usual, go to the Shopify app store, browse the app, and open the page of this app. On this page, you will see a button “Add app”. Click on it.
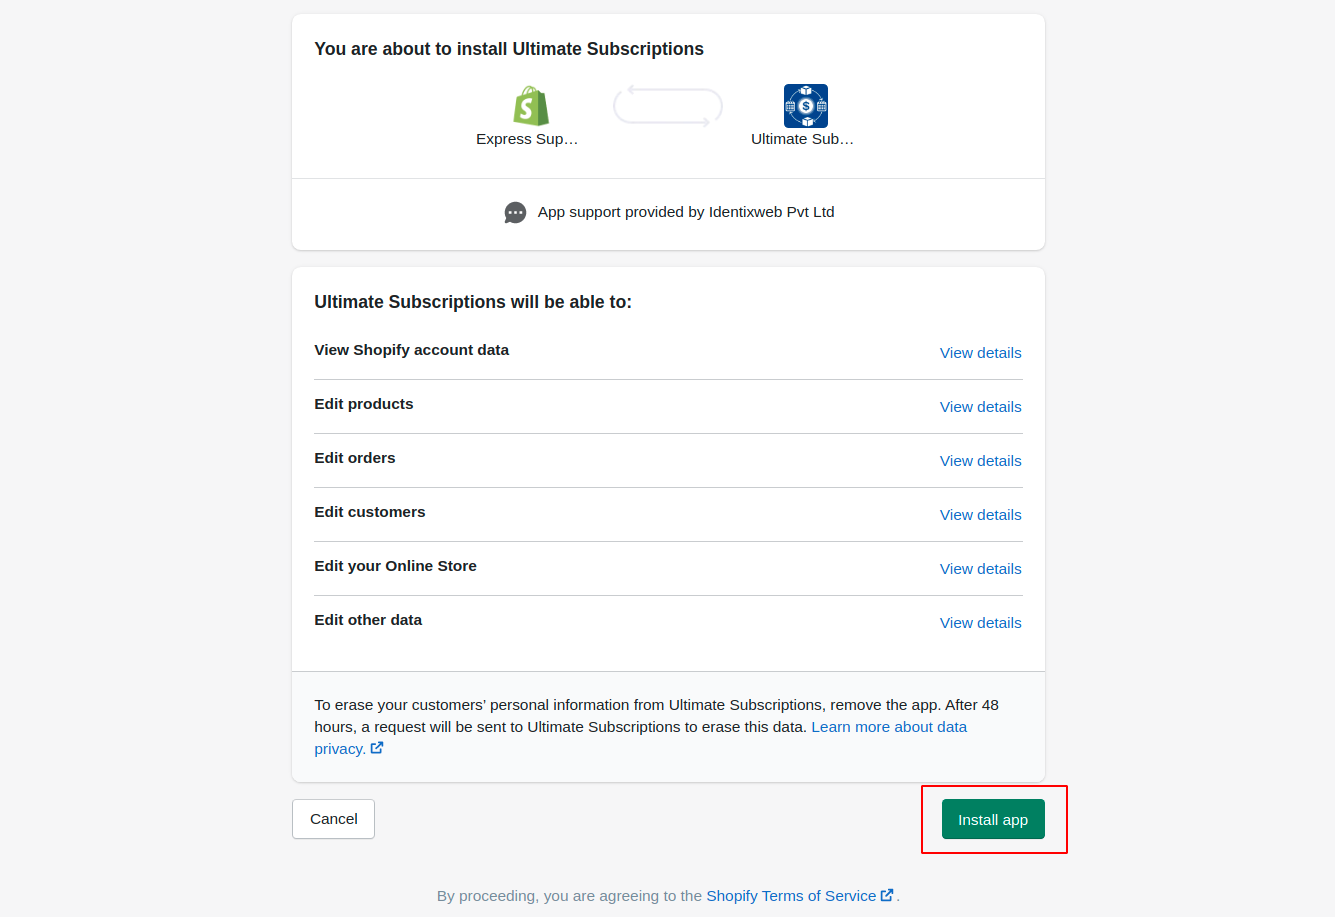
Read over the lines detailing the access you will grant Ultimate Subscriptions app, and click on the “Install app” button.
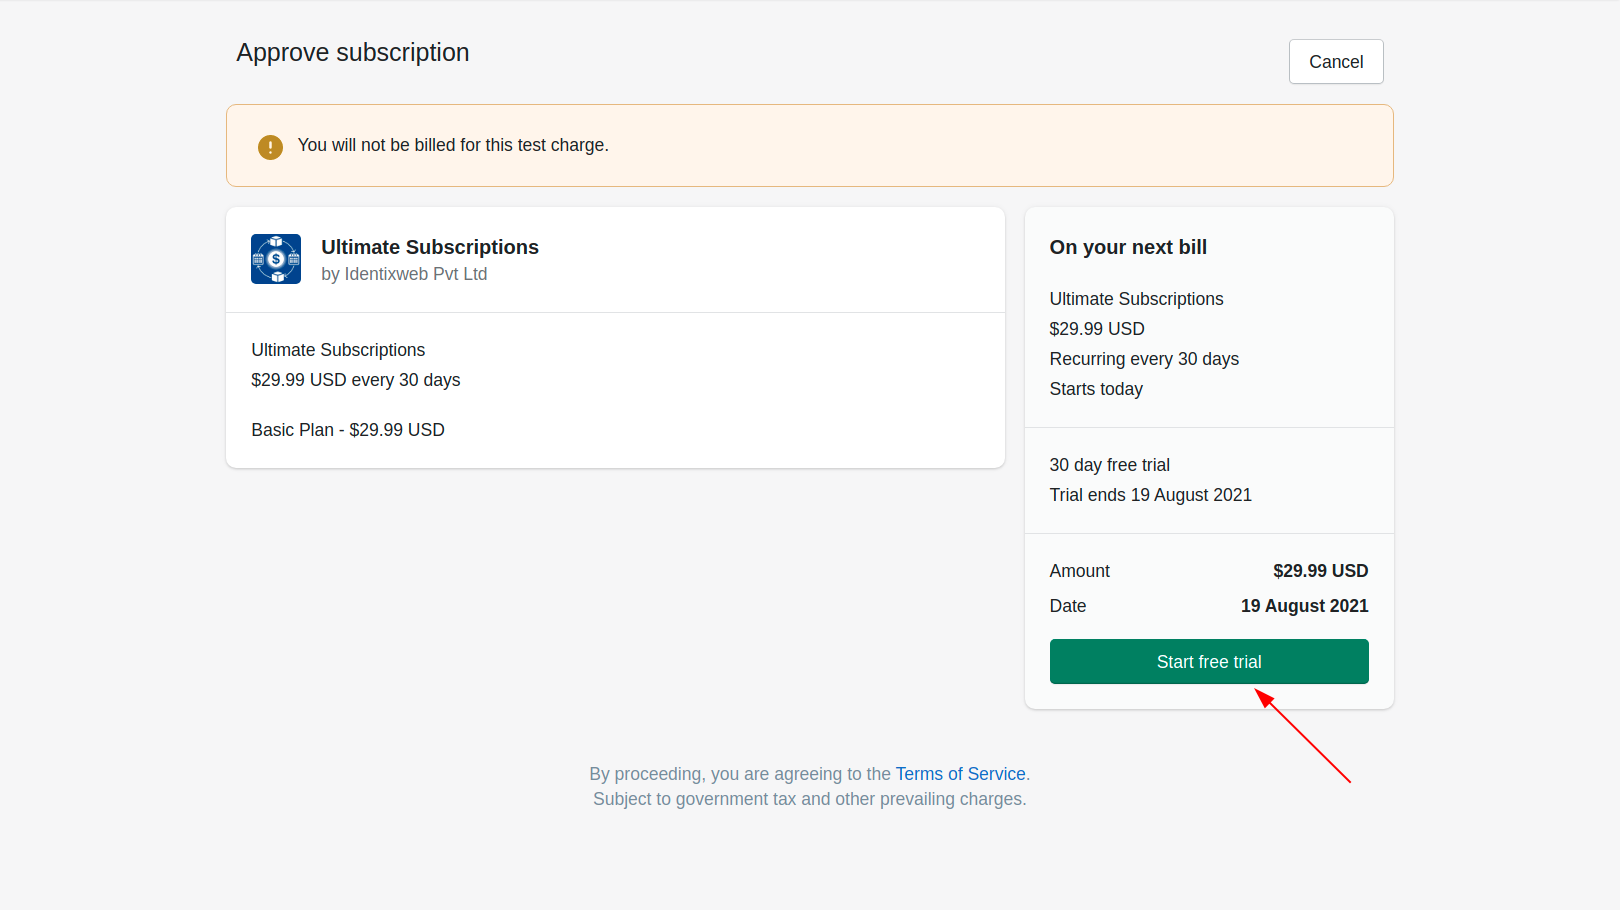
After that, you may get this box as shown below. By clicking on this button your free trial will get started.
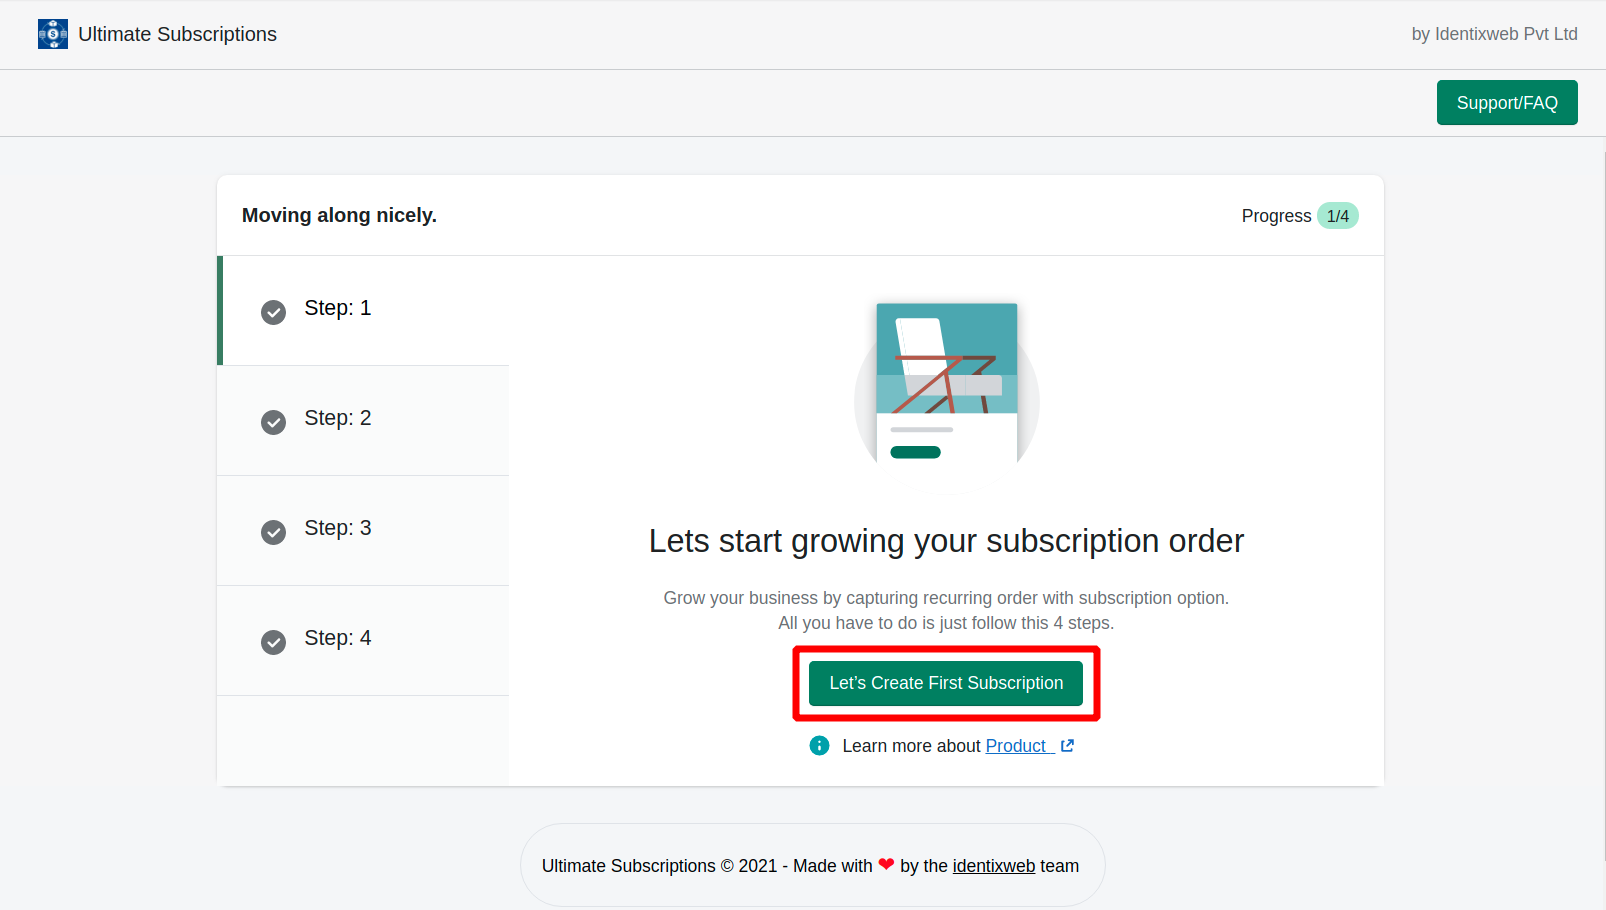
Now you will see a page in which you need to follow the mentioned steps to complete the installation process.
Step 1: In this step, you need to create the first subscription plan.
When you click on the above button you will get a form on which you can create your subscription plan as shown below.

After entering the details click on the “add selling plan” button.

Now you can add the selling plan details on the page that is shown below.
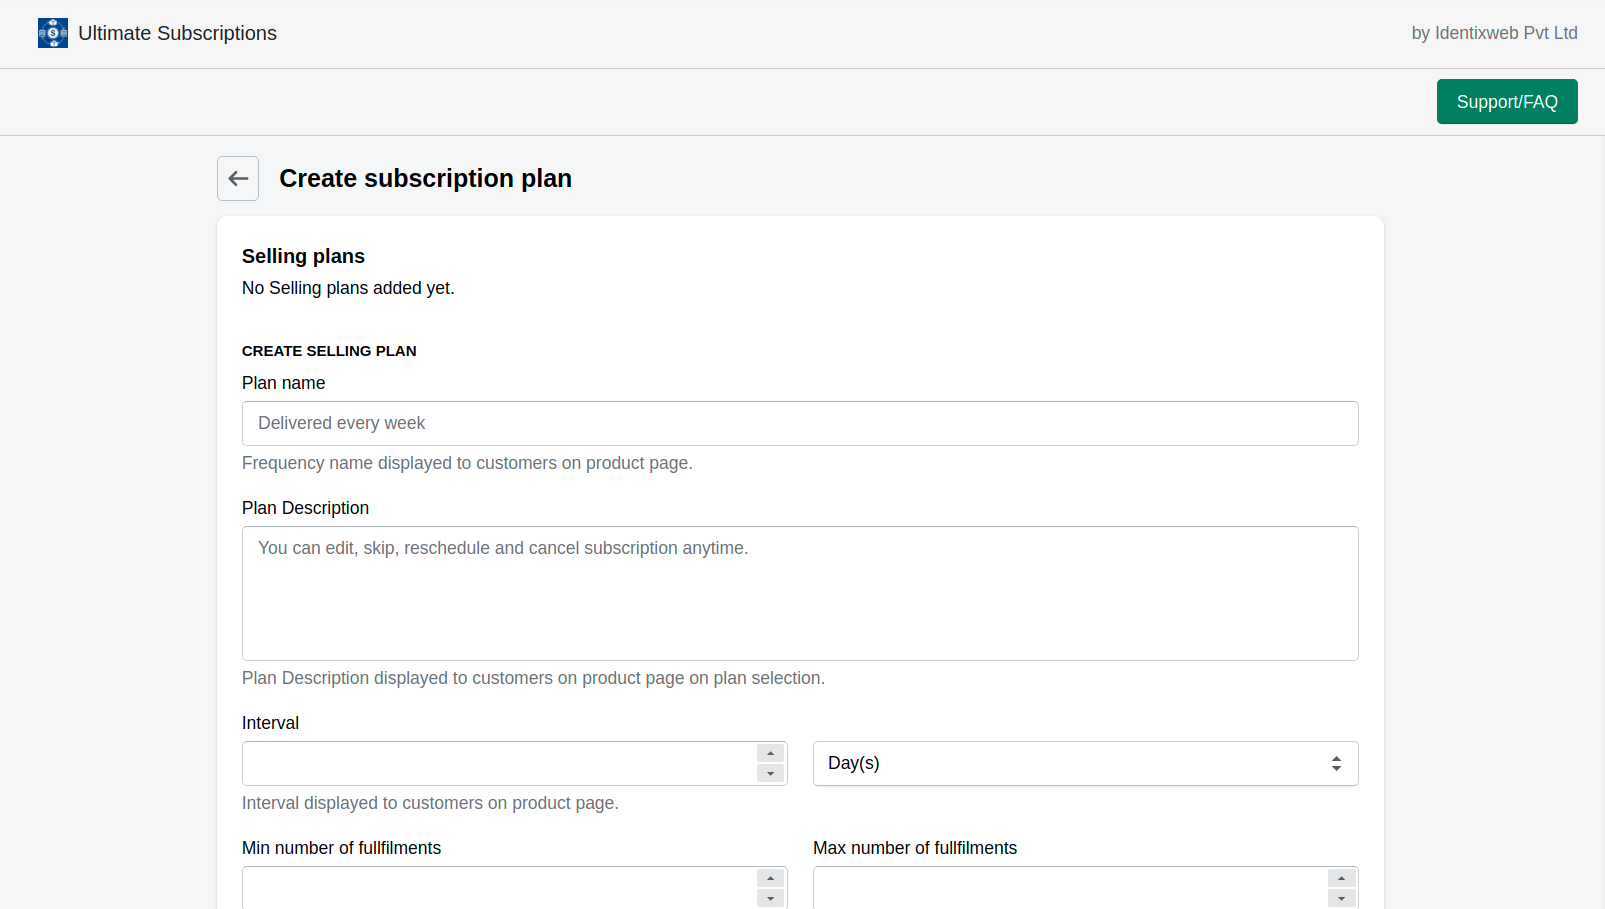
Let’s take a quick look at the options on this page:
- Plan name: Set plan names like Delivery every day, week, or month.
- Plan description: Add a plan description about the plan and what this plan is for.
- Interval: Set delivery interval should be in the subscription for example 1 day, week, or month.
- Min number of fulfillment: Minimum number of orders should be created for starting a subscription. For example, if you have set the value 2 in this field, customers will get subscriptions after 2 orders.
- Max number of fulfillment: Maximum number of orders will be placed after selecting the subscription. For example, if the set value is 5 in this option, customers will get an order till 5.
- Discount type: Give various discounts to customers on the subscription as None, Percentage, and Fixed amount on their subscription.
Note: Discount will be applied to each order will be created in the subscription. For example, if you set a $2 fixed amount discount so the customer who subscribes to the selected product will get $2 on each order. Suppose the product amount is $50 and they subscribe to this subscription they will get this product for $48 for each order after the subscription.
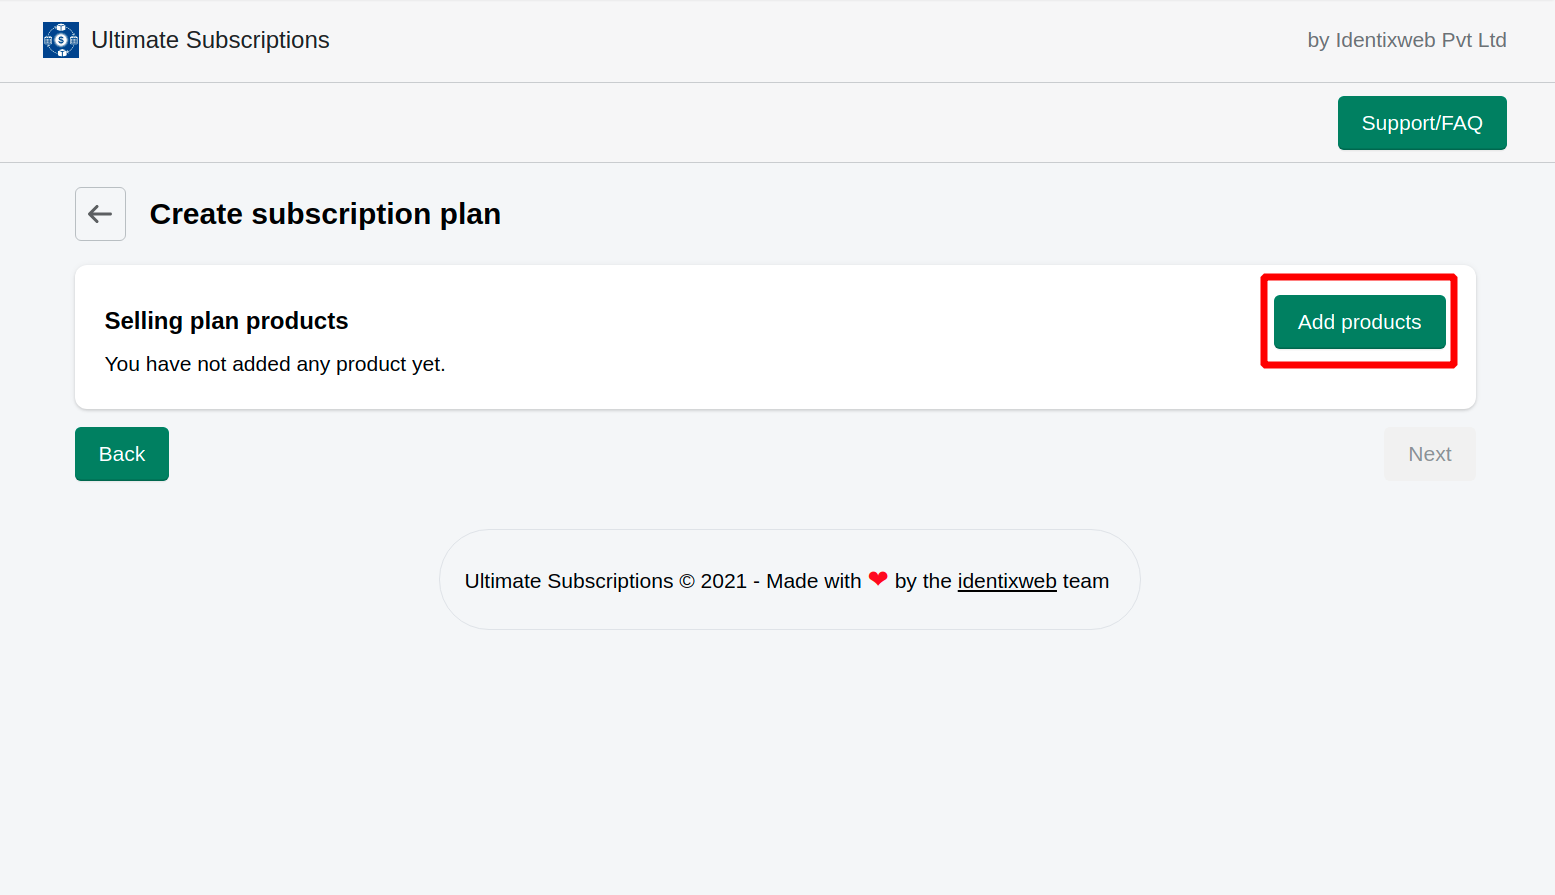
Now it’s time to add the products for which you are planning to apply for the subscription plan. After adding the products save and publish.
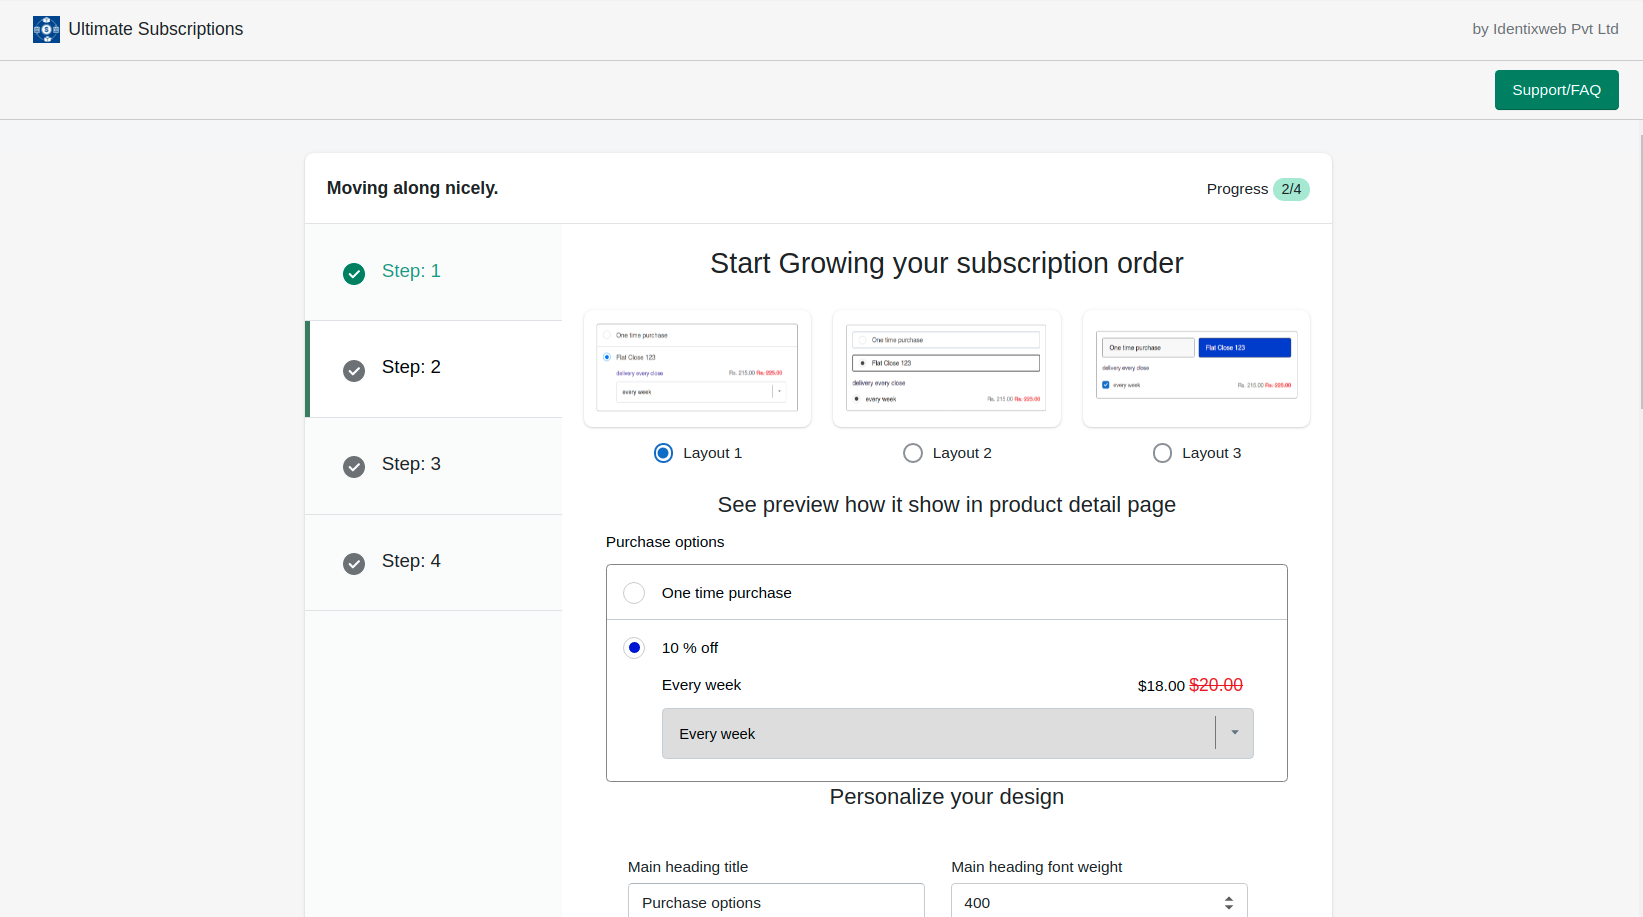
Step 2: This step allows you to select the layout and personalize the design as per your needs as shown in the screenshot below:
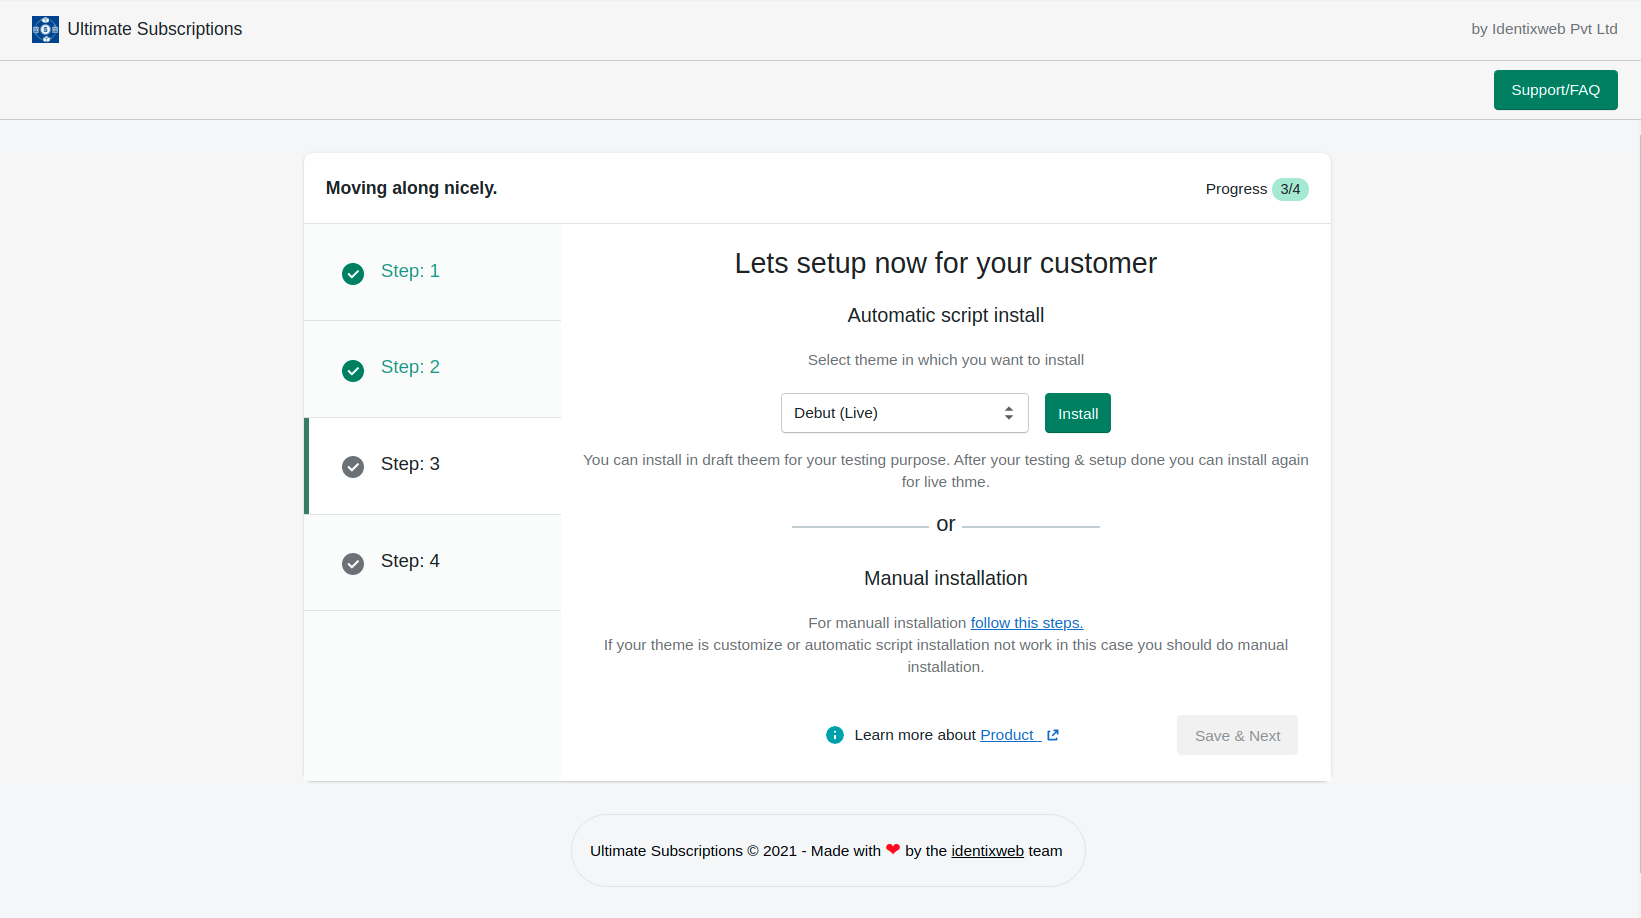
Step 3: This step allows you to install the theme. Either you can automatically install the theme by selecting from the dropdown or you can go for manual installation by following the given steps.
Step 4: In this step, you can visit your product.
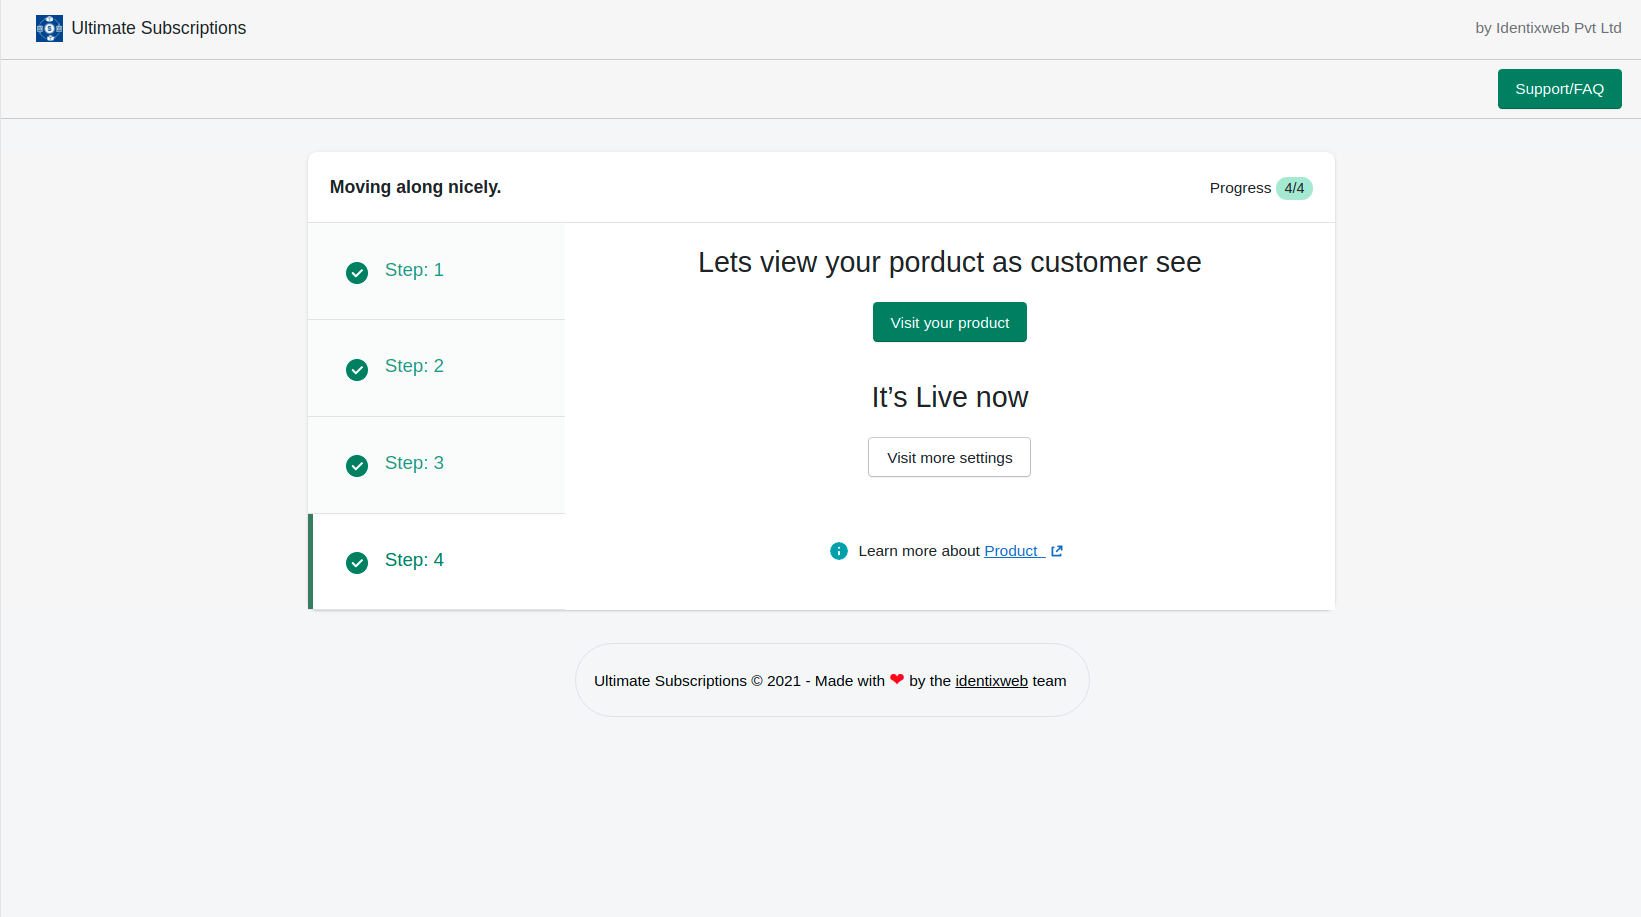
Now click on visit more settings as seen above.
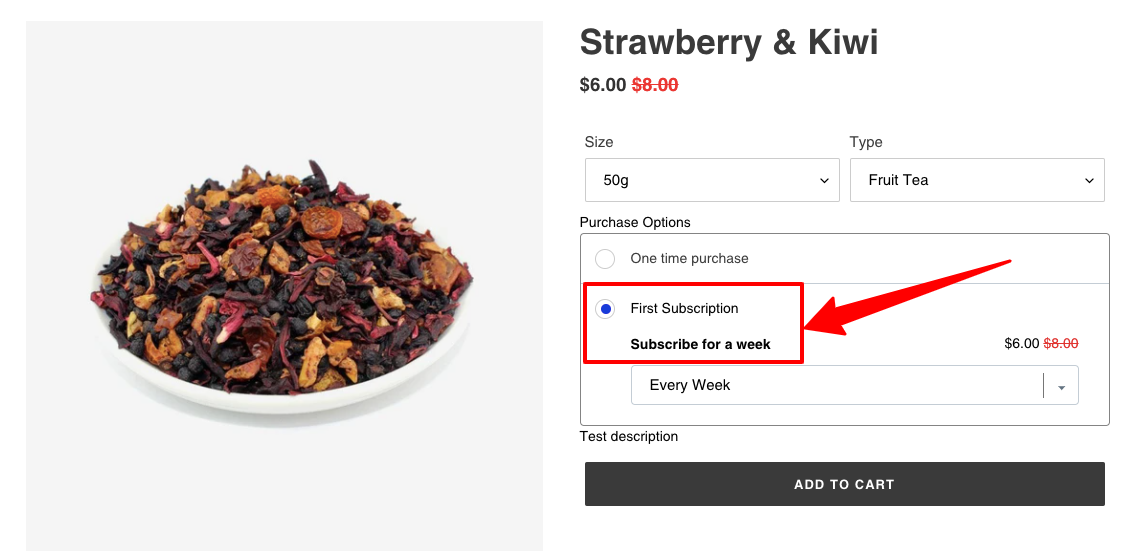
Finally, review all steps in one window and Save the plan. The below screenshot shows you how the result will be shown in the frontend.
Note: To make the Ultimate Subscriptions App visible in the development stores, you have to check for the following settings in your store:
- Store location should be USA or other countries (Except India)
- Shopify Payments should be enabled
- Enable Test mode for payments
So yeah, the app is installed in your store. Now let’s jump into the dashboard.
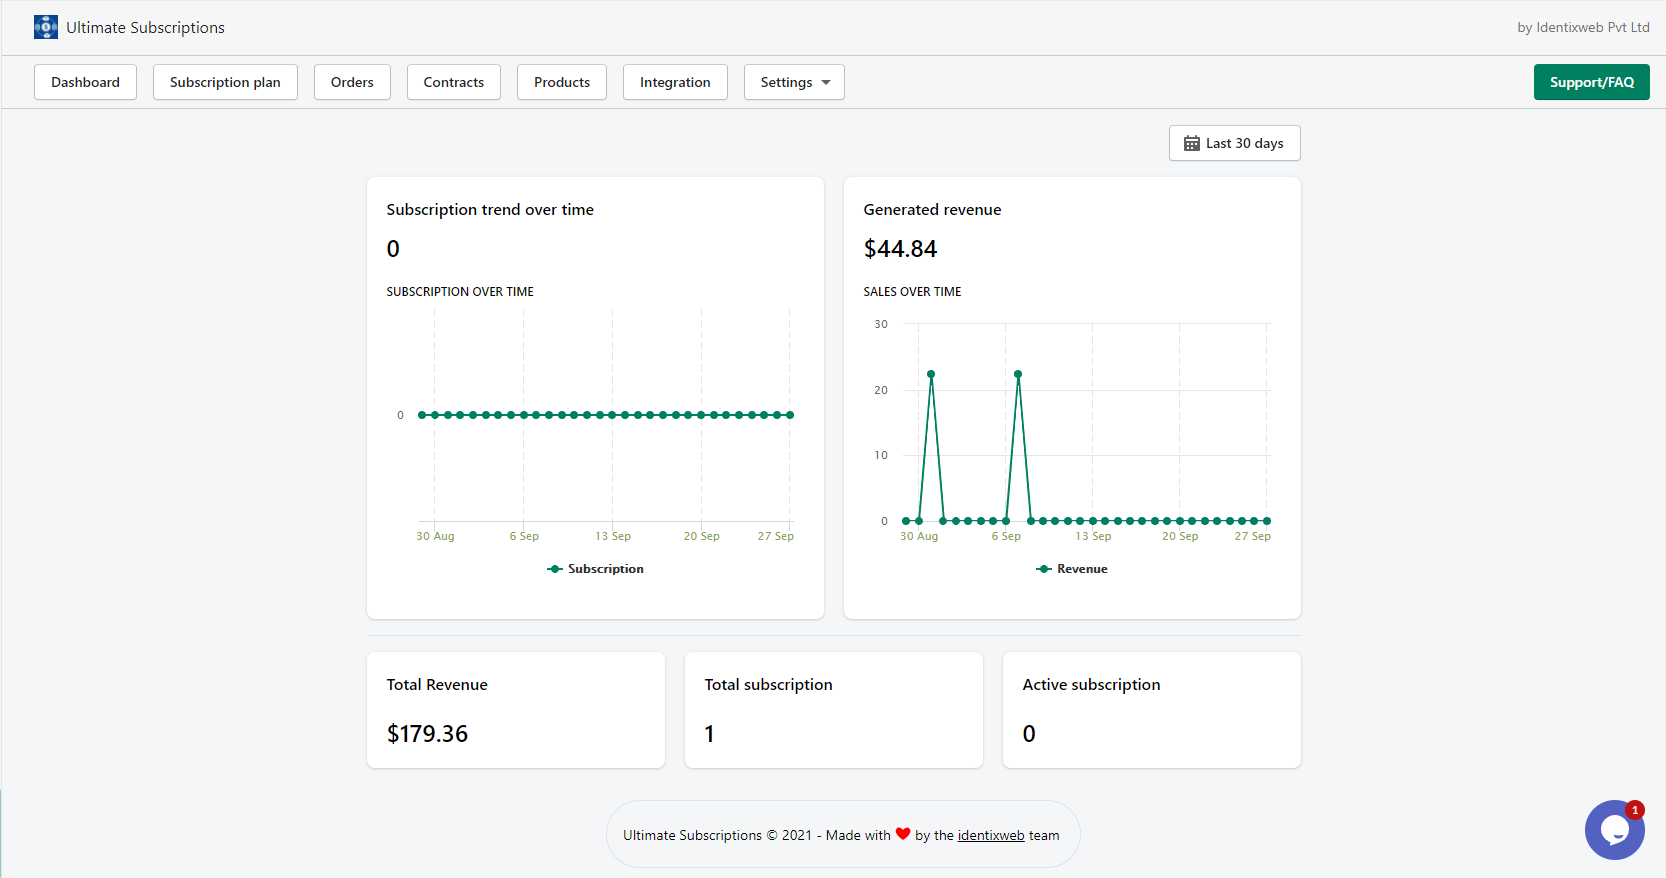
Here you can see the entire analytics of the app like:
- Subscription trend over time
- Generated revenue
- Total Revenue
- Total subscription
- Active subscription
Subscription Plan
This feature allows you to create a subscription plan for your customers which will be shown in your store. To create a new subscription plan click on the “create subscription plan” button. Follow Step 1 explained above to create a subscription plan.
Subscription lists
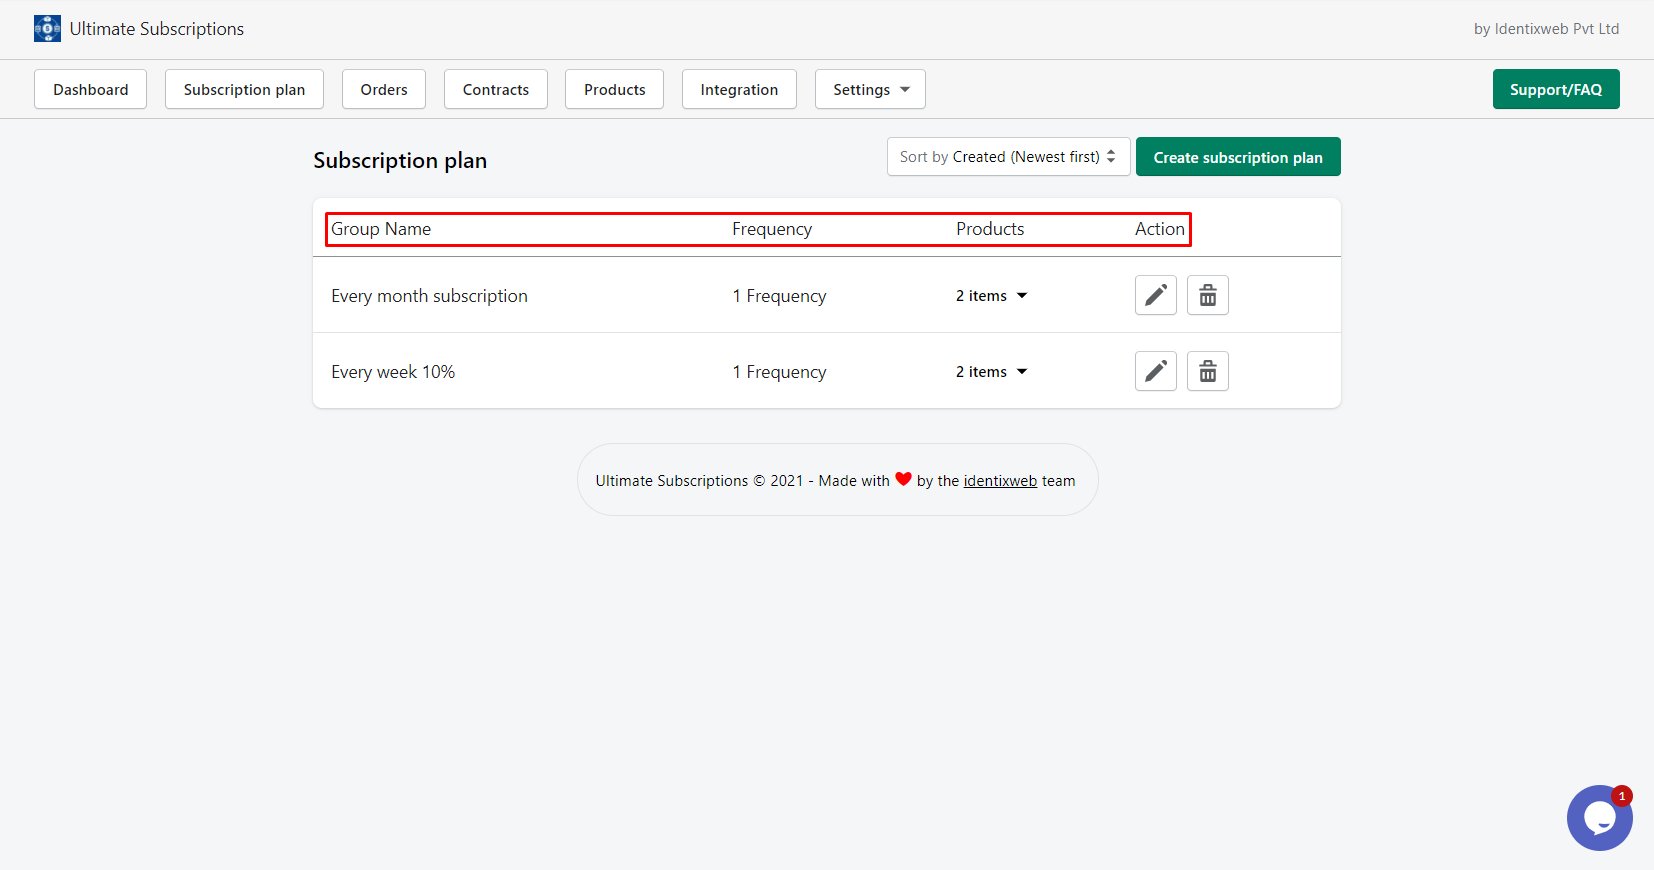
You can see the list of all subscriptions over this page which includes the following details:
- Sort by: Filter subscription listing by created (newest first), created (oldest first), updated (newest first), updated (oldest first)
- Create a new subscription: You can create a new subscription plan by clicking on this button.
- Group name: Subscription name created
- Frequency: The number of selling plans has been added to the subscription plan.
- Products: Lists of the selected products for the subscription.
- Action: Edit/Delete subscription plans.
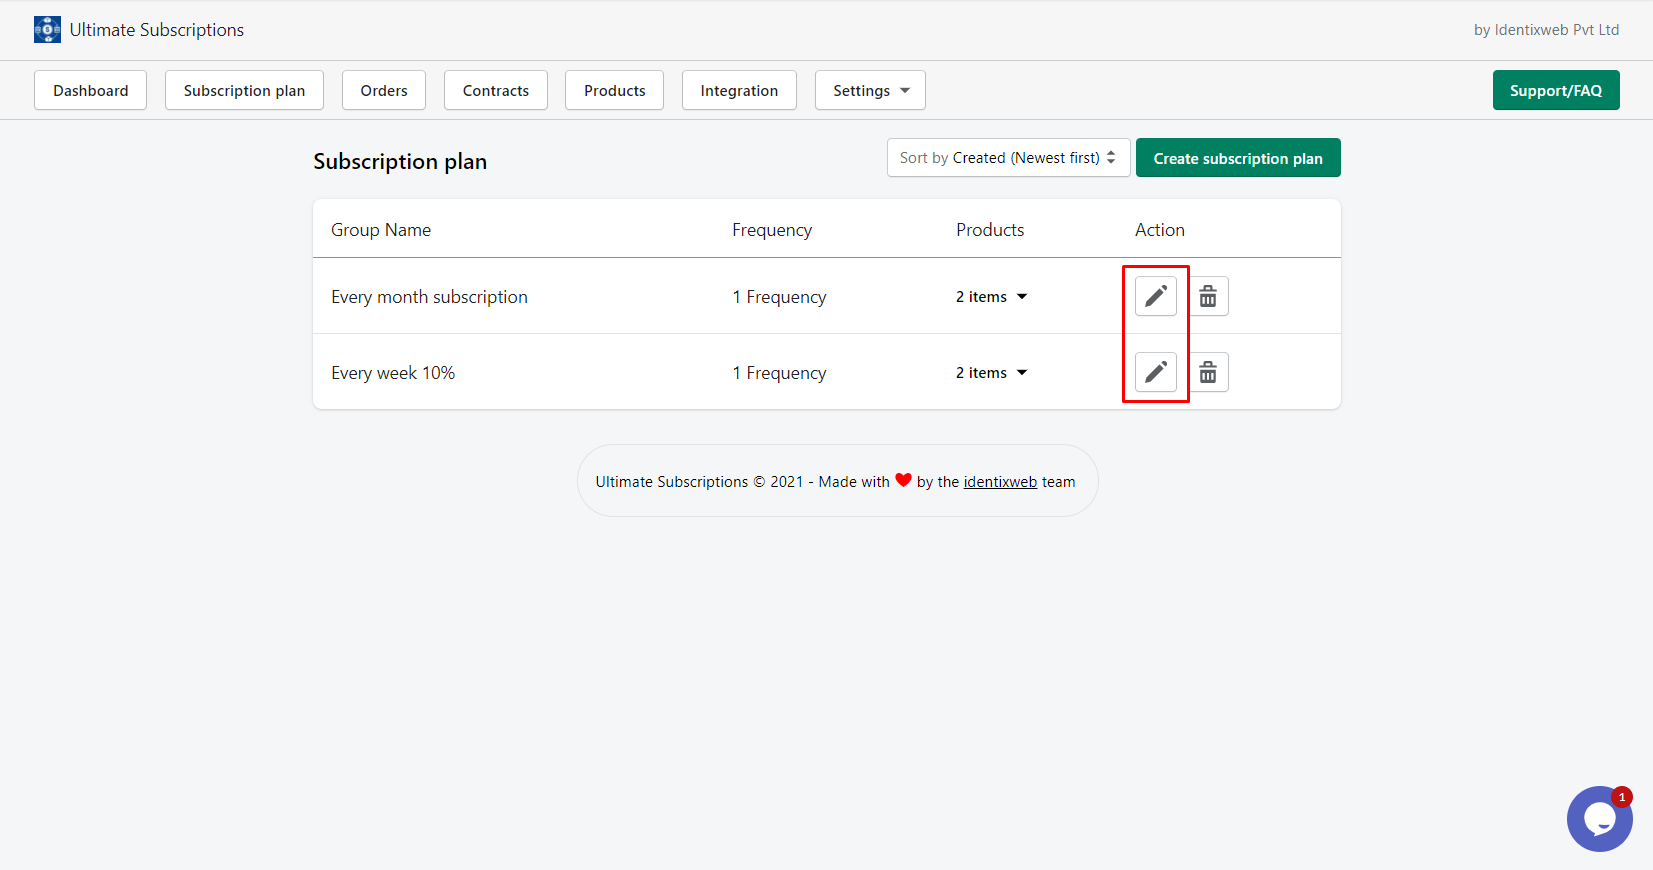
Edit/Update subscription plan
Edit/update a new subscription plan to allow customers to edit/update their daily, weekly, monthly, or whatever plan.
Click on Edit to update the subscription plan and get started.
Click on the edit button right to the subscription plan name below the Action. Edit subscription plan details, save and publish the changes.
Orders
Here you can see the list of all orders that have been created from the website with the subscription selected. You can see the following data on this page:
- Contract ID
- Customer
- Products
- Next billing on
- Contract created at
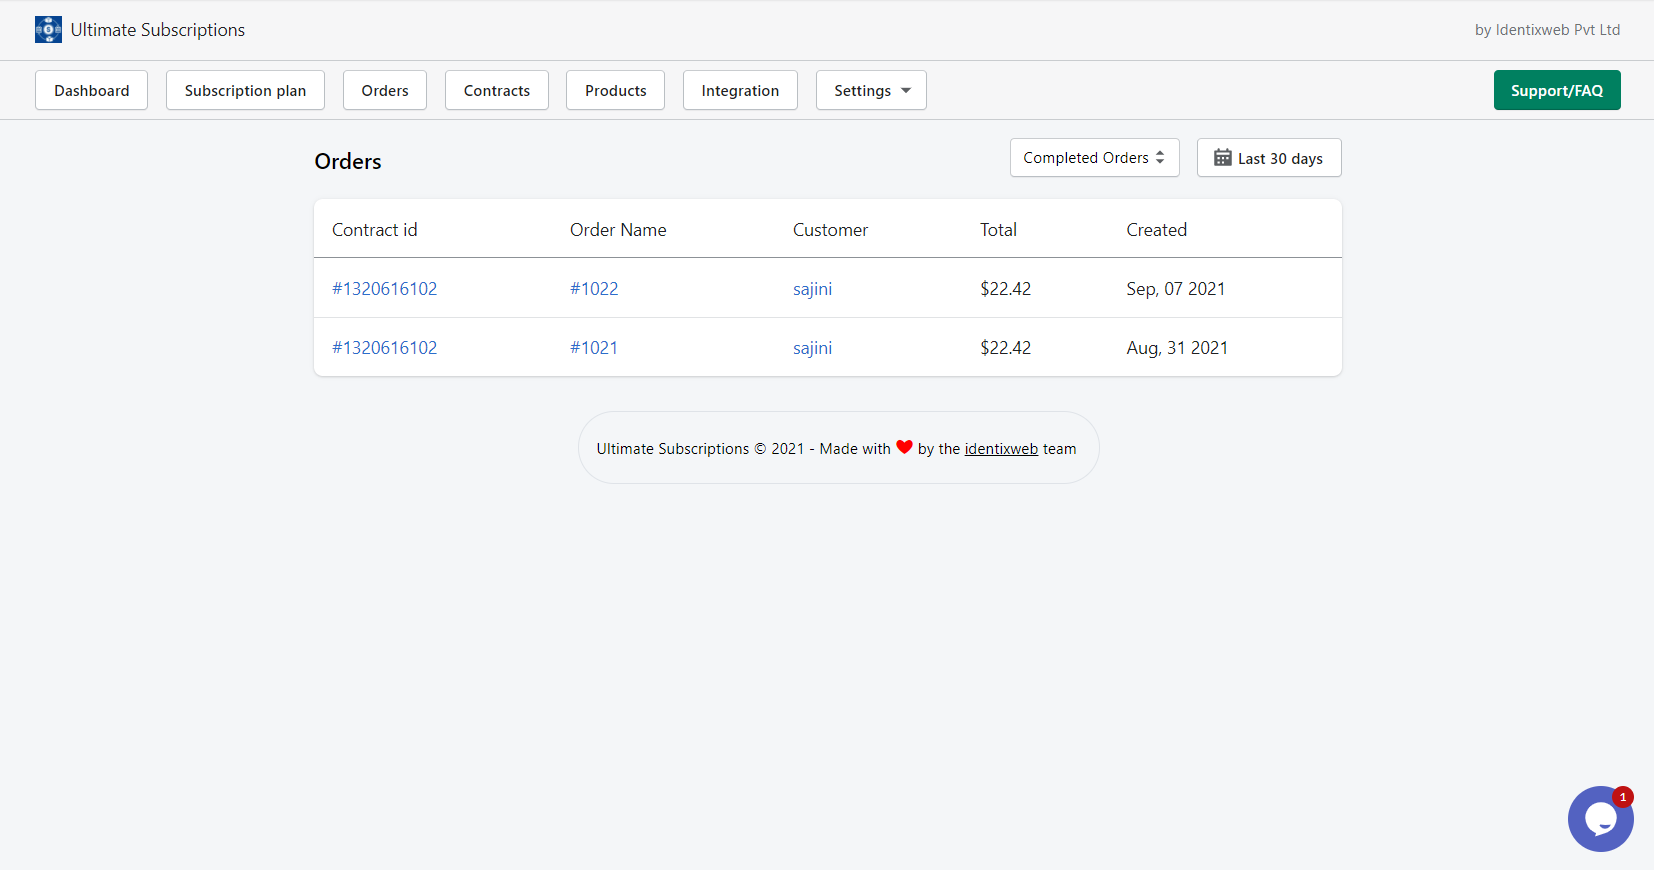
Apart from this, you can see the order list using the following 2 filters:
- Upcoming orders & Completed Orders
- Select Date Range
Admin actions
Admin can view the contract created for subscription and do the below actions:
- View lists of orders
- Edit
- Skip next order
- Pause order
- Cancel order
Contracts
Here you can see the list of customers who have subscribed to the website. You can see the following data on this page:
- Contract ID
- Customer name
- Products name
- Next billing on
- Status
Apart from this, you can filter the list using the below options:
- All
- Active
- Pause
- Expired
- Canceled
- Failed

So this was the admin side now let’s see the customer account portal.
Check out this video to see what actions customers can perform from their account for the subscription.
Integration
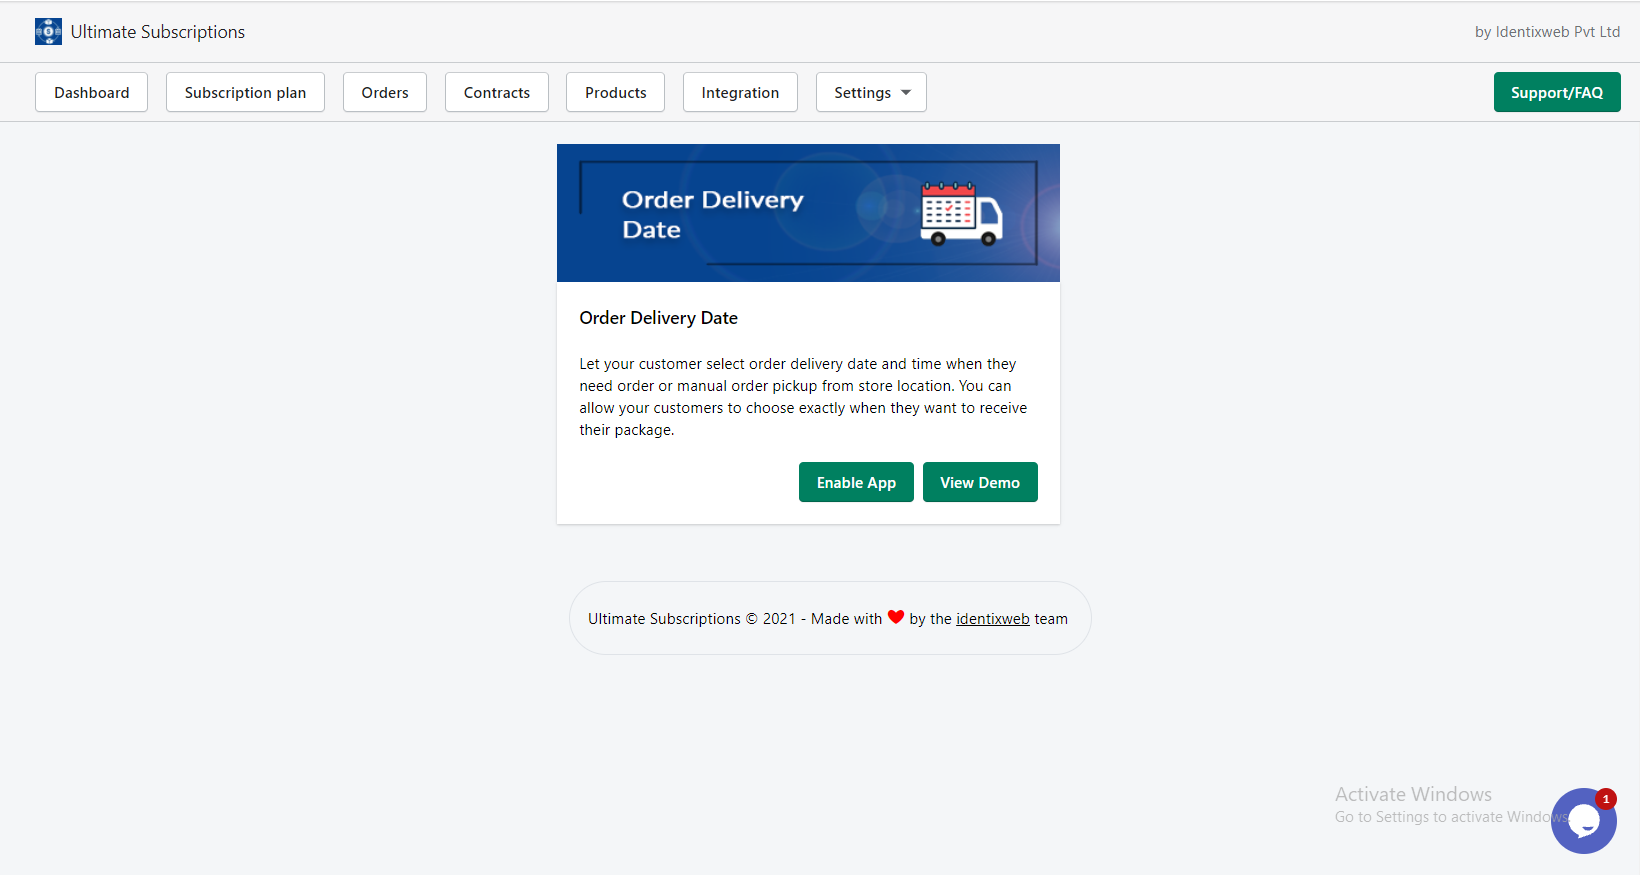
The integration of Order Delivery Date with the Ultimate Subscription app allows your customers can select future delivery dates for their orders or subscriptions as per the subscription interval.
Make sure you’ve already installed the Order Delivery Date app in your store and enabled it. To read the complete guide on Order Delivery Date.
Settings
Under settings you will get the following options:
General settings
Here admin can change some settings for customers which are mentioned below:
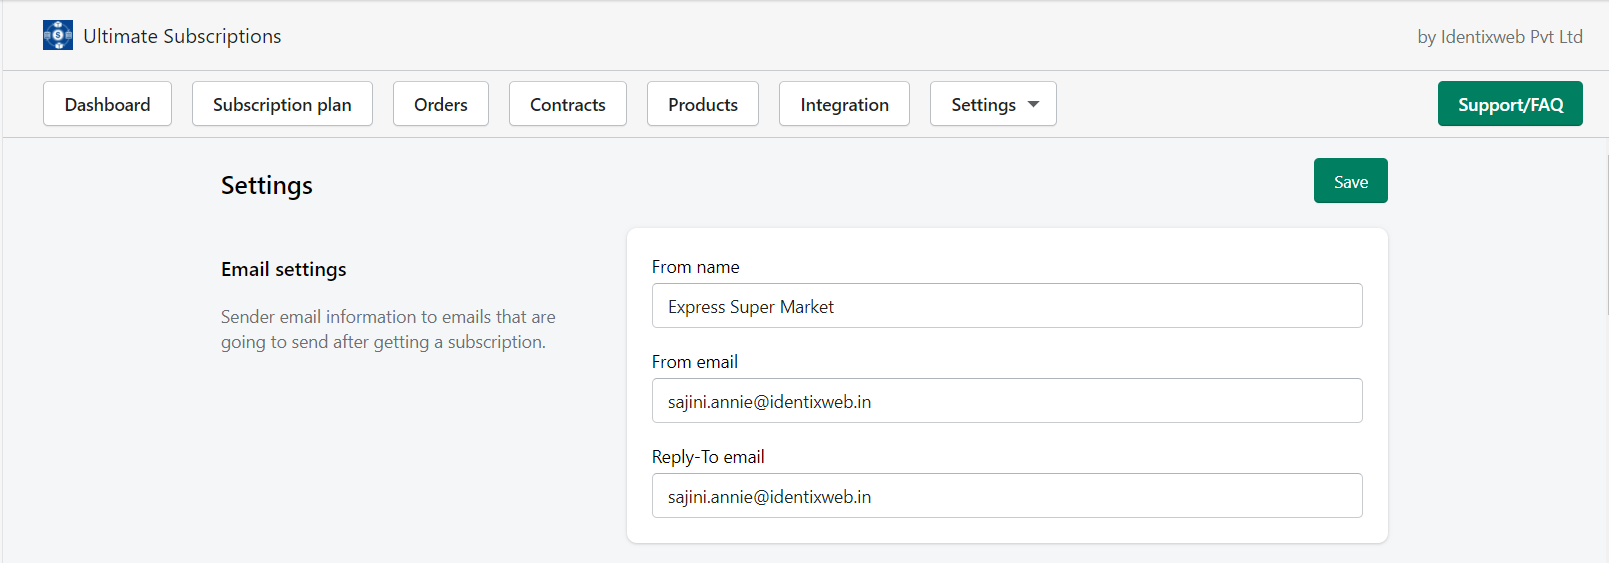
Email Settings: Sender email information to emails that are going to send after getting a subscription. The following options are included in this setting which you can change as per your need:
- From Name
- From Email
- Reply-To email
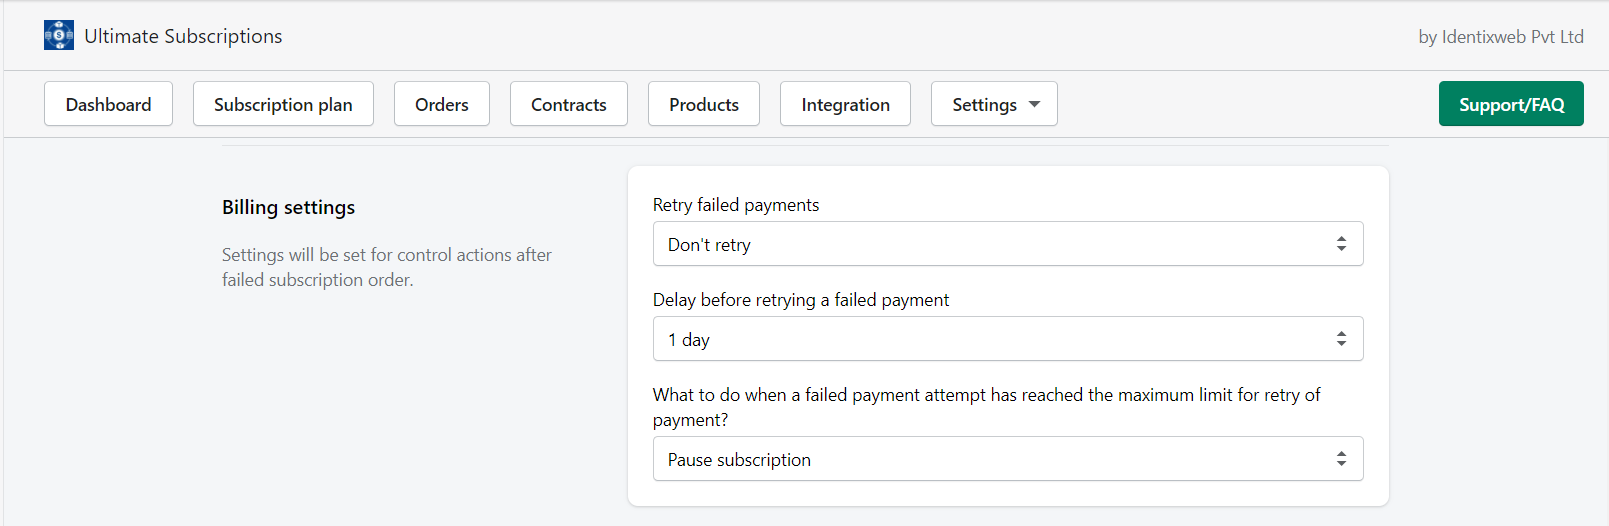
Billing Settings: This option allows you to change the settings for controlling actions after the subscription order is failed. The following options are included in this setting which you can change as per your need:
- Retry failed payments
- Delay before retrying a failed payment
- What to do when a failed payment attempt has reached the maximum limit for retry of payment?
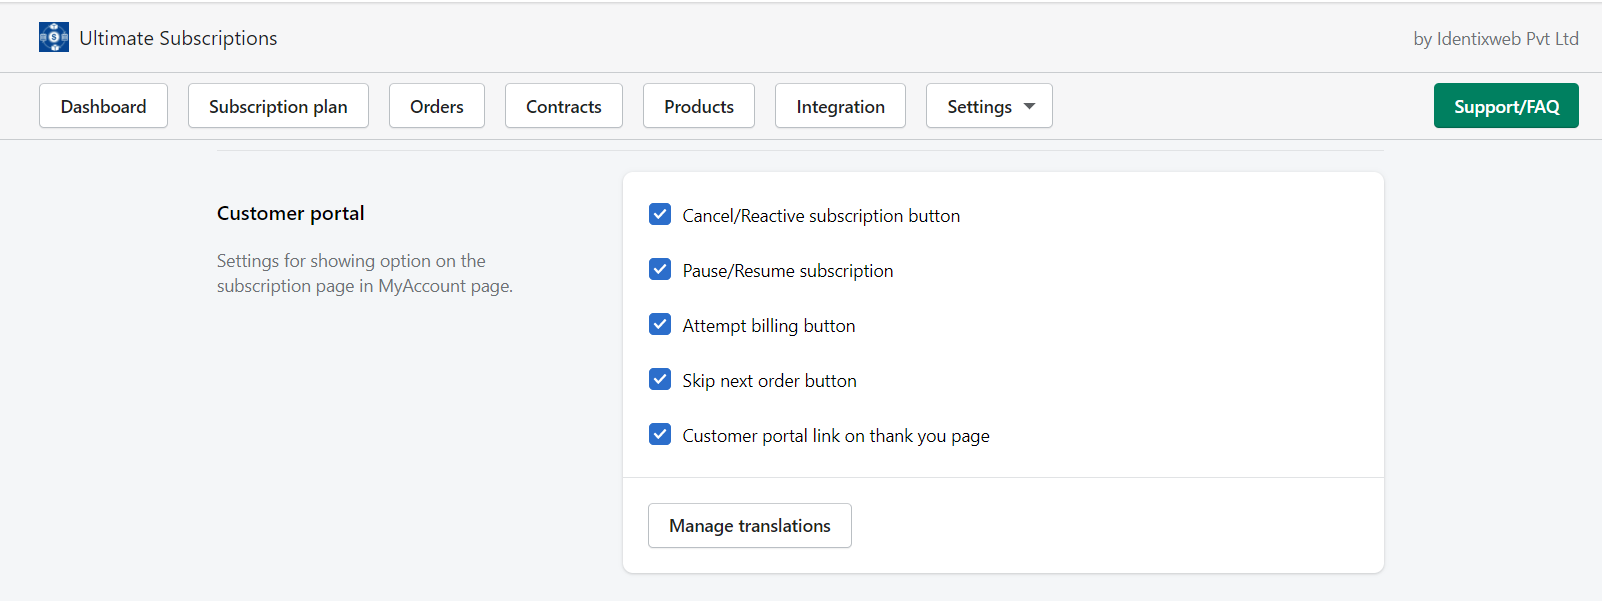
Customer portal: Settings for showing option on the subscription page in MyAccount page. The following options are included in this setting which you can show/hide on your store by clicking on the given respective checkbox.
- Cancel/Reactive subscription button
- Pause/Resume subscription
- Attempt billing button
- Skip next order button
- Customer portal link on checkout
- Manage translation button
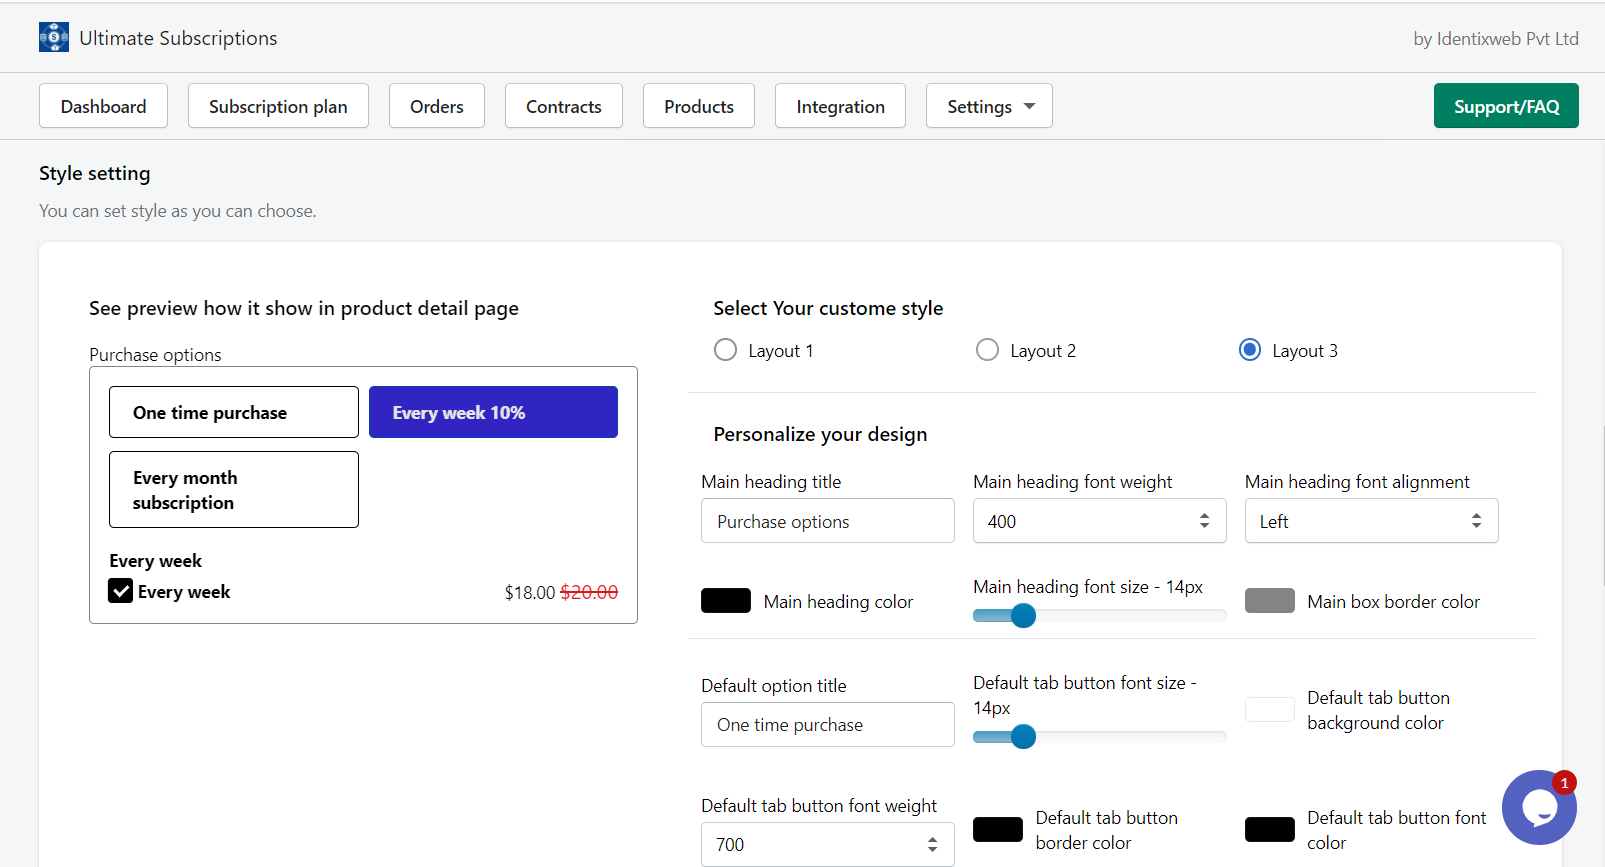
Style Settings: You can set the style as per your needs.
The following settings are included in this option:
- Layout selection: With this option, you can change the layout of your offer shown on the product detail page.
- Personalize design: With this option, you can personalize the style of your design as per your needs.
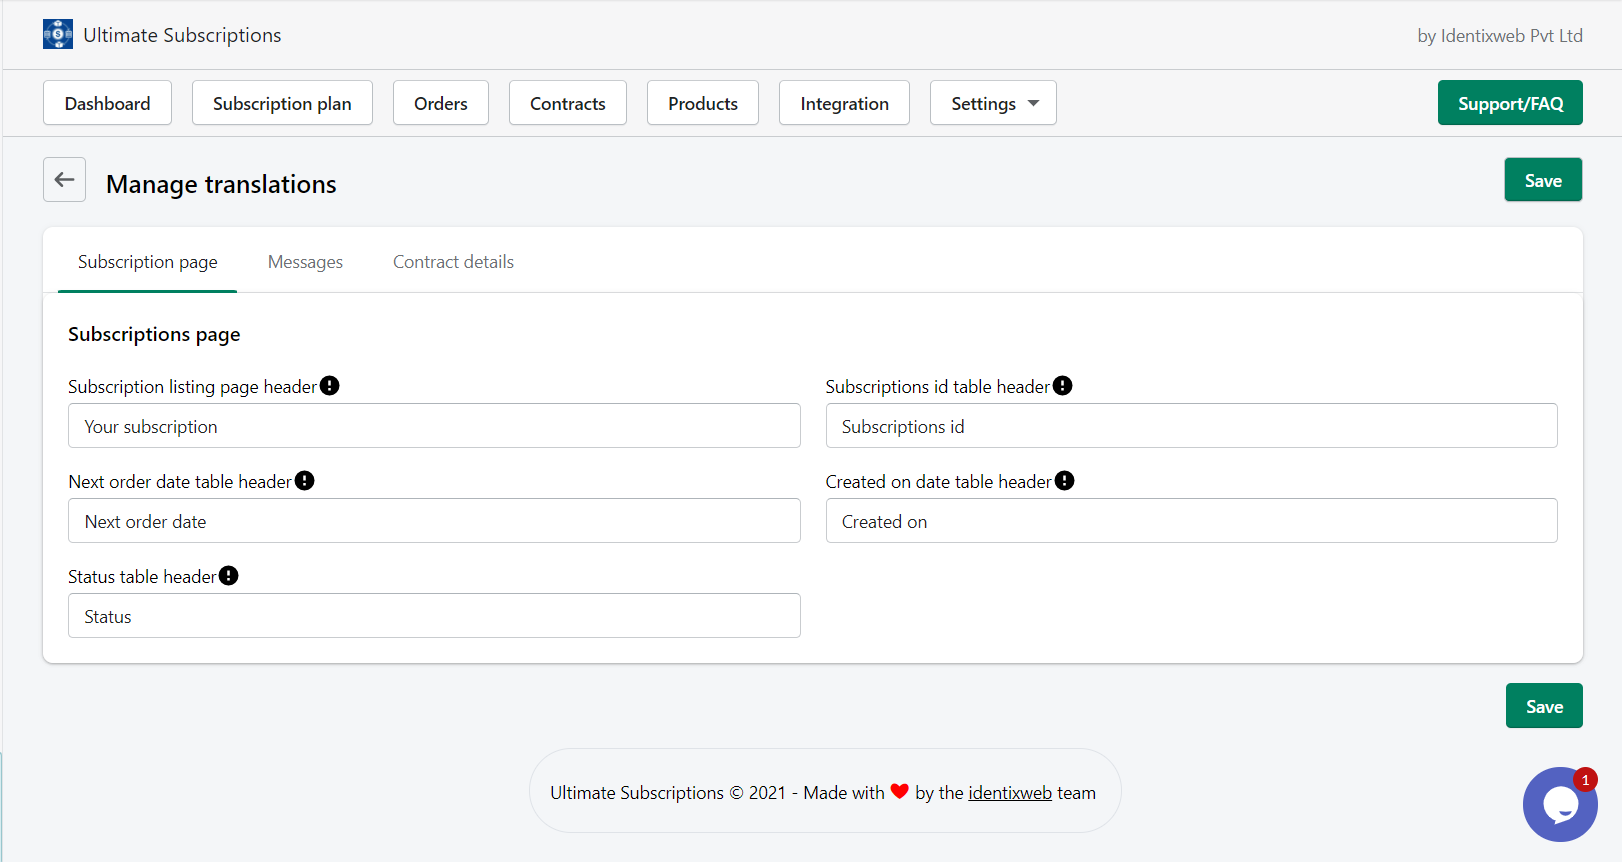
Manage Translations
Under this setting, you can do all the text translation changes. You will get the following options 3 options over here:
Subscription page: In this section, you can change the following options:
- Subscription listing page header: You can change the heading of the label for managing the customer’s listing page.
- Subscriptions id table header: You can change the subscription id table heading on the manage customers listing page.
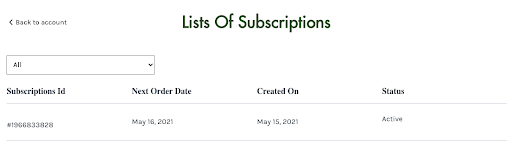
Result on the subscription page in my account page:
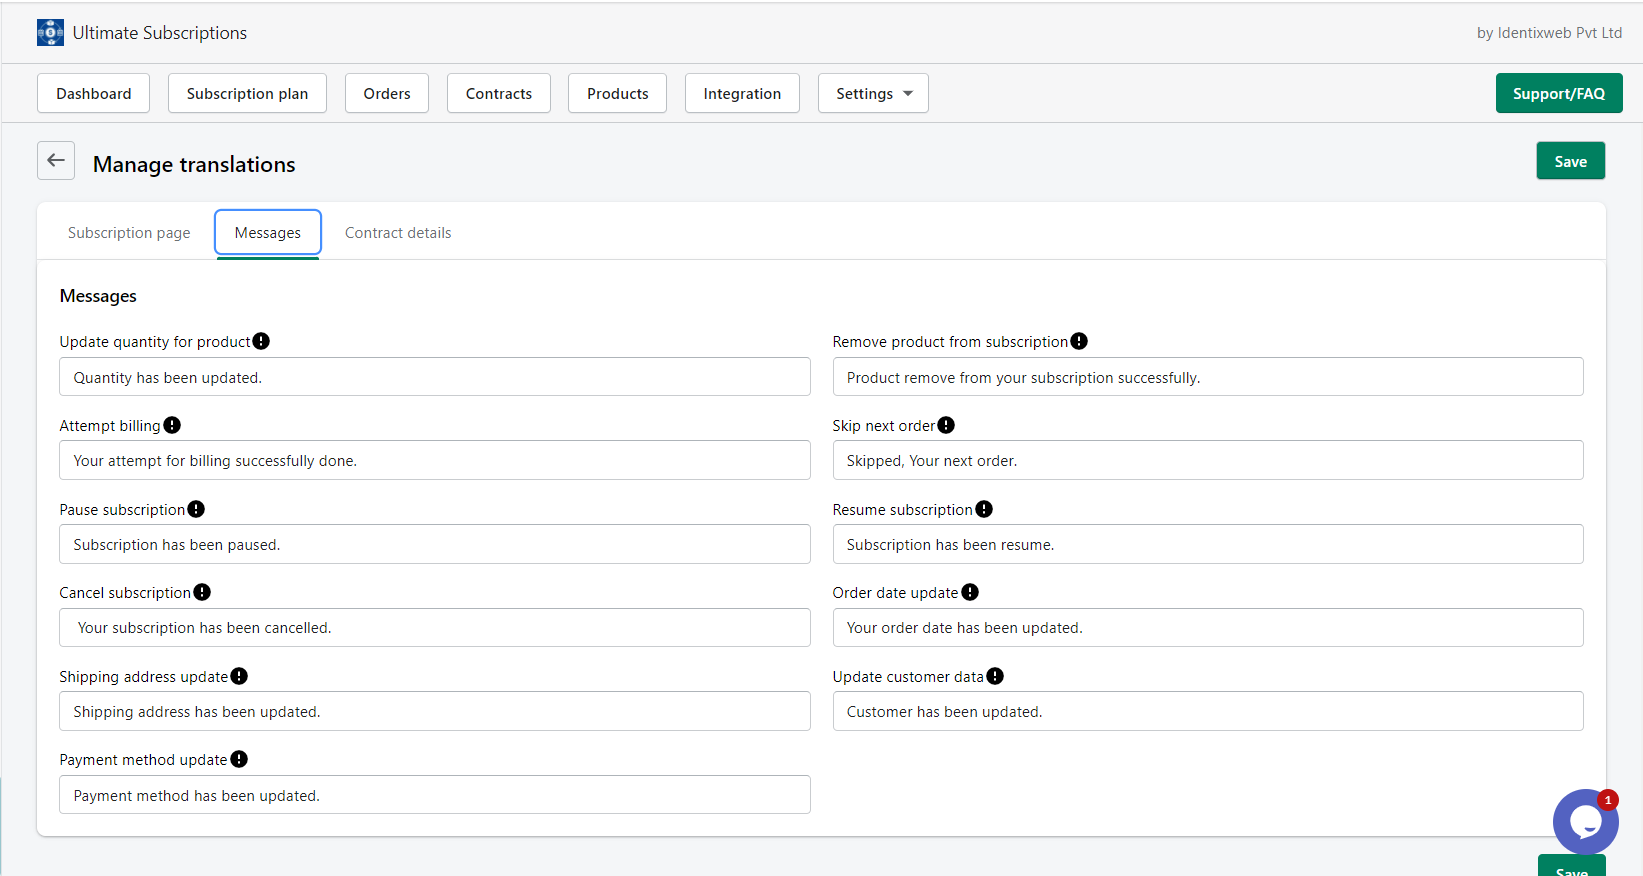
Messages: In this section, you can change the following messages:
- Update quantity for a product: This label input shows a message when customers update the product’s quantity from the contract.
- Remove the product from subscription: This label input shows a message when customers remove products from the contract.
- Attempt billing: This label input shows a message when customers attempt billing.
- Skip next order: This label input shows a message when customers skip the next order.
- Pause subscription: This label input shows a message when customers pause the subscription.
- Resume subscription: This label input shows a message when customers resume the subscription.
- Cancel subscription: This label input shows a message when customers cancel the subscription.
- Order date update: This label input shows a message when customers update the next order date.
- Shipping address update: This label input shows a message when customers update the shipping address.
- Update customer data: This label input shows a message when customers update personal info from the contract.
- Payment method update: This label input shows a message when customers update the payment method.
Contract details: Under this option, you will get 3 sections that are shown below:
- Subscription
Page title: Label for customers subscription details page heading.
Product quantity label: The label of a product quantity is in the table on the customer’s subscription details page.
Update quantity button: The label of the remove button in the table on the customer’s subscription details page.
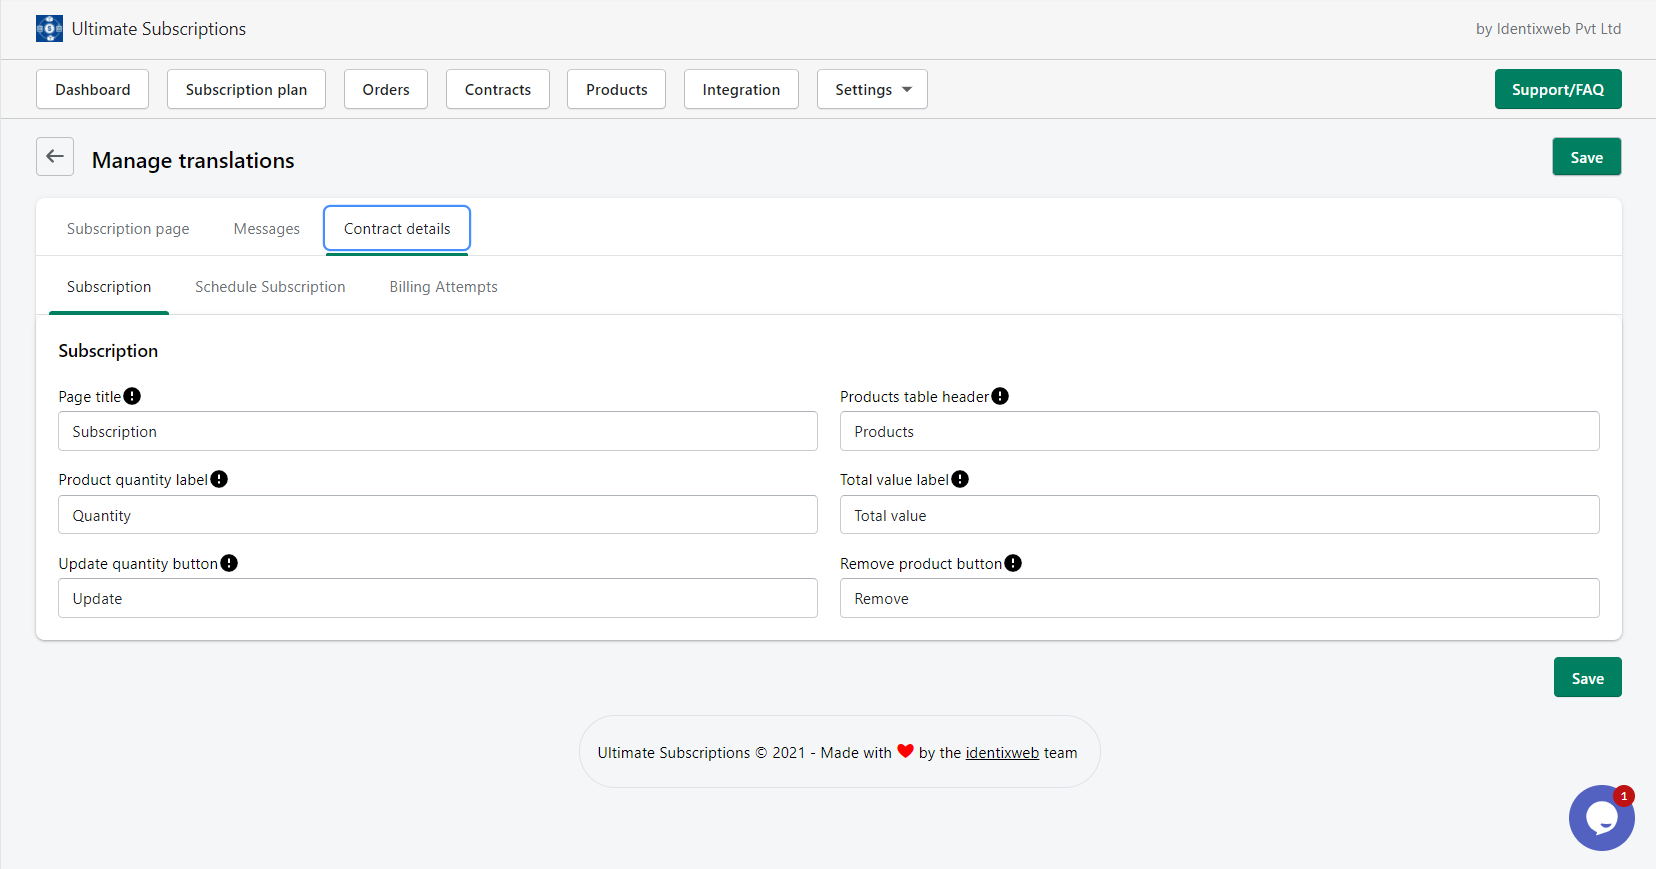
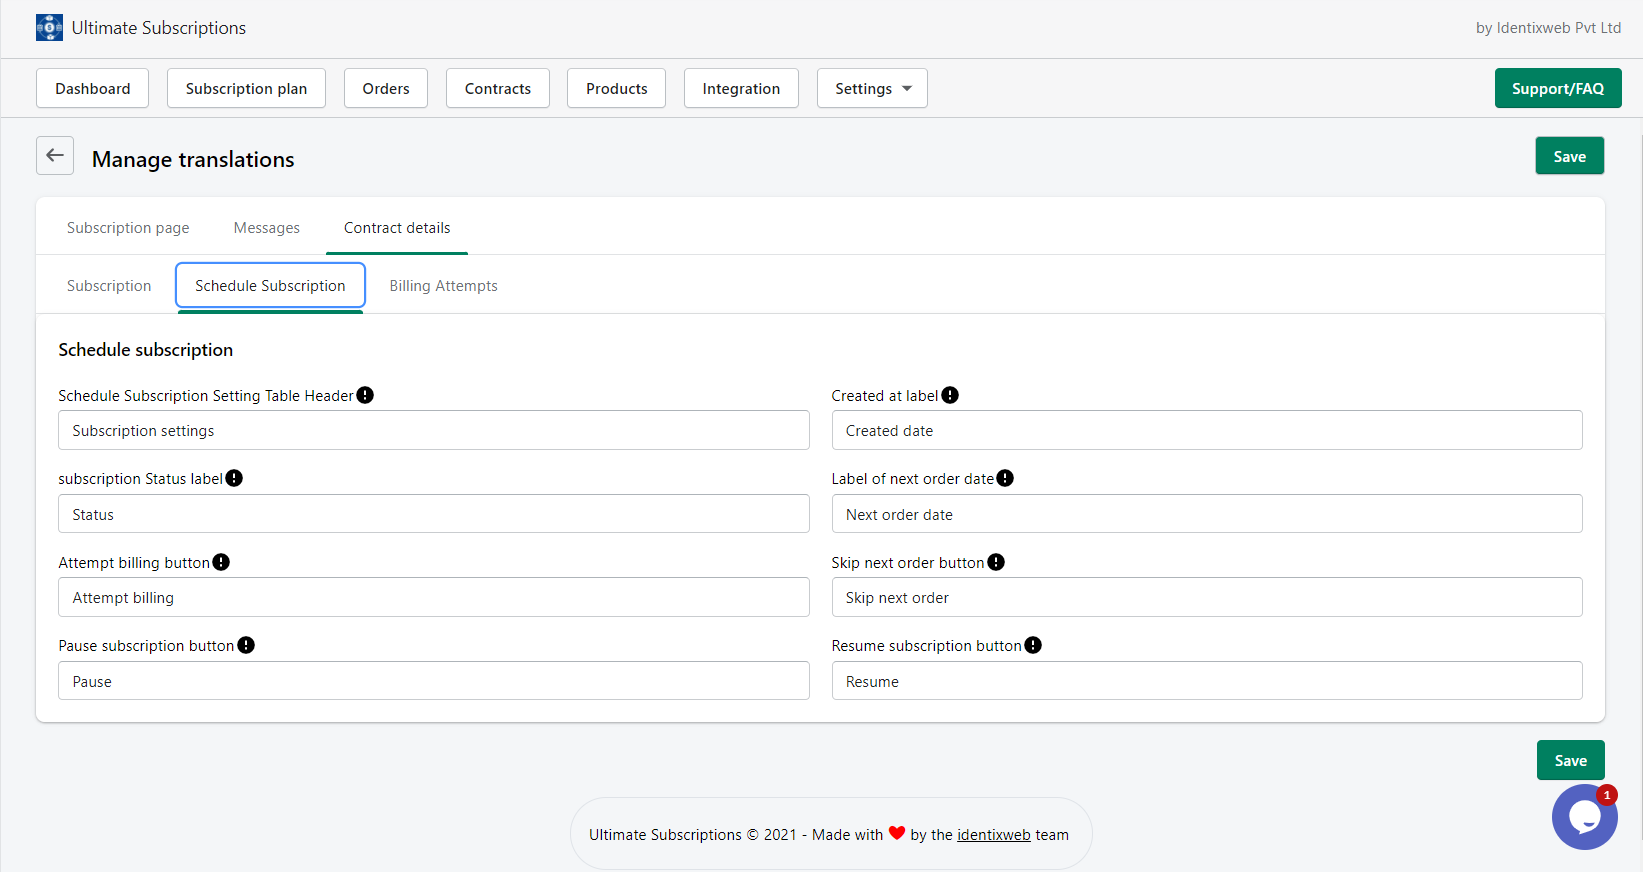
- Schedule subscription
Schedule subscription setting table header: The label of subscription setting table on the customer’s subscription details page.
Created at the label: The label of the table created on the customer’s subscription details page.
Subscription status label: The label of the subscription status table on the customer’s subscription details page.
Label of next order: The label of the next order is on the customer’s subscription details page.
Attempt billing button: The label of attempt billing button on the customer subscription details page.
Skip next order button: The label of skip next order button on the customer’s subscription details page.
Pause subscription button: The label of the pause subscription button on the customer’s subscription details page.
Resume subscription button: The label of the resume subscription button on the customer subscription details page.
- Billing attempts
Billing table header: The header of the billing table is on the customer’s subscription details page.
Subscribed product price label: The label of the subscribed product price is on the customer’s subscription details page.
Billing attempt table label: The label of the billing attempt table is on the customer’s subscription details page.
Billing attempt table header details label: The label of billing attempt table header on the customer’s subscription details page.

Email Settings
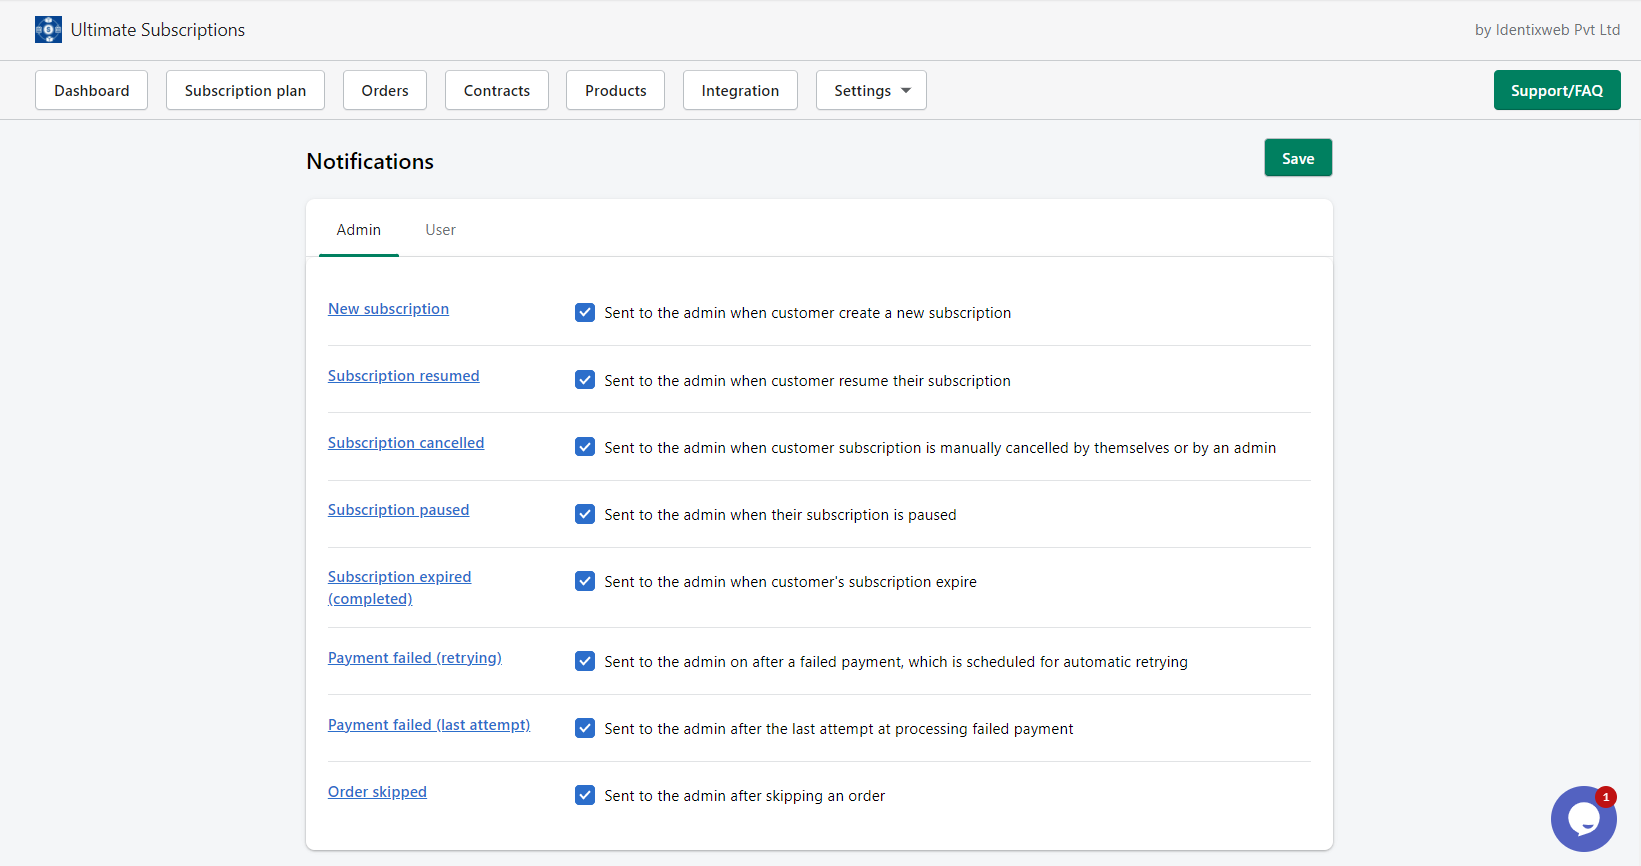
Email settings have the email templates which are going to be sent to store admin and customers.
There are two categories in that Admin and another User. Select the email templates to be sent to the store admin and users.
Check the email templates available for Admin:
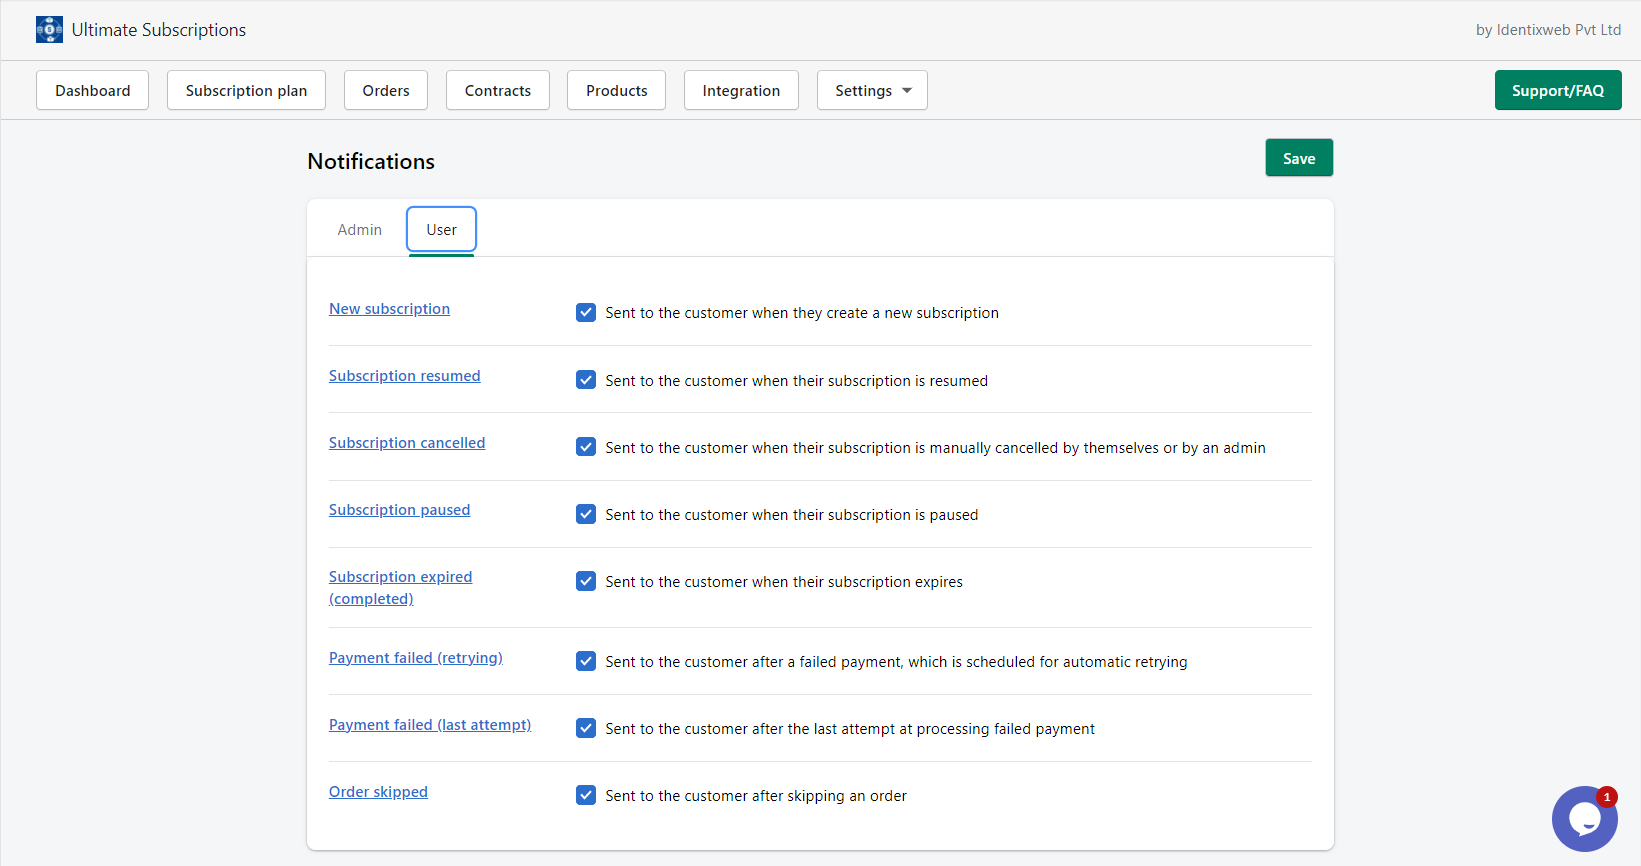
Email templates available for Users:
Installation Page
If you have multiple themes installed on your website and wanted to check the app and explore the features without touching your live theme, install the app in your preferred theme automatically or manually.
Automatic installation
– Select the theme you want to install the app from the dropdown select option.
– Click on the Install Snippet button to add the app code automatically.
Manually Installation
Steps to install the snipped code manually.
- Go to the Online Store menu from Shopify admin.
- Click on the Actions button and select the Edit Code option.
Follow the below steps and find the correct file and position to add the snippet.
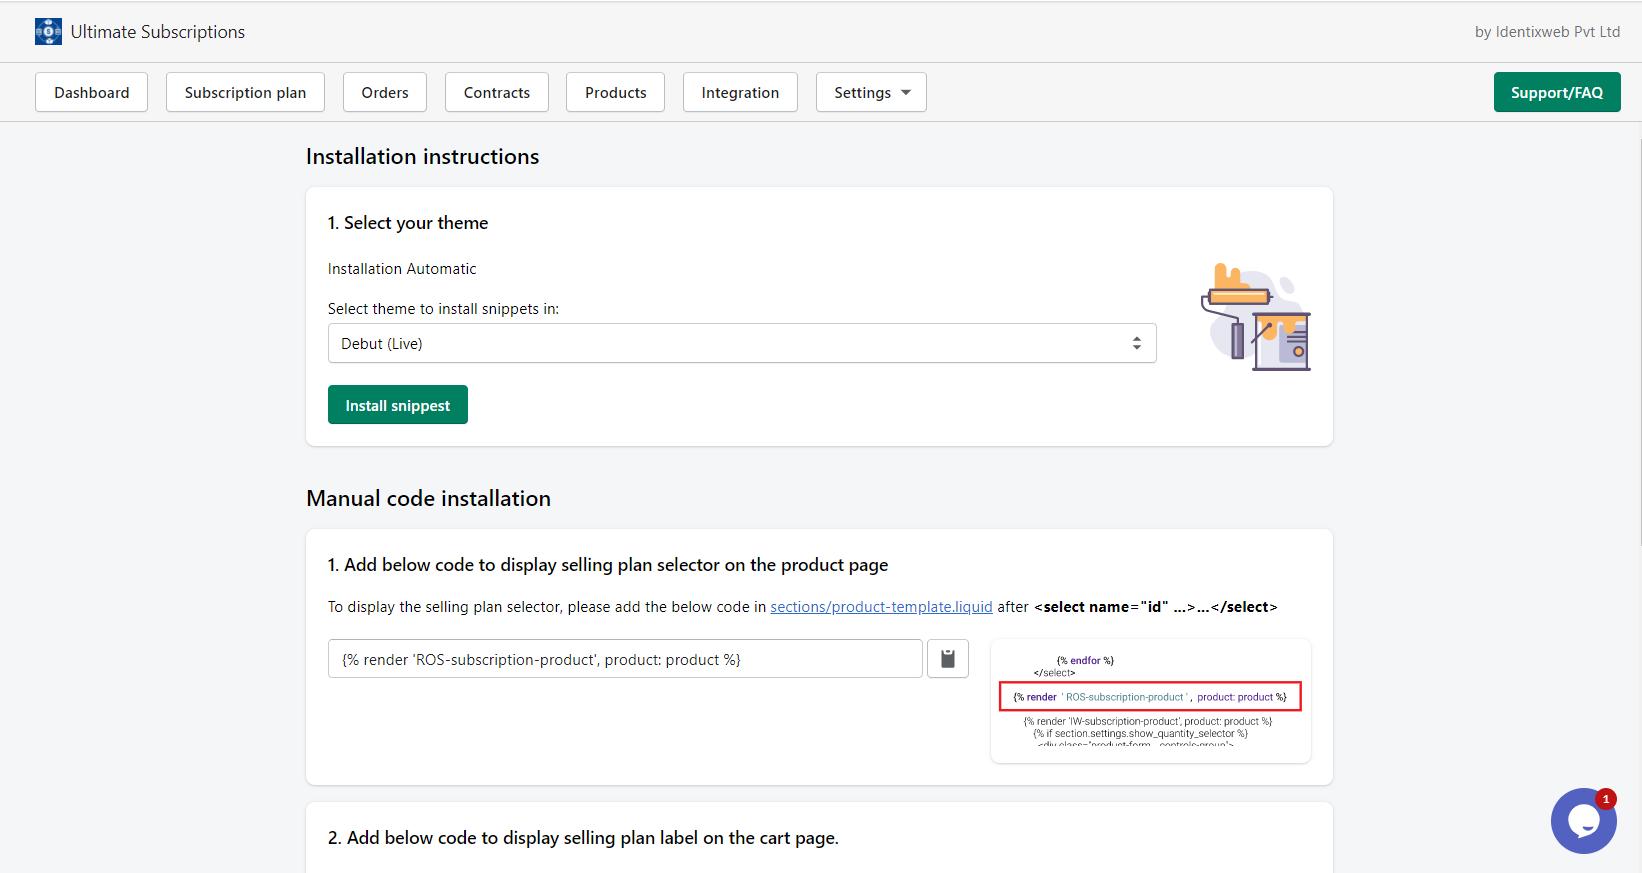
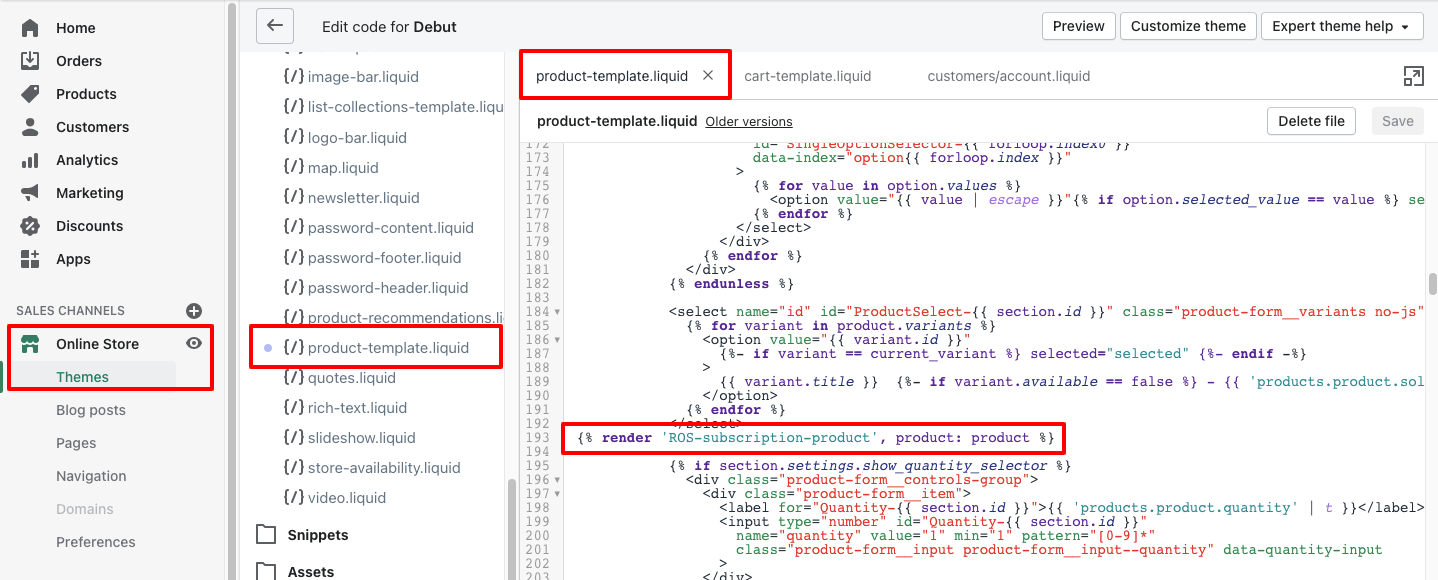
1. Add the below code to display the selling plan selector on the product page
To display the selling plan selector, please add the below code in sections/product-template.liquid after < select name=”id” …>…</select>
{% render ‘ROS-subscription-product’, product: product %}
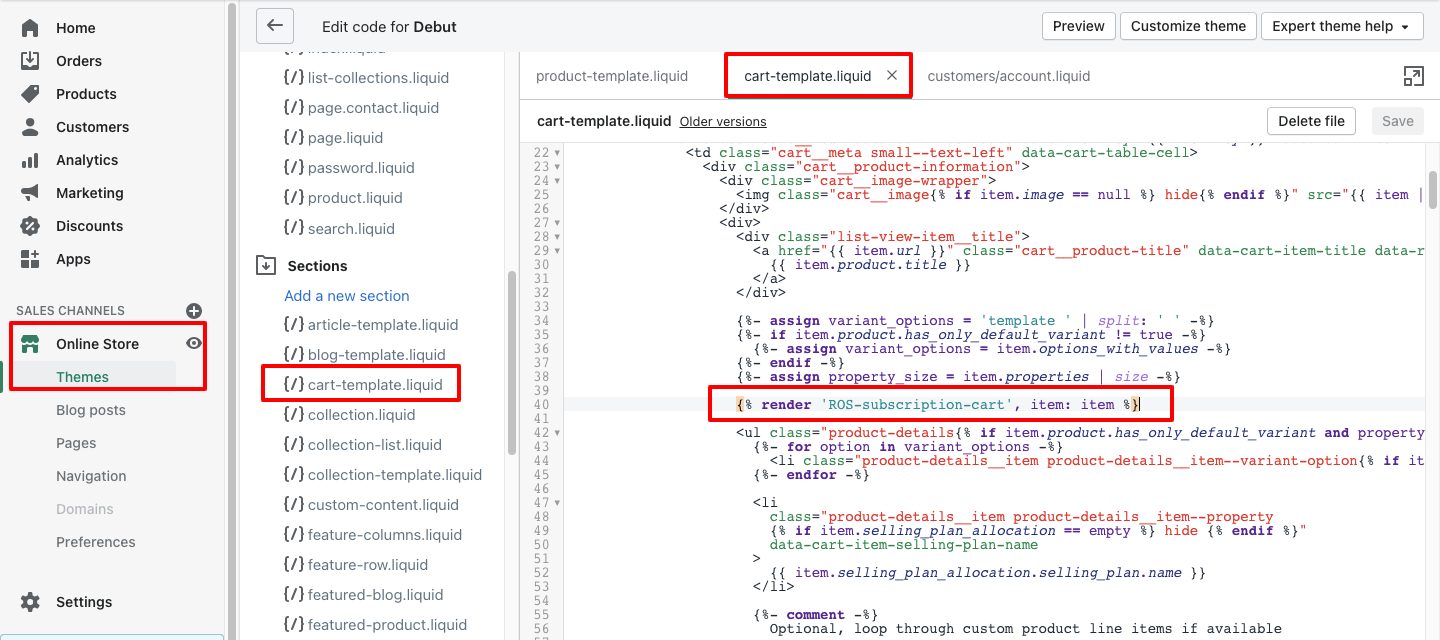
2. Add the below code to display the selling plan label on the cart page.
To display the selling plan label, please add the below code in sections/cart-template.liquid after {% assign property_size = … %} tag over.
{% render ‘ROS-subscription-cart’, item: item %}
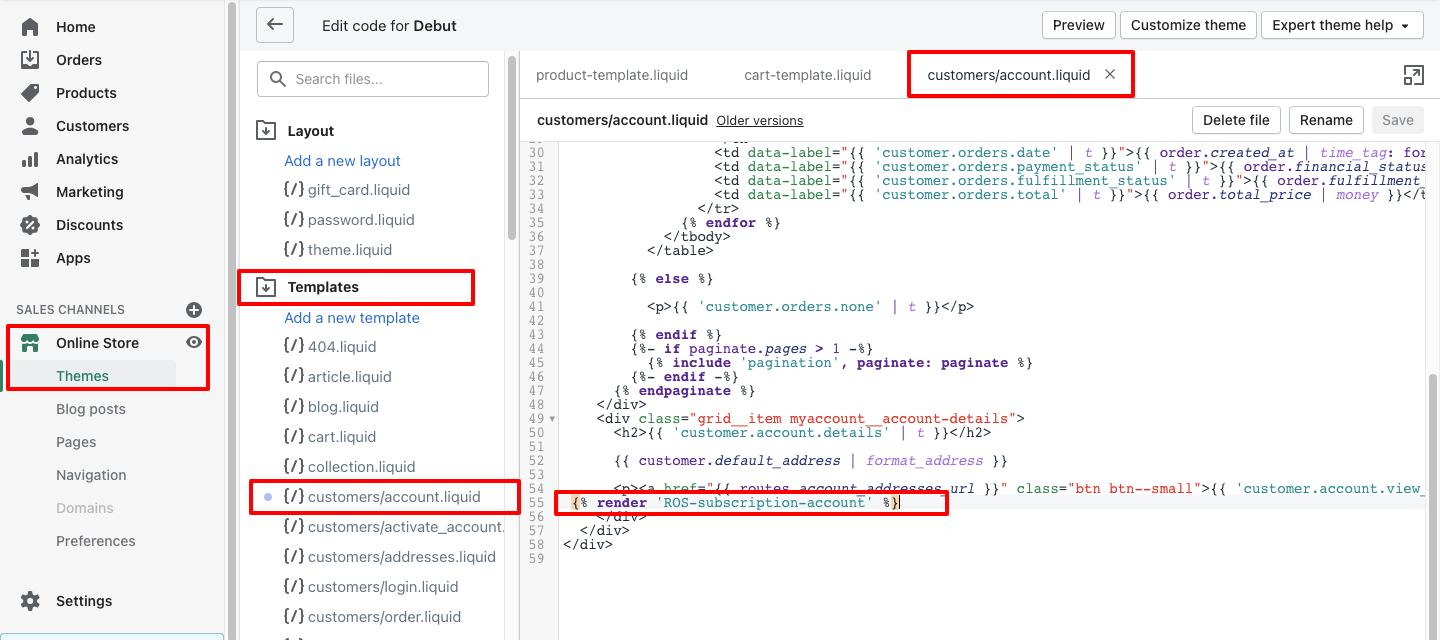
3. Add the below code to show the customer portal link to the account page.
To display the customer portal link, please add the below code in templates/customers/account.liquid at any desired location.
{% render ‘ROS-subscription-account’ %}


About the author
Sajini Annie John
Meet Sajini, a seasoned technical content writer with a passion for e-commerce and expertise in Shopify. She is committed to helping online businesses to thrive through the power of well-crafted content.