

Are you thinking about migrating your eCommerce store to Shopify? Maybe you are already in the process of doing so. If that’s the case, you know how stressful it can be to move your store. When you do move your store to Shopify, you need to make sure that all of your product information is included.
Steps for migrating to Shopify
There are 2 ways to do Shopify migration. One is by using Shopify apps and the other is migrating manually. Shopify Plus users can use the Transporter app and Command Line Tool. While Shopify users can use the Store Importer app.
Remember one thing all your data and product information is been saved or made a copy of it. The Shopify migration process takes some time but if your store has large data/information then it may take a long time to process the data.
Step 1: Configure your basic administrative settings
Step 2: Import your store’s data and content to Shopify
Step 3: Organize your products after migration
Step 4: Add a theme to your website
Step 5: Set up your domain
Step 6: Set up your shipping
Step 7: Configure your taxes
Step 8: Set up a payment provider
Step 9: Place some test orders
Step 10: Set up URL redirects
Step 1: Configure your basic administrative settings
Before you add products and set up your payment methods there are a few things you should take care of.
- Review the migration considerations of the eCommerce store to make sure that the migration process works smoothly.
- Finish the initial setup so that everything is up to date.
- Find the option from where you can manage your account and access your billing information.
- Add staff with individual login credentials so that all the sensitive information remains safe.

Step 2: Import your store’s data and content to Shopify
While you migrate to Shopify, you need to migrate everything i.e your products, blogs as well as other data such as your customer transactions from your old platform. Make a plan for every step as the migration process takes a while. Prepare a list of data that you want to import from your old platform to Shopify. Once you have prepared the list decide how you are going to migrate this data and in what order.

Here are the few steps that you can use to migrate to Shopify
- From your old website copy and paste the content to new site
- Use migration Shopify apps
- Hire a Shopify expert
- Do manual transfer of data using CSV files (this option can only migrate customers and products, it doesn’t include customer passwords)
If you are importing your product, customer, and historical order data then the order is important. Follow the below order while importing:
1. Products
2. Customers
3. Historical orders
You will have access in Shopify to your customers’ complete transaction history if you follow this order. Also, the migrated orders will be linked to their associated products and customers.
Step 3: After migration organize your products
If you have imported your data using a Shopify app then verify that all your data was imported correctly.
Step 4: Add a theme to your website
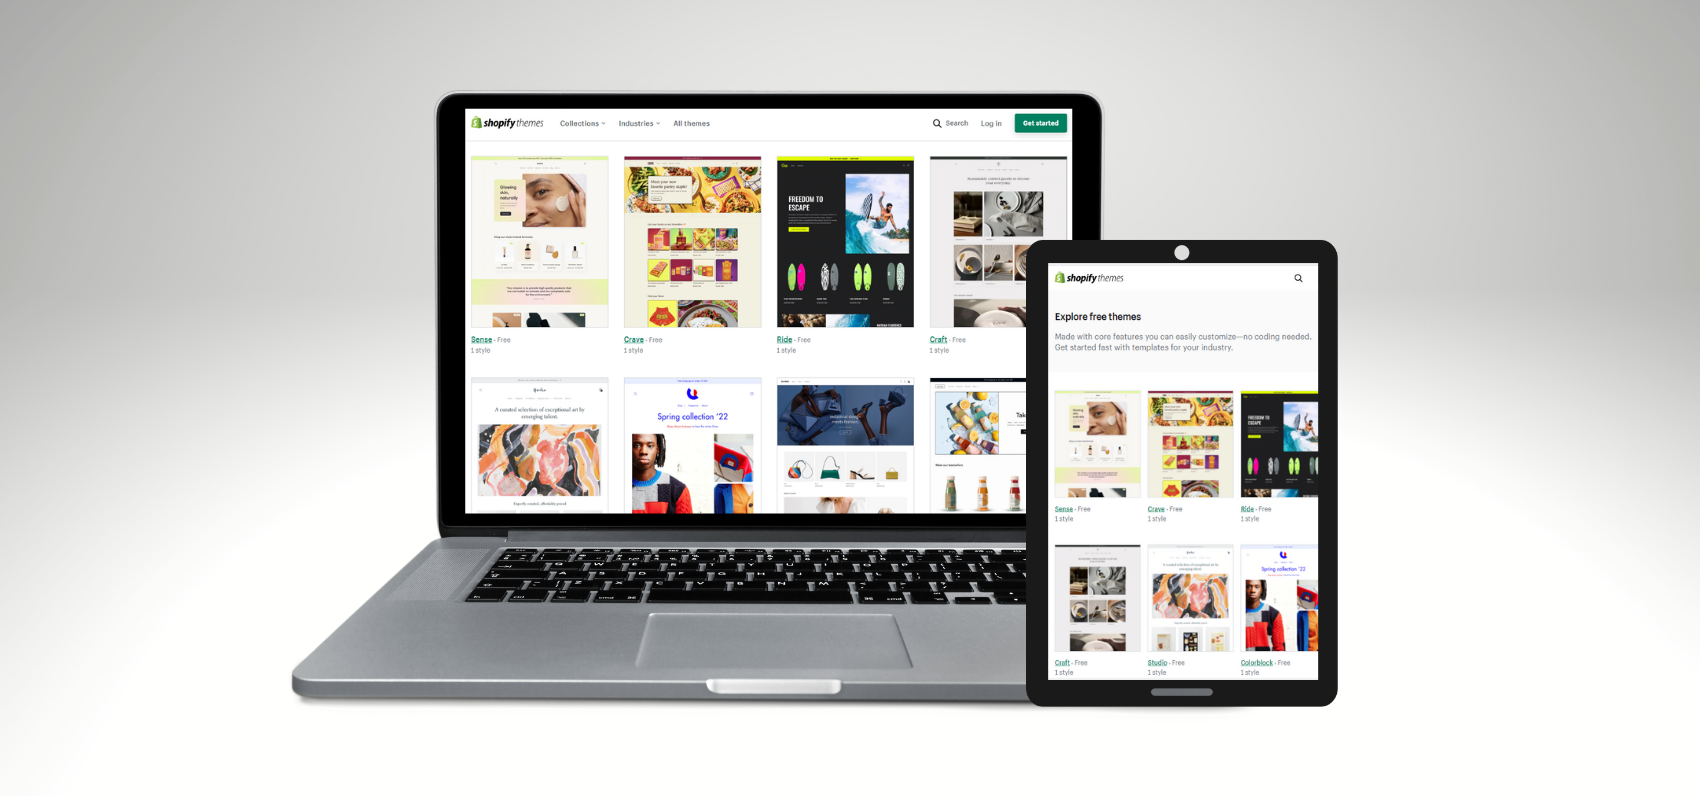
You will already get a default theme when you open an account with Shopify. You can also add free themes from the Shopify theme store to make your website look great.
Step 5: Set up your domain
You can either buy a new domain or you can transfer your existing domain to your new Shopify account.
Step 6: Set up your shipping
Set your shipping rates and shipping methods before you launch your website. Remember one thing, if you are selling digital products then you need to disable the shipping option as your customers won’t be receiving any physical goods.
Step 7: Configure your taxes

Charging tax is one of the important part of the business. There are several rules about sales tax depending on your location. Take some time to understand Shopify’s tax setup process. Find how you are going to track your taxes throughout the year while you configure your tax settings.
Step 8: Set up a payment provider
To get the payment from your customers, you need to add a payment provider. Shopify offers its own payment providers as well as third-party payment providers.
Step 9: Place some test orders
After adding your payment provider, you should try a few transactions to make sure everything is working properly. Run a test order and check all the processes that your customers will go through your store when they buy products.
Step 10: Set up URL redirects
Redirect traffic to your new online store from your old platform.
Conclusion
In closing, Shopify is the single most powerful eCommerce platform on the market. It is extremely powerful and performs well under intense traffic. The customer service is phenomenal and backed by one of Canada’s top 100 companies [Shopify Inc.]. I can wholeheartedly recommend the platform to anyone looking to start an eCommerce business.


About the author
Sajini Annie John
Meet Sajini, a seasoned technical content writer with a passion for e-commerce and expertise in Shopify. She is committed to helping online businesses to thrive through the power of well-crafted content.