

Do you need to hire Shopify experts to add custom product fields?
Or use the Shopify apps to create product metafields?
Now, you don’t need any of these.
Yes, you heard that right. With the launch of Shopify 2.0 Metafields, you can easily add various custom metafields for your products.
Creating the Shopify Product Metafields is quite an easy process.
This guide will help you add metafields to Shopify products and display them on your online store within 1 hour!
Shopify Product Metafields
The product metafields in Shopify allow you to upgrade their product page by adding unique product details. Using the custom product metafields, you can add personalized content to your products based on the category. As a result, you can quickly build high-converting product pages and make the user experience memorable for your shoppers.
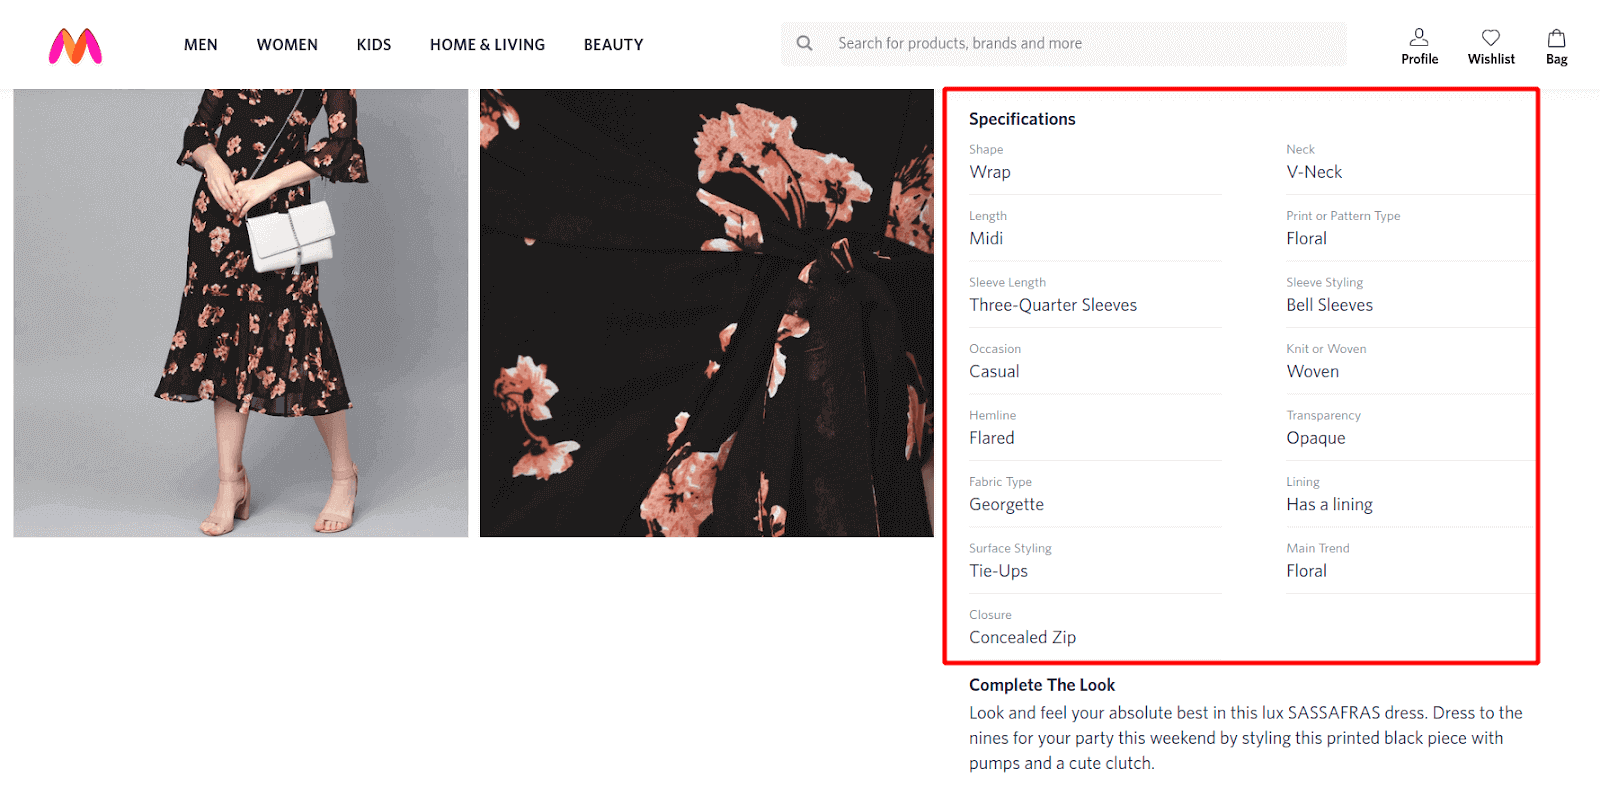
Source: Myntra
How to Add Product Metafields in Shopify
Shopify allows you to create various types of product metafield based on the content type you want to store such as text, image, number, date & time JSON, URL, and many more. Isn’t it interesting? Let’s quickly start creating the Shopify product metafields.
Creating Product Metafield Definition
Creating a metafield definition means preparing a placeholder for your custom data. Let’s see the process of defining product metafields.
Steps to Add Product Metafield Definition
Step 1: Log in to your Shopify admin.
Step 2: Go to Settings > Metafields.
Step 3: Select Products in the metafields type.
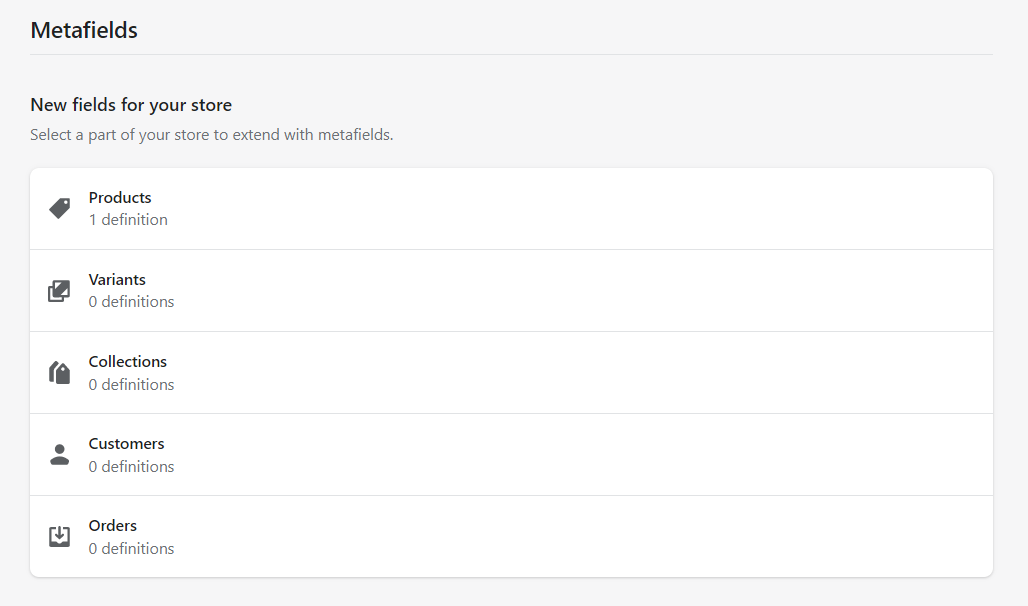
Step 4: Click on the Add definition button.

Step 5: Give a name to your metafield definition. You will get suggestions of Standard metafields definitions. You can select one or create a custom metafield definition.
Step 6: Keep the Namespace and key as it is. The system will use it to identify the metafield definition.
Step 7: Add a description to your metafield definition (optional). You can include the purpose of creating it.
Step 8: Check the Give access to Storefront API requests option.
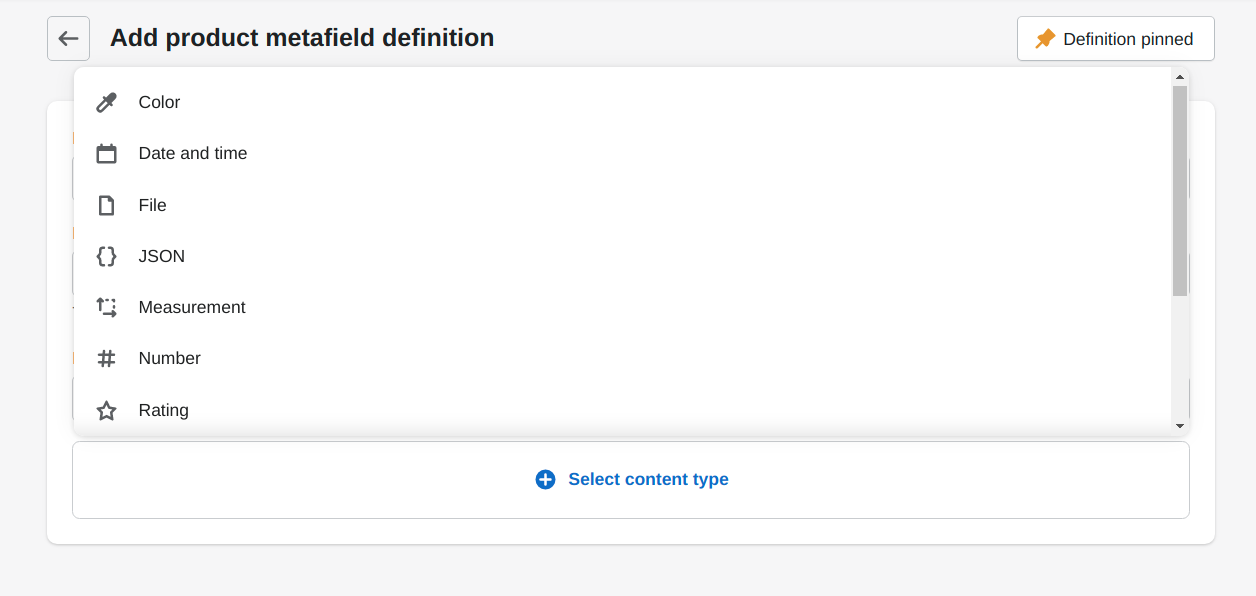
Step 9: Select a content type from the list. It represents the type of value the metafield will store.
Step 10: Based on the content type you select, you will get different Validation options for the metafield values. Make sure you set the validation rules carefully.
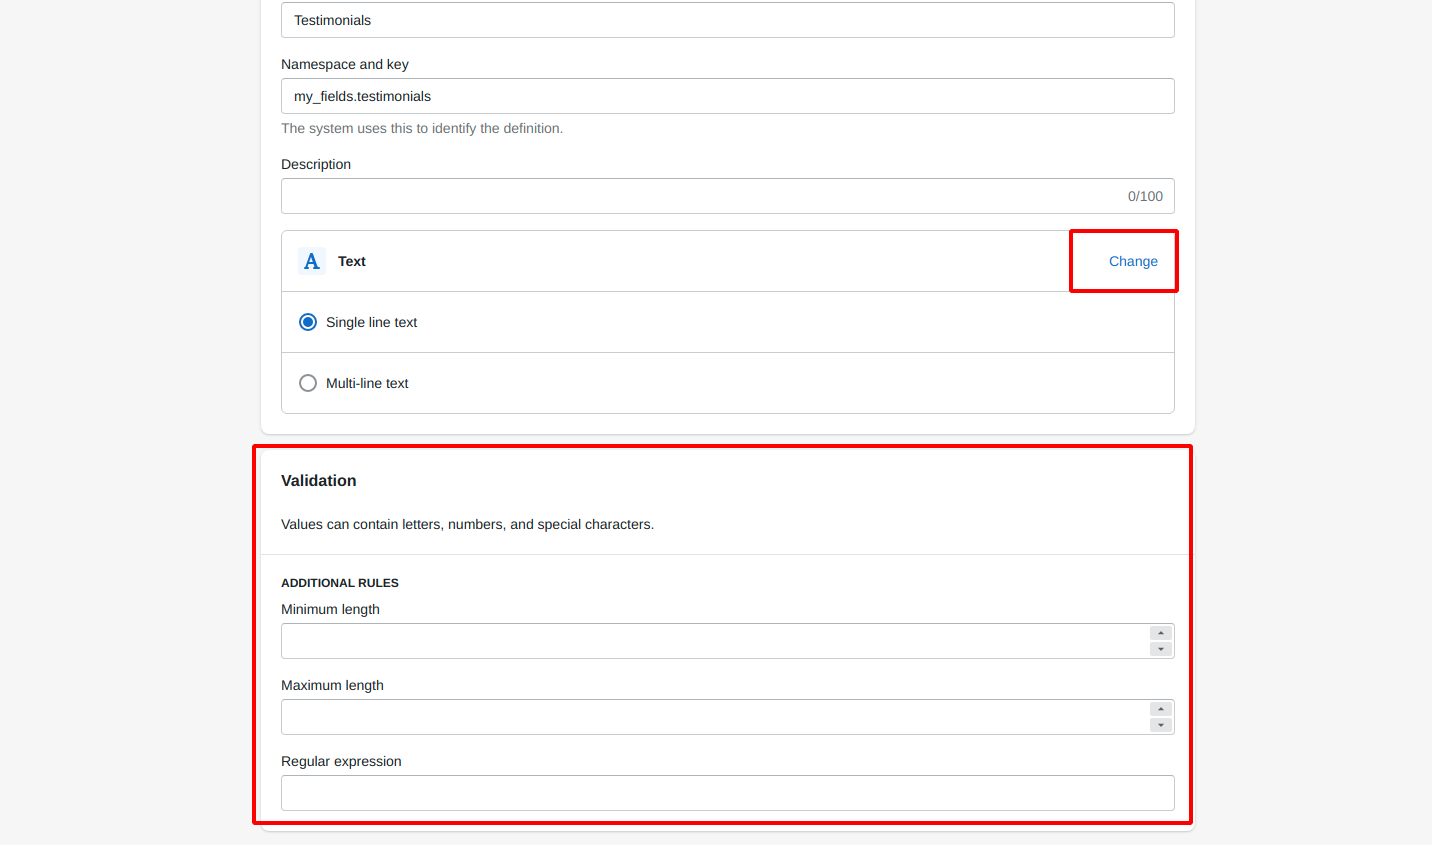
If you want to change the content type, click on the Change link and select another content type.
Step 11: Hit the Save button.
When you create any metafield definition using the Standard definition, you don’t need to specify the name, description, content type, or any validation rules. Just select one from the list and save it. The Shopify apps and themes will read it automatically.
That’s it, you’re done with the Metafield Definition! Now the next step is adding values to your metafields.
Adding Values to Shopify Product Metafields
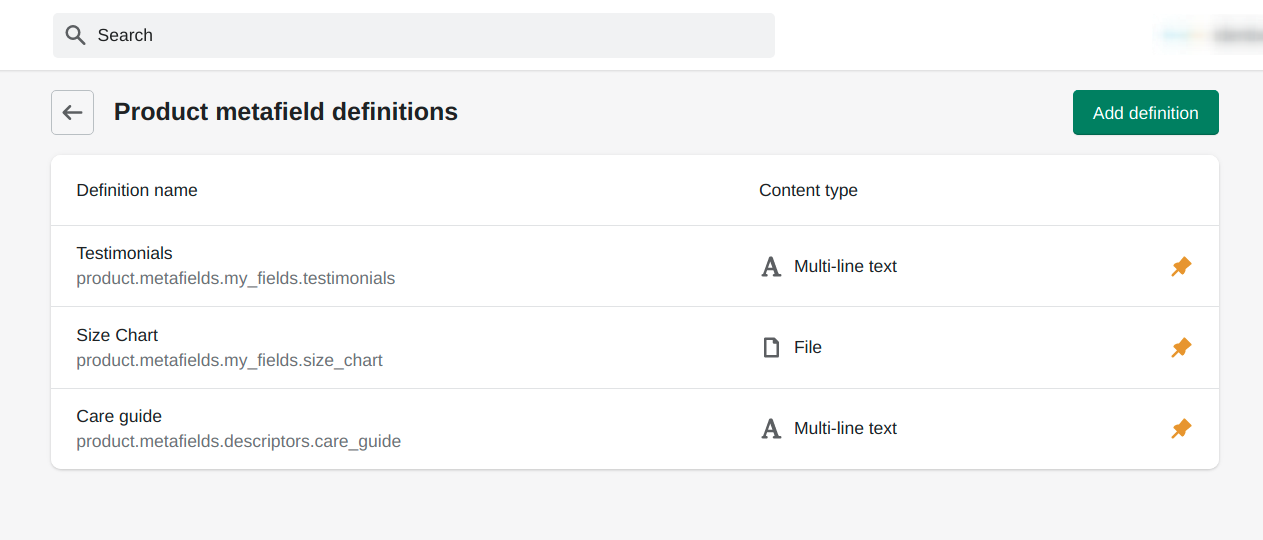
Once you’ve successfully created the metafield definitions and pinned them, you may notice the metafields have been added to the parts of your store (Shopify admin) where it belongs.
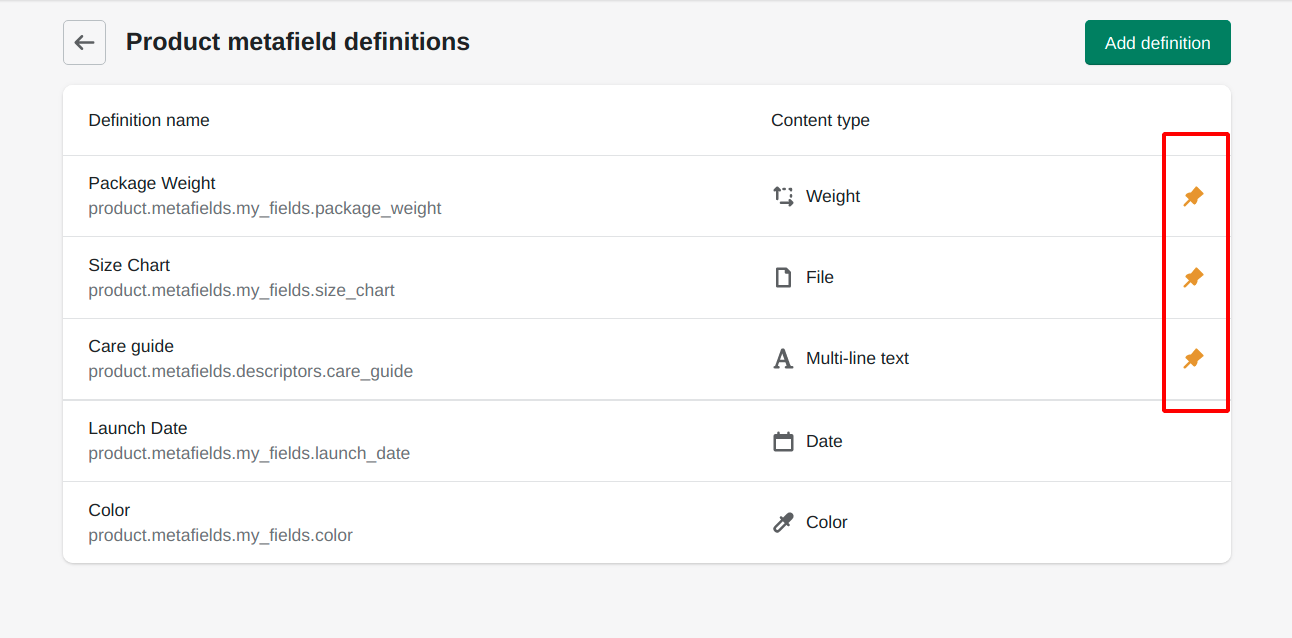
For example, I’ve added 5 metafield definitions in “Products” as you can see in the above image. But only 3 from 5 metafields definitions are pinned. So, it will be added to all the products (Shopify admin) automatically. To better understand, see the below image.
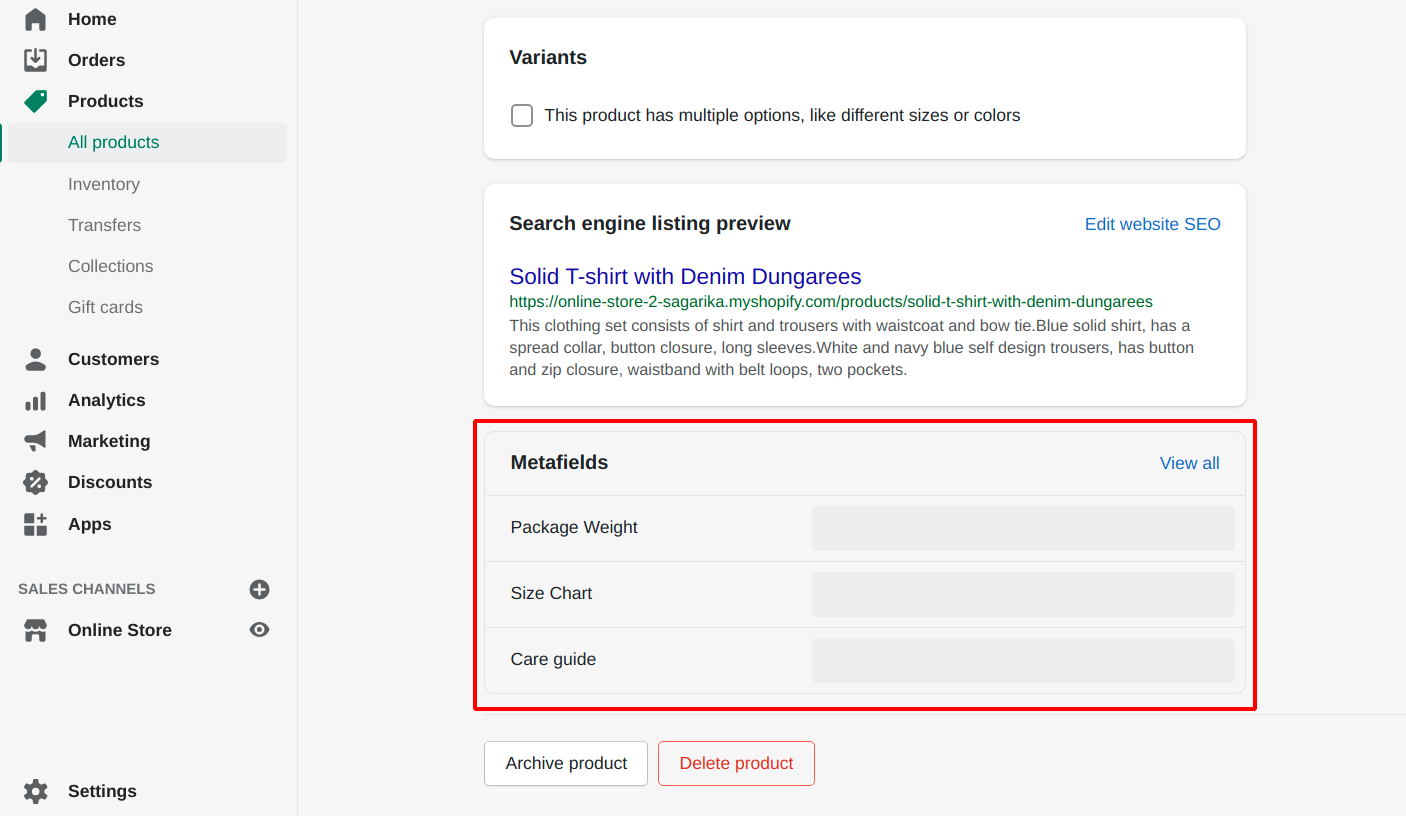
You need to click on the “View all” link to see all the metafields that are available for the product.
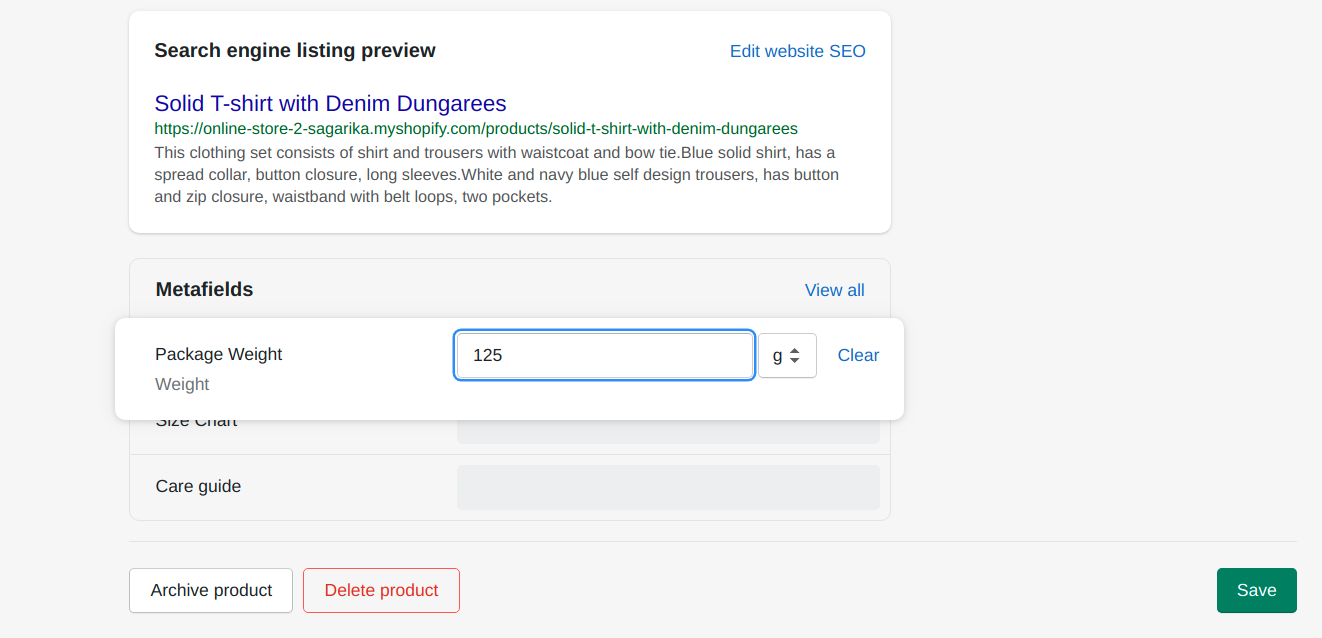
To add value to the metafields in the Shopify store, you need to enter the value according to the content type on the metafield row.
Step 1: Click on the empty space beside the metafields name.
Step 2: Based on the type or format of the value, it will provide you the option to feed the value such as text box, image browse button, color picker, date & time selector, etc. Add the value there.
Step 3: Click on the Save button.
In the same way, you can add values to the other metafields, also in other products.
Displaying Product Metafields in Shopify
After adding values to the metafields, you can show those data on your online store in many ways and offer an amazing shopping experience to your site visitors. Let’s begin with displaying metafields to your Shopify store.
To make the metafields visible on your website, you need to connect the existing metafields to your current store theme.
Follow the steps to connect the metafields to your store theme:
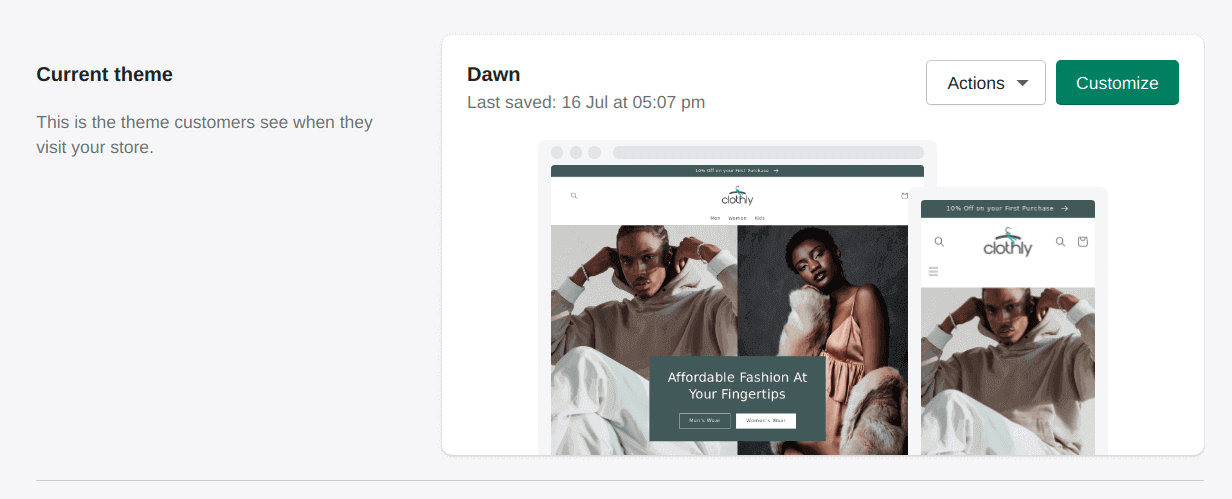
Step 1: From the Shopify admin, go to Online Store > Theme.
Step 2: Go to the theme editor by clicking on the Customize button on your current store theme.
Step 3: Open the page template where you want to display the metafields value, e.g. Product page.
Step 4: Add a block or section to the page where you wish to show the metafield values. The blocks or sections that support inserting dynamic sources will allow you to add up to 20 metafields in each block or section.
Step 5: Click on the Connect dynamic source icon ![]()
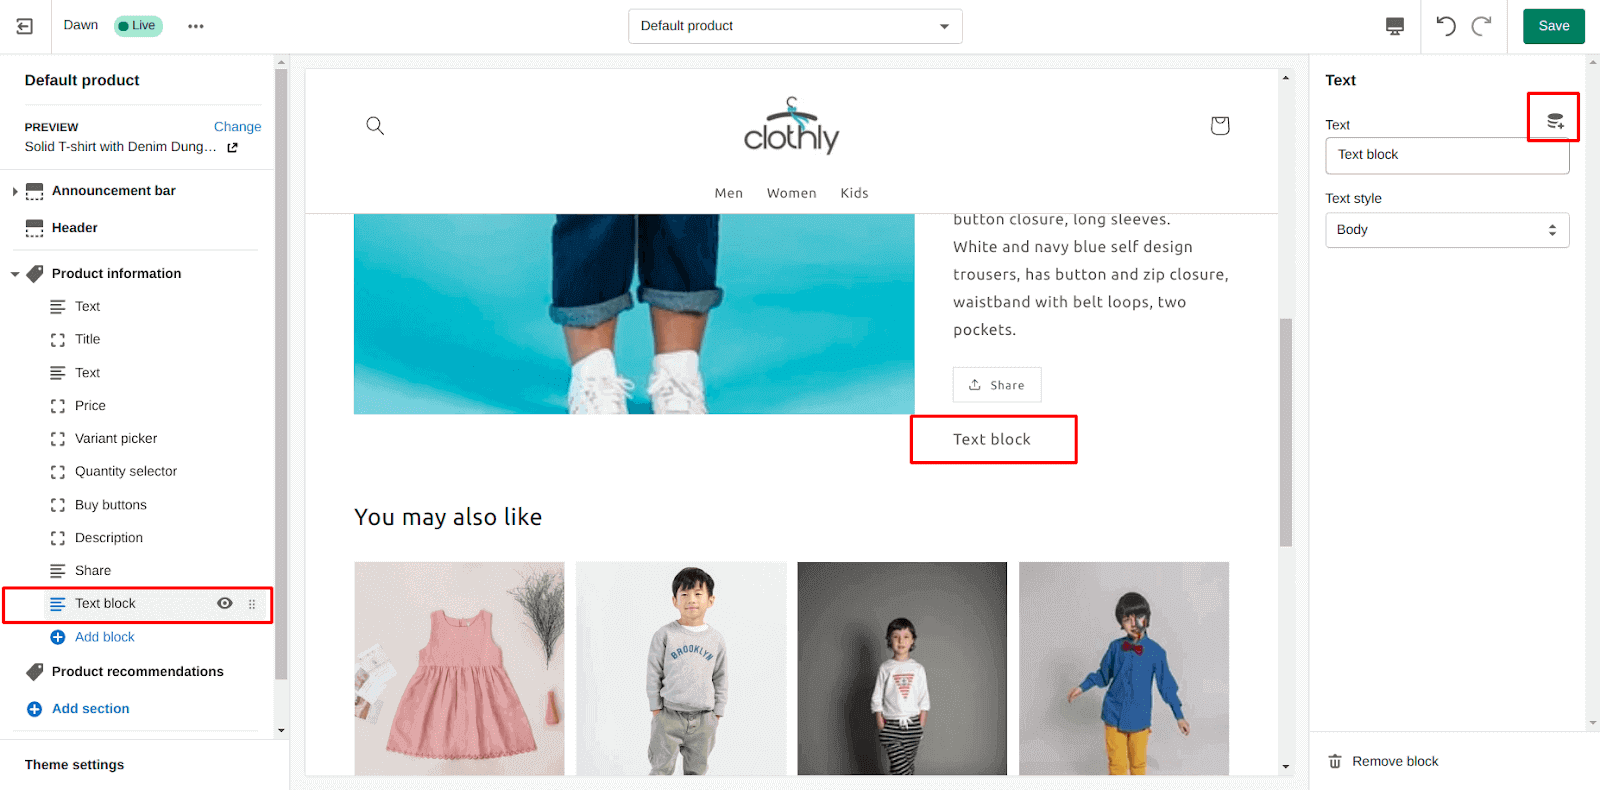
Step 6: Select the metafield you want to connect to the block or section. You can also add new metafield definitions by clicking on Add metafield.

Step 7: Click on the Insert button.
Step 8: Add text to represent the metafield value in a better way.
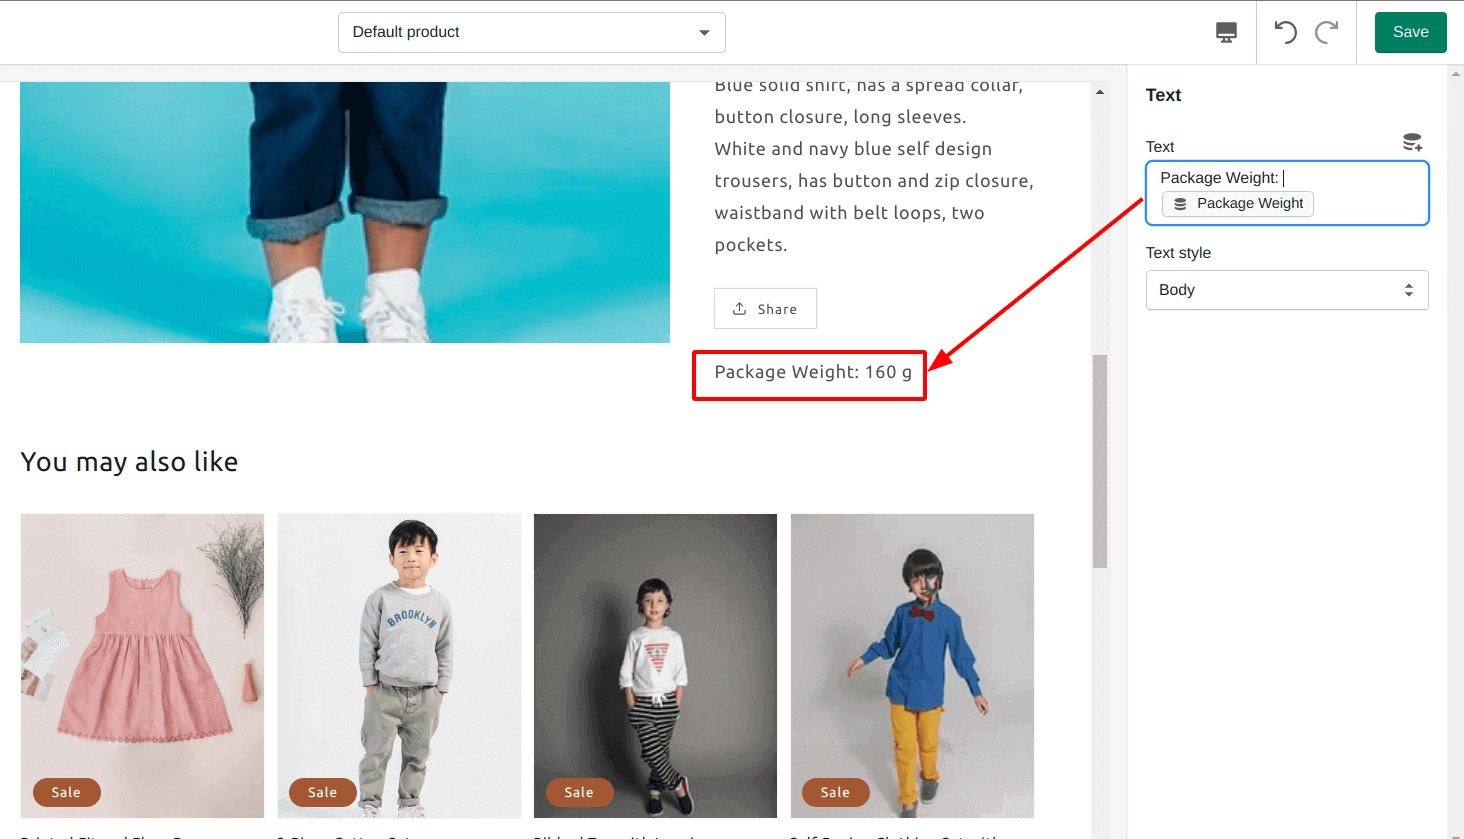
Step 9: Hit the Save button.
Yay!! We did it well. Now, you can add more metafields to your store theme like this and make your online store stand out from the crowd.
Conclusion
Hope this guide remained helpful for you. Now you are all set to attract more customers by designing high-converting product pages for your online store. For more useful tips for your e-commerce website, you can browse our blogs.


Hello,
Thank you for this article
I would like to know if the field is empty, how can we hide it with its label?
example :
height :
width: 36.5cm
Thank you in advance.
Hello,
Thank you for your appreciation. To keep the field empty you can keep it blank or if you don’t want to show a specific metafield on the page then you can disable the eye button or remove the block.
Hello.
I have some metafields that corresponds to files (PDF, CAD or else our customers may need), but I am not able to display them although the theme is 2.0. How can I solve this?
Hello,
I think you have unchecked the option of giving access to storefront API requests. Please enable that option inside the corresponding metafield definition, save the changes and see the result.
How can we display metafields of type “product_reference A reference to a product on the online store.” on the product page? gid://shopify/Product/1
Is there a way to set it up so meta fields are on some product listings and not all of them?
Please refer this: Adding Values to MetaFields
hello
Please ,
How can I exceed the pin up 20 definitions to more for each part of your store.
Best regards.
Sorry, we are not sure about this. Please contact to Shopify customer team for this.
Can we add customer custom data using Metafield & Shopify API? Then How
Please contact to Shopify customer support team for more customization option.
With havin so much content do you ever run into any problems of plagorism or copyright violation? My website has a lot of completely unique content I’ve either authored myself or outsourced but it appears a lot of it is popping it up all over the web without my agreement. Do you know any methods to help protect against content from being stolen? I’d certainly appreciate it.
I am not sure where you’re getting your info, but good topic.
Thank you 🙂