Do you sell products online and ship them to your customers? Shopify is an eCommerce platform that lets you easily set up and manage your online store. If you’re shipping products it’s important, however, to understand how Shopify’s shipping and delivery system works — even if you’re not a Shopify customer.
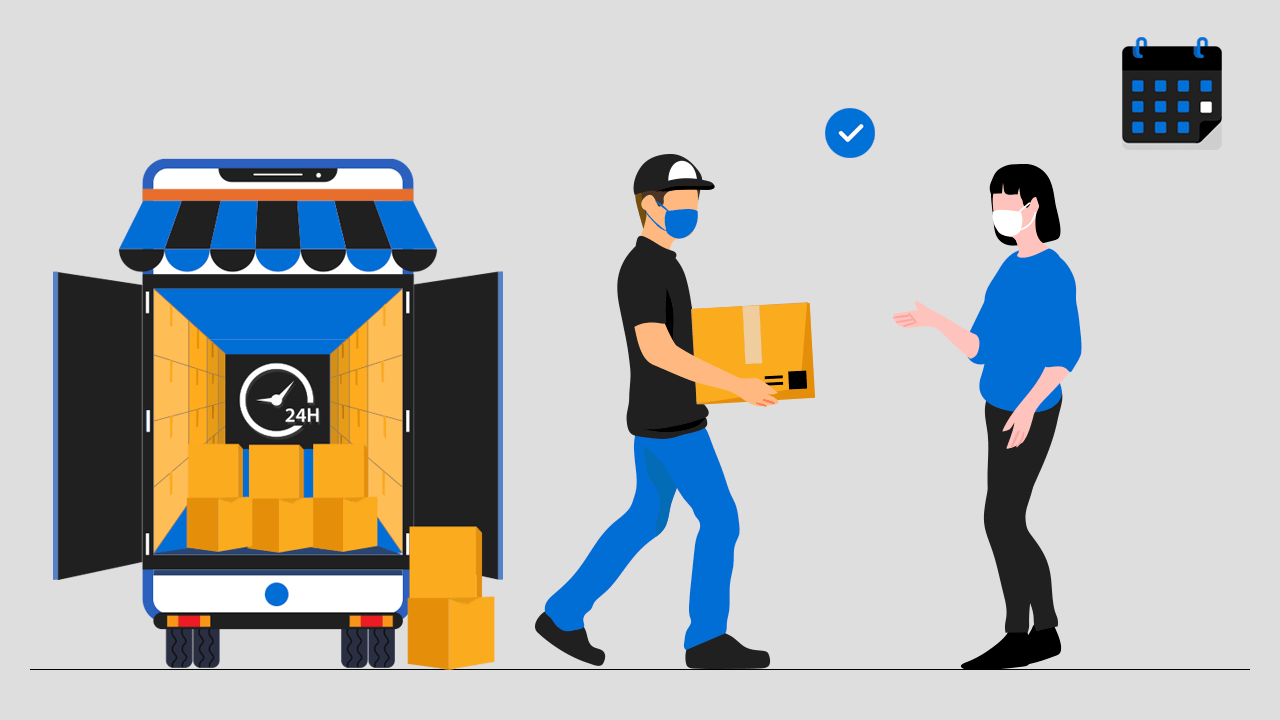
Shipping and delivery is a key factor in shopping online. Buyers need their items to get to their location fast and without damage. Managing the shipping and delivery of your store is easy. All you have to do is use a default shipping provider such as Shopify’s own site to ship products and provide free delivery on some occasions.
Shipping and delivery are important as it ensures a smooth transaction. It also ensures that customers can receive their orders in time for the holidays and special events. But at some times, shipping can become complicated, especially if you are using an outside party to handle the shipping process.
What is shipping?
Shipping a physical product isn’t as simple as sending an email through Shopify for Shopify Merchants. There’s a lot more to it than that. But don’t let that scare you. Shipping is one of the simpler parts of running your own business, and quite frankly, you needn’t worry too much about the intricacies of shipping. I’ll break down the basics in this article so that you can get up and running with your own shipping rates in no time.
What is delivery?
If you do online shopping, you’re probably familiar with delivery fees for orders. Delivery is one of the most important parts of an eCommerce transaction. It’s the physical process of getting the order into the hands of your customers.
Managing your shipping and delivery
Once you’re familiar with the basics of how shipping works, the next step is to set up your shipping strategy. Before setting up your shipping, make sure you are familiar with the different methods of shipping and where you can ship.

If you use a shipping company to deliver your products, you can charge customers a combination of flat and calculated shipping rates for all your products or set up custom rates for each product using custom shipping profiles. You can set up shipping, local delivery, and pickup methods for your customers.
Setting up shipping rates
Shipping rates can be set up for specific countries, regions, or areas. Once you’ve set up shipping zones and shipping profiles, you can create flat rate, free shipping, or calculated shipping rate offers. There are 3 kinds of shipping rates you can set up for your store; flat rate, free shipping, or calculated shipping.
Create flat shipping rates
Flat shipping rates charge a specific for shipping at checkout. Within a shipping zone, you can create flat shipping rates or only for orders whose weight or price is within a certain range. For example, in a shipping zone for Canada, you could set $20 as a flat rate, and another flat rate of $25 for orders that are above $100.
Price-based shipping rates are combined according to the entire cart’s price. Weight-based shipping rates are combined according to the weights of your package and products.
Steps
Step 1: Open your Shopify admin and go to settings > shipping and delivery.
Step 2: Next to the shipping profile click Manage to add the shipping rate.
Step 3: Next to the zone, click Add rate and add a rate
Step 4: Enter the name and amount for the rate.
Step 5: Add weight-based or price-based conditions.
Step 6: Click done and save
Create calculated shipping rates
A third-party shipping service determines your calculated shipping rate based on the details of the order. This helps you charge your customers exactly what they’ll be charged to ship with a specific shipper; such as UPS and FedEx.
Steps
Step 1: From your Shopify admin, click settings > shipping and delivery
Step 2: Next to the shipping profile click Manage to add the shipping rate.
Step 3: To add a rate, click Add rate next to the zone.
Step 4: Select use carrier or app to calculate rates.
Step 5: From the drop-down menu, select the shipping service in which you want to add calculated rates.
Step 6: Click Save.
Mark up or discount calculated rates
You can adjust your calculated shipping rates to mark them up or discount them. If you want to increase sales, use a discount rate to reduce the shipping price that your customers see at checkout.
Steps
Step 1: From your Shopify admin, go to Settings > Shipping and delivery.
Step 2: Next to the profile that contains the rate, click Manage.
Step 3: Next to the rate that you want to adjust, click the … drop-down menu and then Edit rate.
Step 4: In the Handling fee section, set the rate adjustments.
Step 5: Click Done, then click Save.
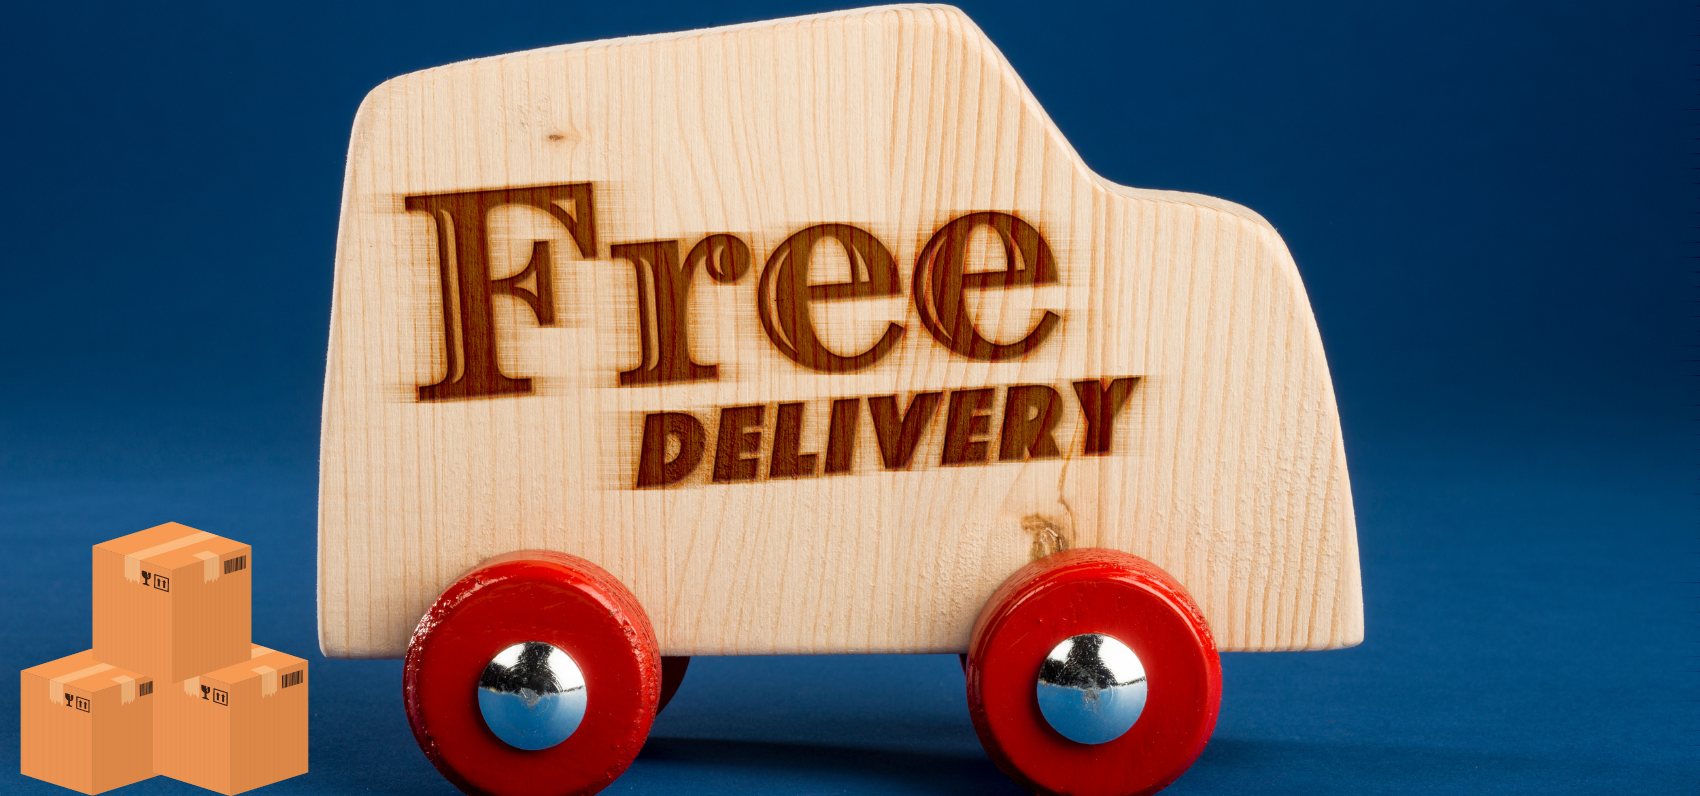
Create free shipping rates
For any shipping zones, you can add the free shipping rates for your customers.

Steps
Step 1: From your Shopify admin, go to Settings > Shipping and delivery.
Step 2: To add a free shipping rate click Manage next to the shipping profile.
Step 3: Click add rate
Step 4: Enter the name of the rate
Step 5: Leave the price field with 0.
Step 6: Click done and save.
How to edit a rate
Step 1: From your Shopify admin, go to Settings > Shipping and delivery.
Step 2: To edit a free shipping rate click Manage next to the shipping profile.
Step 3: Next to the rate that you want to edit, click the … button.
Step 4: In the drop-down menu, click Edit rate.
Step 5: Make any changes, and then click Done.
Click Save.
How to delete a rate
Step 1: From your Shopify admin, go to Settings > Shipping and delivery.
Step 2: To delete a free shipping rate click Manage next to the shipping profile.
Step 3: Next to the rate that you want to delete, click the … button.
Step 4: In the drop-down menu, click Edit rate.
Step 4: Make any changes, and then click Done.
Step 5: Click Save.
Setting up local delivery for online orders
For local customers, you can set up the option to get their orders delivered. If your customer’s address suits your local delivery area then the local delivery option will be available for them at checkout.
To make this option live in your online store, you need to enable the local delivery option for each location where you are ready to provide delivery. After setting up your local delivery, learn how to fulfill local delivery orders.
Steps to set up the local delivery option
Step 1: Log in to your Shopify admin, and go to Settings & Shipping and delivery.
Step 2: From the local delivery section, next to the location, click Manage to add the location where you want to offer local delivery. To display all your locations click on Show more.
Step 3: Choose This location offers local delivery.
Step 4: In the Delivery area section, to set a delivery area use one of the following methods:
- Set a delivery radius
- Use postal codes
Step 5: If you want to add delivery price then add the price and to offer free delivery enter 0. Apart from this, there are other few optional options that you can add if needed.
Step 6: After adding all the details, click Save.
Add conditional pricing
To determine the amount that is to be charged for local delivery, you can add price-based rules
Steps to add conditional pricing
Step 1: In your Shopify admin, go to Settings > Shipping and delivery.
Step 2: From the local delivery section, next to the location, click Manage to add the conditional delivery rates. To display all your locations click on Show more.
Step 3: From the Delivery area section, click Add conditional pricing.
Step 4: Complete the following steps for each rule that you want to make:
- Enter the order value limit.
- Enter the delivery price.
Step 5: Click Save.
Add delivery zones
By default, you can set up a delivery area or zone when you create your delivery option. You can add up to 4 additional delivery zones based on the distance radius or sets of postal codes. Each delivery zone can have a separate set of conditional prices.
Steps to add delivery zones
Step 1: Login your Shopify admin, go to Settings Shipping and delivery.
Step 2: From the local delivery section, next to the location, click Manage to add the conditional delivery rates. To display all your locations click on Show more.
Step 3: Click Create delivery zone in the Delivery area section.
Step 4: Add a Zone name.
Step 5: Add a Delivery radius or set of Postal codes.
Step 6: If you want to add delivery price then add the price and to offer free delivery enter 0. Apart from this, there are other few optional options that you can add if needed.
Step 7: Click Save.
Setting up pickup for online orders
You can set up pickup option for your customers to pick up their online orders.
Step1: From your Shopify admin, go to Settings > Shipping and delivery.
Step 2: In local pickup, click Manage and click Show more to display all your locations.
Step 3: Select This location offers local pickup.
Step 4: Under Information at checkout, change the settings to meet your needs.
Step 5: Add other additional details if needed which are completely optional.
Step 6: Click Save.
Manage preferences for a local pickup location
Step 1: In your Shopify admin, go to Settings > Shipping and delivery.
Step 2: Under Local pickup, click Manage for the location that you want to edit.
Step 3: Update the settings.
Step 4: Click Save.
Conclusion
Managing shipping on your Shopify store is very important since the delivery of products to your customers. Choosing the right method of shipping is essential because it will determine how much you will spend on shipping and how many problems you will face during shipment.


![Shopify Checkout Upsell Strategies to Maximize Revenue [With Examples]](https://www.identixweb.com/wp-content/uploads/2024/04/10-04-Tue-Blog-Shopify-Checkout-Upsell-Strategies_-Maximizing-Revenue-Optimizing-Costs.webp "Shopify Checkout Upsell Strategies to Maximize Revenue [With Examples]")

Thank you for such a comprehensive article on shipping in delivery 🙂 Helps a lot as I am new to Shopify. Once you have set up all of your shipping rates, is there a way of displaying them all somewhere together, for example, if you want to display them on your shipping policy page? Or do you only see them when checking out?
aweseome articals. very informative and usefull
Thank you so much 🙂